Aerial commissioning reference
Use this overview to plan an aerial image brief; it is secondary reference reading beside this site’s concert-photography guides. It describes a workflow, not our flights, equipment tests or services. Separate the desired image, site access and local aviation requirements before asking a real operator to quote.
Decide what the images have to do
Every aerial job starts with a use, not a flight. A print that will hang above a sofa, a licensed frame for a website banner, and a planning image inside a report all need different framing, resolution, and rights. Write that use down first, because it decides the crop, the altitude, and the file you deliver.
Next, put the story into one sentence. "A riverfront redevelopment seen in relation to the town around it" is a story. "Nice aerial shots of the site" is a wish. The sentence tells you which frame is essential and which is optional.
From there, build a shot list with one row per frame and six columns: subject, purpose, camera position, altitude band, field of view, and the time of day it has to be shot. Six to twelve rows is usually enough for a full site; more than that and you will spend the whole flight hunting. Keep one deliberately boring row, the plan view that shows how everything connects. It becomes the frame people reach for whenever the layout has to be explained.
Set a completion standard before takeoff: every row answered by at least one technically clean frame, plus a second exposure as a backup. If that cannot be done in the air, land and re-plan rather than flying longer.
Check airspace, permission, and insurance before you pack
Rules for aerial work are set per country, often per flight purpose, and they change. Confirm the current requirement with the civil aviation authority where you are flying, rather than trusting a guide, a forum thread, or whichever app happened to install itself. Ask specifically about controlled airspace, temporary restrictions, and any permit needed for the ground you plan to launch from.
Then look at the ground itself. Who owns the property, who owns the launch point, and who holds rights in anything you will photograph, such as a mural, a private garden, or a building with a design credit? For imagery you intend to license, permission to photograph is not permission to use, and that difference is far cheaper to settle before the flight than after the invoice.
Operator licensing and insurance usually follow the commercial-versus-recreational split in your own jurisdiction as well. Do not assume the rules that covered a hobby flight still apply once a client is paying.
Write the clearance notes down: date, location, authority checked, restrictions found, permissions granted. Keep them with the flight record. It takes five minutes and answers most questions later.
Choose and configure the drone for stills
For aerial stills, resolution matters more than almost any other specification, because you cannot walk closer to a rooftop. Look at sensor size, true pixel dimensions, and whether the camera writes raw. A camera that records DNG or raw gives you highlight recovery under a bright sky; one that only produces compressed JPEG hands the exposure decision to the aircraft.
Fixed-aperture camera drones are perfectly workable in good light, but the aperture still shapes depth and diffraction. A wide field of view gives context and curvature at the edges, while a longer lens compresses the site and stacks hills and buildings together. Choose one per frame on purpose and note it in the shot list.
Configure the camera on the ground, not mid-flight:
- Manual exposure, with ISO fixed as low as the camera allows.
- A shutter fast enough that hover drift and wind do not smear detail, faster still for frames that will be stitched.
- Fixed white balance, so every frame of a panorama matches.
- Raw capture, with bracketed exposures for any frame that holds a bright sky over shadowed ground.
- Histogram and overexposure warning switched on, plus a level or grid in view.
The most common aerial file problem is not softness. It is a scene where the sky is a white void because the camera metered for the ground. Bracket the hard frames and decide afterwards.
Treat light and altitude as two separate decisions
Light decides whether the subject has shape. The same building reads as a flat rectangle at noon and as a set of lit planes an hour before sunset, when the sun rakes across one facade and throws the other into shadow. Water behaves the same way: a low sun turns a river into a bright ribbon, while high sun turns it into grey sheet metal.
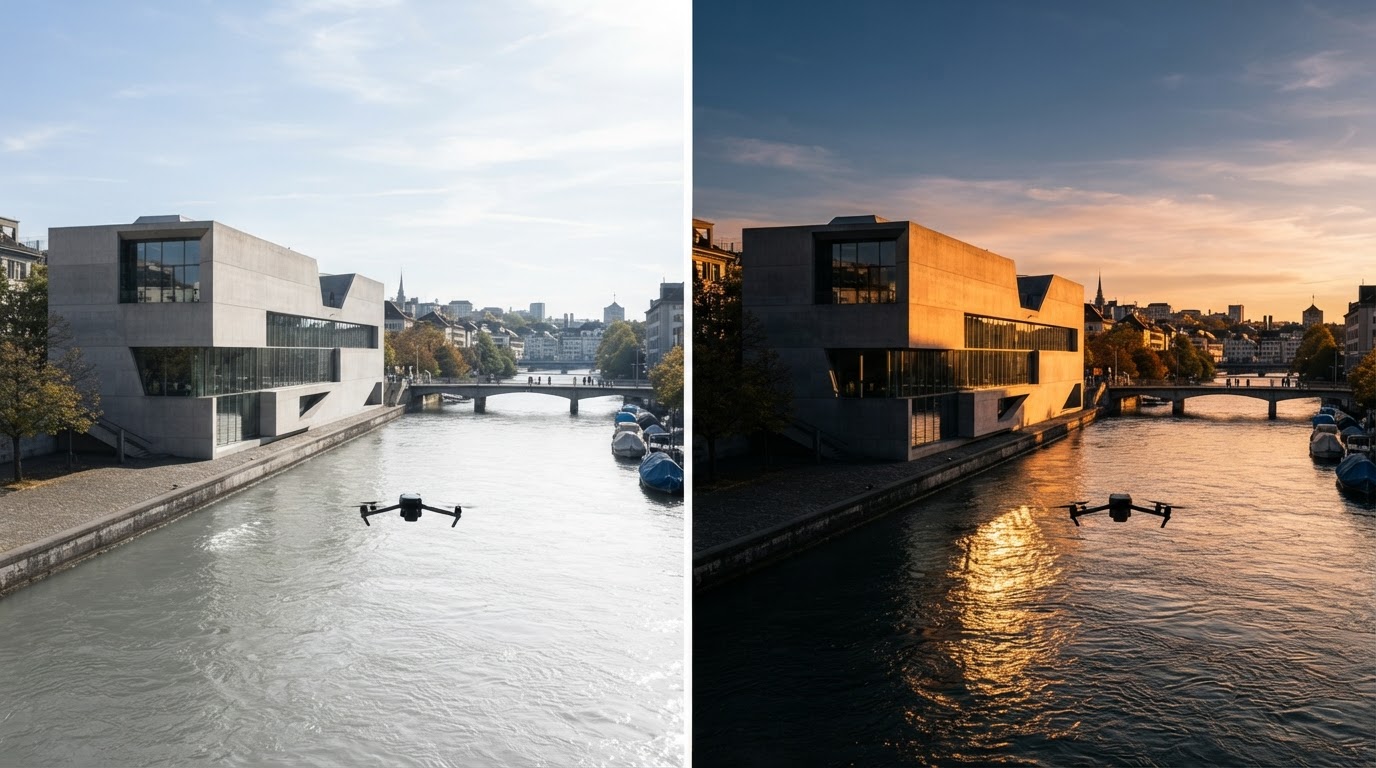
Map the sun before you map the flight. Which side of the subject takes the best light, and at what hour does the shadow of the tallest structure fall across the part you care about? On coastlines and rivers, wind and tide alter the surface as much as the sun alters the walls.
Altitude decides what the frame means. A low oblique near roof height keeps the horizon and shows the site as a place inside a landscape. A mid-height oblique shows internal layout against neighbouring buildings. A straight-down view near the ceiling flattens the world into pattern and plan, which is why it works for portfolios and fails for atmosphere.
Shoot every hero subject at three heights. The results will not feel like variations of one picture; they answer different questions, and the person using the image will choose between them.
Whatever the composition wants, the ceiling is set by the rules and by obstacles rather than by taste. Stay inside the altitude limit for your category, keep the aircraft in sight, and leave vertical margin over masts, wires, and ridgelines.
Fly a coverage pattern instead of hunting shots
Hunting for frames burns battery and leaves gaps. Fly a pattern instead.
For a site, set a boundary and run parallel lines across it with generous overlap, turning outside the boundary so the turns do not blur the edge frames. Lock exposure and white balance for the entire run so the frames stitch and match. Hold the altitude constant across the grid and change height only between runs.
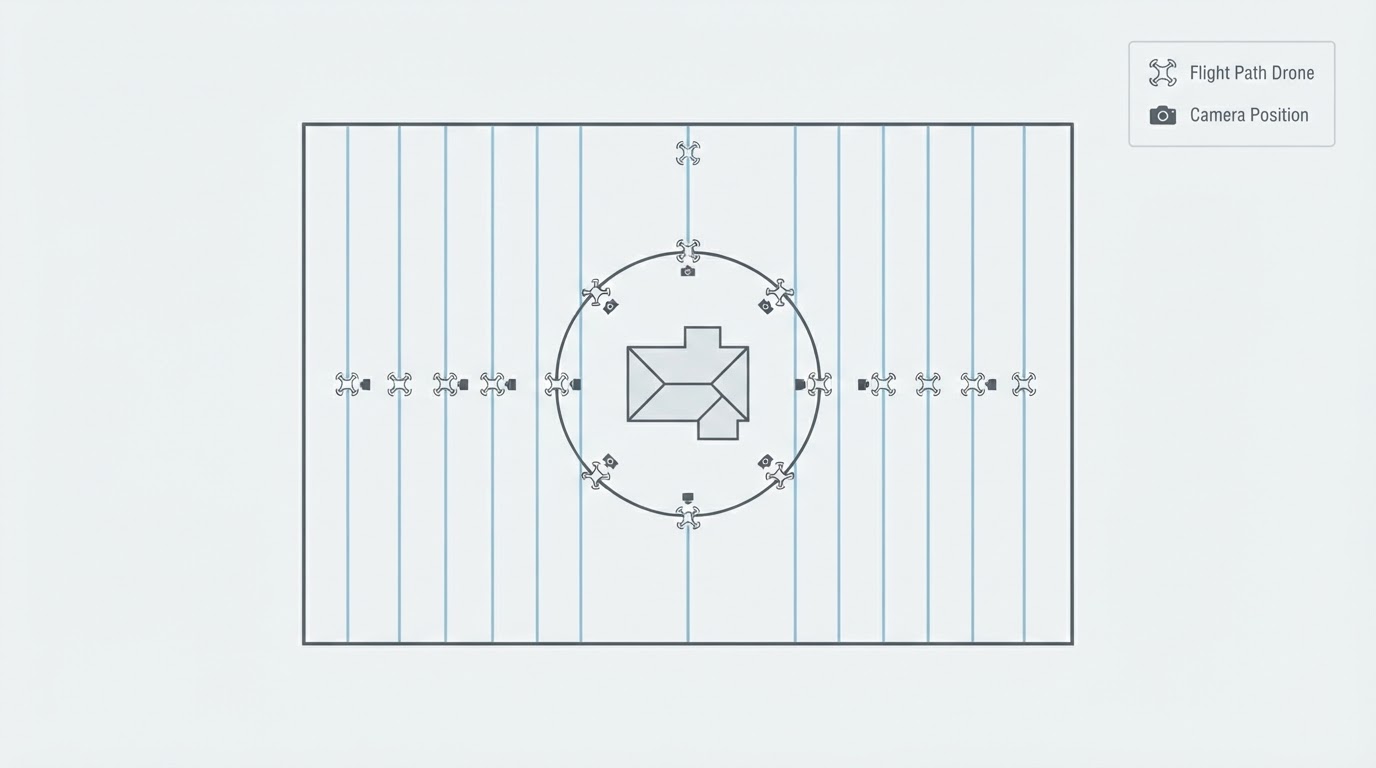
For a hero subject, orbit it. One steady circle at a fixed radius and height gives every angle for later selection, and flying it twice costs little when the light is moving.
For a landscape or landmark, use a reveal: start tight on a detail and pull back and up until the wider context appears. That single move yields several usable frames from one flight, which matters when the weather window is short.
Top-down frames work best as a slow pass along a line, camera aimed straight down, aircraft advancing a little between exposures. They stitch into larger plans and also stand alone as patterns.
Land with reserve instead of flying the battery to its warning. The last two frames are rarely better than the first twenty, and a forced landing in an unfamiliar field costs more than it saves.
Back up before you edit
Copy the card to two separate drives before you open a single frame, and leave the card untouched until both copies verify. Name the folders by project, date, and flight number, and keep the flight notes beside them. If the aircraft logged the flight, export that log into the same folder.
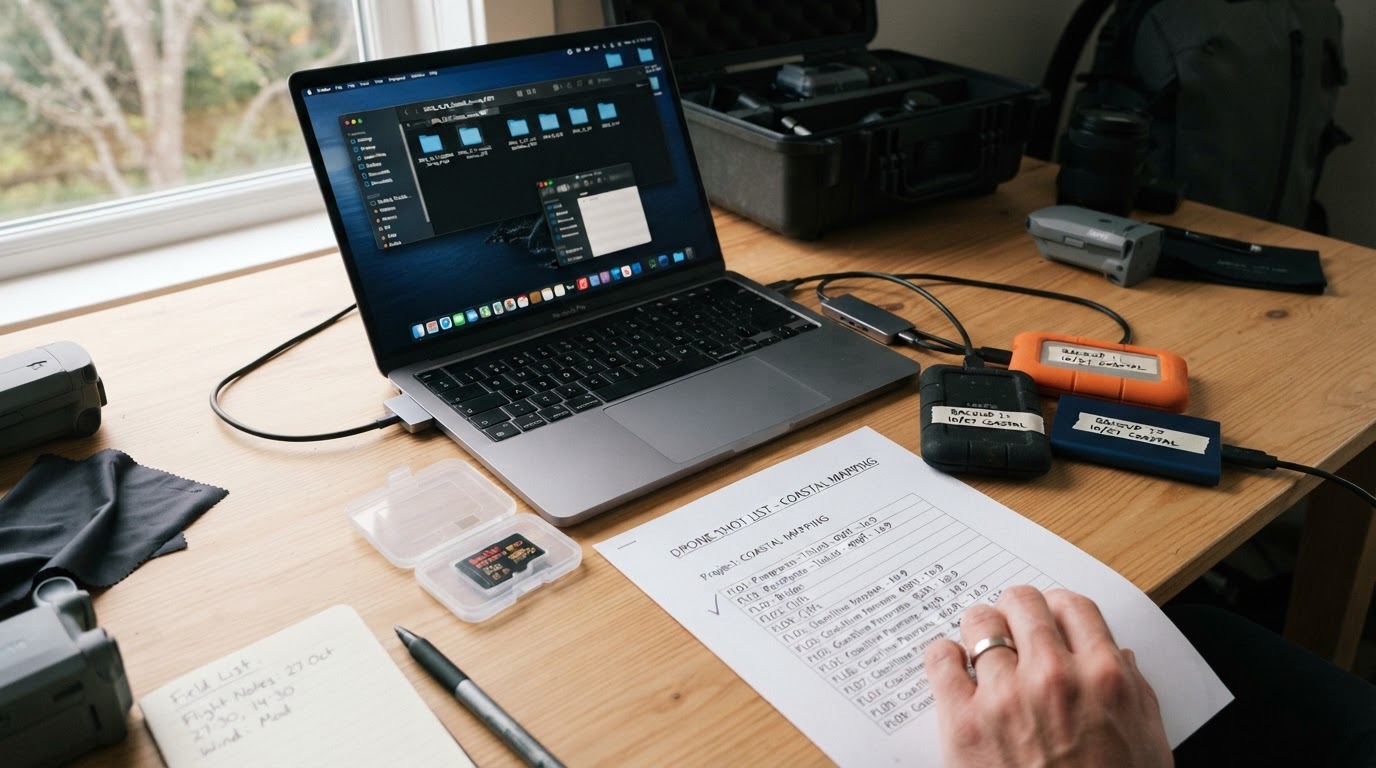
Then cull in two passes. The first pass removes technical failures only: movement, missed focus, clipped highlights, broken framing. The second pass filters for purpose: does this frame answer a row on the shot list? Anything that answers nothing becomes an alternate rather than a select, however attractive it looks on its own.
Build a contact sheet of the selects. Aerial sets are easy to overrate frame by frame and much easier to judge when they sit together.
Edit for the use, not for the feed
Begin with the master file: lens correction, white balance, exposure, highlight recovery. Keep the horizon level unless the tilt is doing real work. Resist pushing dehaze and clarity, because halos along a roofline are the signature of an over-edited aerial image.
Stitching needs consistent inputs. Fix exposure and white balance before the stitch rather than after, check the seam across water and sky where a mismatch shows first, and correct the horizon once the panorama is assembled.
Architecture needs perspective corrected, not scale distorted. Keep verticals vertical where they are vertical in reality, and do not exaggerate the height of a building beyond what the viewer's own eye would accept.
Finish with capture sharpening, then a separate output sharpening pass matched to the medium. A file sharpened for a screen and then printed looks soft; a file sharpened for print and then posted looks gritty.
Prepare files for print or licensing
Print and licensing are different deliveries, and treating one like the other is how strong frames get rejected.
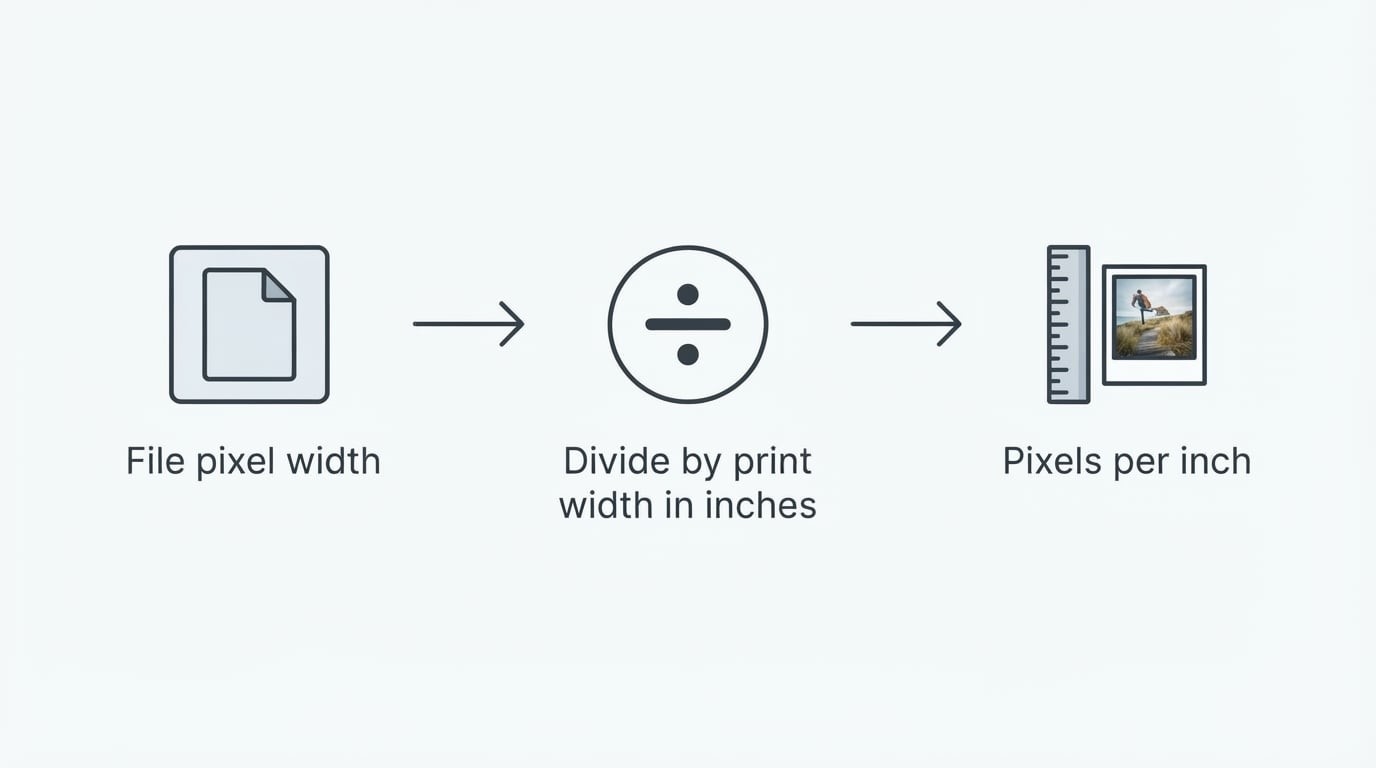
For print, fix the final size first. Then check whether the frame holds enough pixels for that size at the printer's resolution, crop to the print's proportions rather than the camera's, and convert to the printer's profile with a soft proof before export. Keep a full-resolution master, export a flattened print file with output sharpening applied for that specific size, and never upscale a file merely to reach a number.
For licensing, write the use down before you export: which category of use, which media, which territory, how long, and whether it is exclusive. Deliver the resolution tier that matches the licence rather than the largest file you own. Embed descriptive metadata such as creator, caption, location, date, and rights statement, so the file still carries its context after it leaves your drive. Collect model and property releases wherever the image needs them, and keep the edit history beside the master so provenance stays answerable.
A plain one-page summary of what was delivered, and under which terms, prevents more arguments than any contract clause nobody reads.
When commissioning the flight is the faster path
Doing it yourself is the right call when the site is accessible, the airspace is simple, there is time for a weather window, and one clean set of frames will do the job. It stops being the right call when the deadline is fixed, the site sits inside controlled airspace, the imagery will be used commercially at scale, or the deliverable includes motion, several formats, and a licensing chain somebody has to stand behind.
In those situations the faster path is a commissioned flight. Not because the flying is impossible, but because permissions, insurance, weather contingency, and file preparation then sit on one schedule instead of on your desk.
Send a brief that states the intended use, the exact deliverables, the site address, the deadline, the licensing scope, and who approves the final selection. Ask who holds the flight permission, what insurance covers the work, what resolution and formats will be delivered, what the licence actually permits, and how the files will be handed over and archived.
Practical Photo Notes publishes aerial assignment work alongside its landscape print line and licenses imagery for commercial, tourism, and property use. Its service overview lists the deliverable types, the quote-scope notes explain how a brief turns into a price, and the property coverage guide covers what buyers of real estate imagery usually ask for.
The failures worth designing out
Most disappointing aerial sets fail in the same handful of places. Flying at midday because that was the only free hour. Locking exposure after the third frame of a panorama. Skipping the boring plan view. Delivering a web-sized file against a print request. Licensing an image without confirming who holds rights in what it shows.
None of those are equipment problems, and none of them are solved by a newer aircraft. They are settled by the shot list, the clearance notes, and the delivery checklist: the parts of drone photography that happen on the ground.
Related next step
Continue to the related checklist. For this site’s primary subject, browse the concert photography guides.
For US regulatory background, use the FAA commercial-operator overview. It describes the Part 107 route and additional requirements for particular operations; it is not flight permission for this site or any reader. Other jurisdictions require their own regulator.