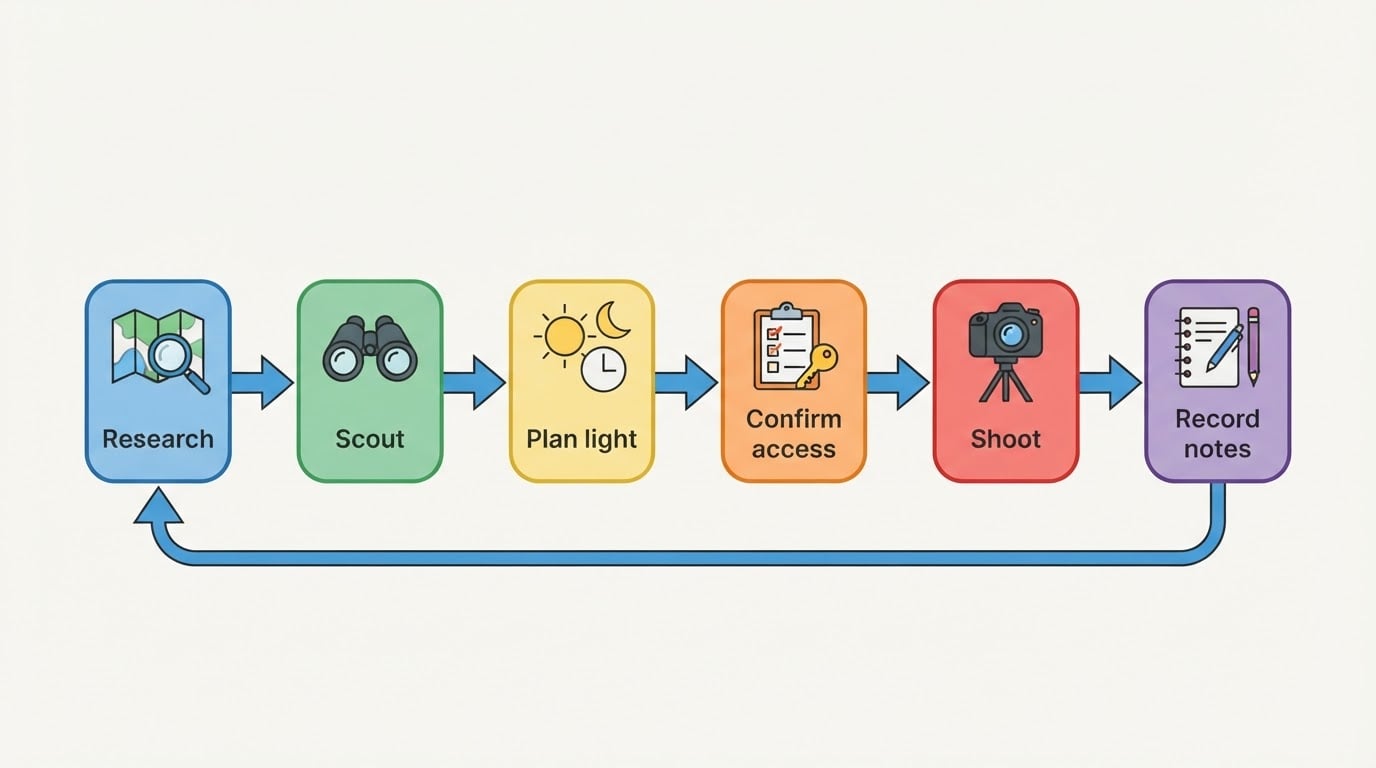
Start with settings that survive a dark room
Live music is the hardest light most photographers shoot in a normal week. A performer moves at walking-to-sprinting speed under lights that swing from near-black to a blown-out white wash, and there is no repositioning the sun. The first job, then, is a baseline you can trust and adjust from.
- Manual mode. Auto exposure chases the lighting changes and turns a set into a lottery.
- Aperture as wide as the lens allows. A fast prime around f/1.4–f/1.8, or a constant f/2.8 zoom, buys light that ISO alone cannot.
- Shutter speed around 1/250s for ordinary performance motion and closer to 1/500s when someone jumps, spins, or drums hard. Below roughly 1/160s you are gambling on a frozen subject.
- Auto ISO with a ceiling you can live with, often somewhere in the low thousands on current bodies, and let the camera ride it.
- Exposure compensation pulled down a third to two-thirds of a stop. Stage spotlights clip fast; a slightly dark frame recovers, a blown-out face does not.
- Spot or highlight-weighted metering on the face. The room behind the performer is almost always darker than the performer.
- Continuous autofocus with a tracking zone, and burst mode set low or medium. Maximum frame rate mostly fills cards with near-duplicates.
- RAW, not JPEG. Stage color is mangled by colored LEDs, and RAW latitude is what lets you repair it later.
The core trade-off never changes: stop motion and you pay in noise; drop ISO and you pay in sharpness. Decide which failure you can live with before the set begins. A slightly noisy frame that holds the moment usually beats a clean frame with a smeared arm, and it always beats a frame you never took because you were still changing settings.
Checkpoint: after the first song, read the histogram rather than the LCD image. If highlights are stacking against the right edge, pull exposure down; if the frame is dark but the highlights are safe, you have room to work. Your camera's usable ISO range is not a spec sheet number — it is something you learn by testing your own body in a dark room and deciding when noise stops being acceptable to you.
Work in low light without fighting the camera
Low light rewards patience more than gear. Stage lighting is a moving target, and the photographers who come home with the most usable frames are usually the ones who studied it for a song before pressing the shutter.
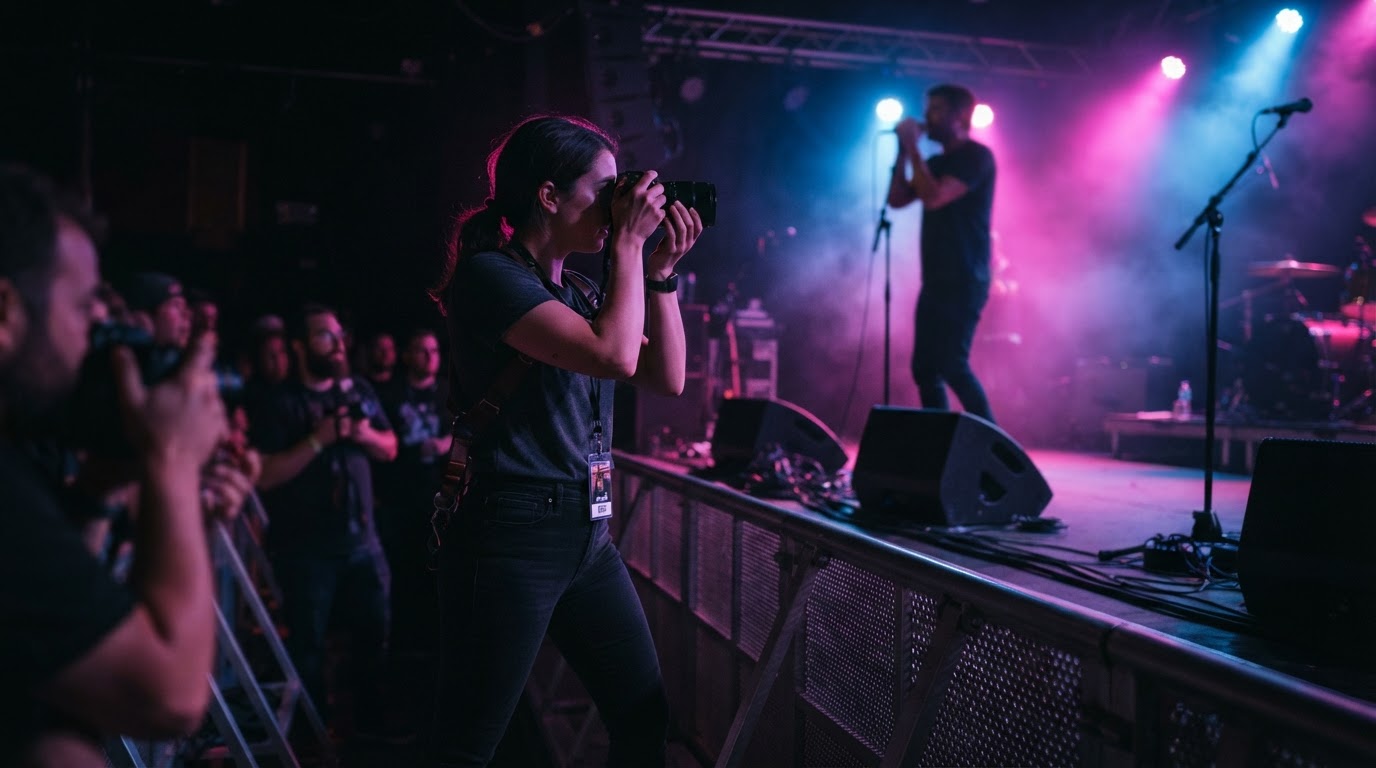
Watch the light before you shoot it. Most shows alternate between dark passages and short, bright bursts. Spend the first verse learning the pattern — where the wash lands, when the follow spot finds the singer — then expose for the bright moments instead of averaging everything into a muddy middle.
Meter for the face, not the room. Stage light is directional and colored. If you meter the whole frame, the black backdrop drags your exposure up and the performer's face turns into a white smear. Spot metering on skin keeps the most important highlight under control.
Give autofocus a fighting chance. In low light, focus hunting is normal, so use a single point or a small zone over the performer, use back-button focus to lock on and recompose, and lean on lenses with fast autofocus motors. When the light drops near black, prefocus on a predictable position — a mic stand, a spotlight pool, the front edge of the stage — and shoot when the performer arrives there.
Skip the flash. Beyond the venue and tour rules that usually forbid it, on-camera flash falls off within a few meters, flattens the stage light the artist paid for, and draws attention you do not want in a pit. If you must add light of your own, slow the shutter and use the ambient stage light as the base.
Resist the ISO panic. Underexposing to keep ISO low, then lifting shadows in post, produces more visible noise than exposing correctly in the first place, and it crushes the color separation that makes stage lighting interesting.
The honest limitation is physics: a phone camera or a slow kit zoom will not match a fast prime on a modern full-frame or APS-C body, and no amount of editing fixes a frame that was never sharp. If the budget is tight, one fast prime that lives on the camera beats a bag of slow zooms you never use.
Get access — and behave like it is a privilege
Access is the part of concert photography that has nothing to do with cameras, and it is where most newcomers lose the opportunity.
Photo passes come from the artist, their management, or the venue and promoter — not from the ticket you bought. Ask well in advance, and include the date, the venue, the artist, and who you are shooting for. A vague "can I shoot the show?" request is easy to ignore; a specific one is easy to approve.
Once you are approved, confirm the rules before you travel: how many songs you get, whether flash is allowed, whether you can change lenses in the pit, where you enter, and who meets you at the door. These rules vary by tour, venue, and artist, and they can change on the night.
Inside the pit:
- Pick a lane and stay out of the eyeline of the people on stage. A photographer planted directly in front of the singer becomes part of the show for everyone behind them.
- Keep your elbows in, watch for monitor wedges and cable runs, and never step onto the stage.
- Move after you have the shot, not during it. If you want a second angle, take it between songs or when the performer crosses to the other side.
- Dress dark, keep the phone in your pocket, and leave when security signals you out. Arguing costs you the next show.
The trade-off is real: spend all three songs moving and you miss the peak moment; plant yourself in one spot and you get one angle all night. Decide your priority before the first song rather than halfway through.
The common mistake: treating the pass as a licence to spray. Three thousand frames and no keepers is a workflow problem you created in the first ten seconds.
Compose and time the shot, not just the musician
Technique gets you a technically correct frame; timing and composition get you a photograph someone wants to look at twice.
Anticipate the peak. Watch the performer's hands, feet, and posture rather than the viewfinder. The moment before the chorus, the jump, the spin, the lean into the mic — those are the frames that carry a set. A short burst around a readable peak beats a continuous spray through the whole song.
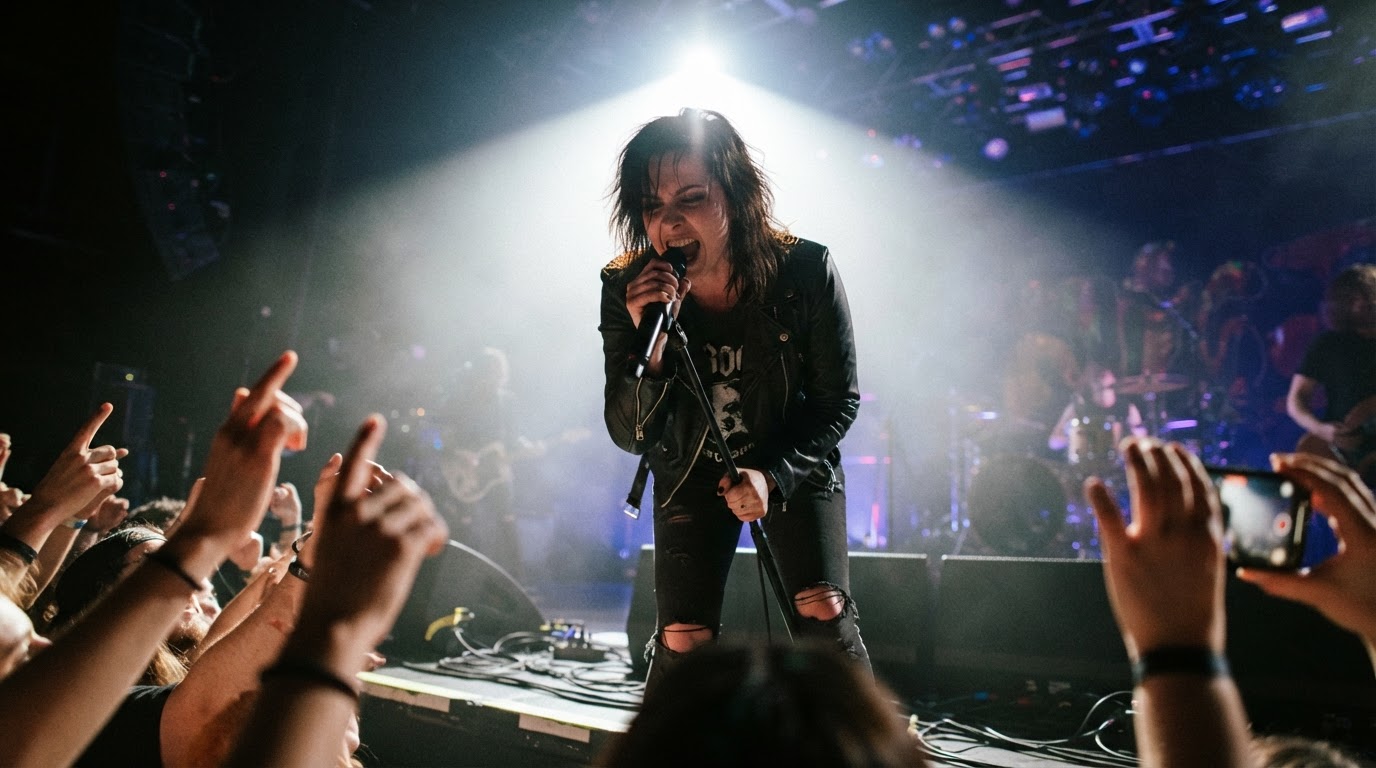
Use the light as a subject. Backlit haze, rim light on shoulders, a hard side wash on a face, silhouettes against a bright backdrop: stage lighting does most of the compositional work if you let it. Expose for the highlights and let the shadows go dark.
Change scale deliberately. A wide frame that shows the room and the crowd tells a different story from a tight frame of an expression. Shoot both, and do not spend the whole set at one focal length. Verticals and copy space matter if the images will be used on social or in a poster, so leave some headroom.
Use the architecture. Trusses, monitor wedges, mic stands, and the line of the stage can frame a subject or ruin it. Get low through the crowd, shoot past a shoulder, look for two musicians interacting, and wait for the crowd's reaction when the band turns around.
Fix the avoidable errors. Keep mic stands and monitors out of faces, level your horizons, stop centering everything, and check that hands and instruments are not cut off at the frame edge.
Completion standard: if you can pull one coherent set of ten to fifteen frames — wide, medium, tight, crowd, and one clear peak moment — you have a usable night's work, not just a full card.
Turn the card into a deliverable
The shoot ends when the lights come up; the work does not. A repeatable post-shoot routine is what separates a photographer with an archive from someone with a hard drive full of unopened folders.
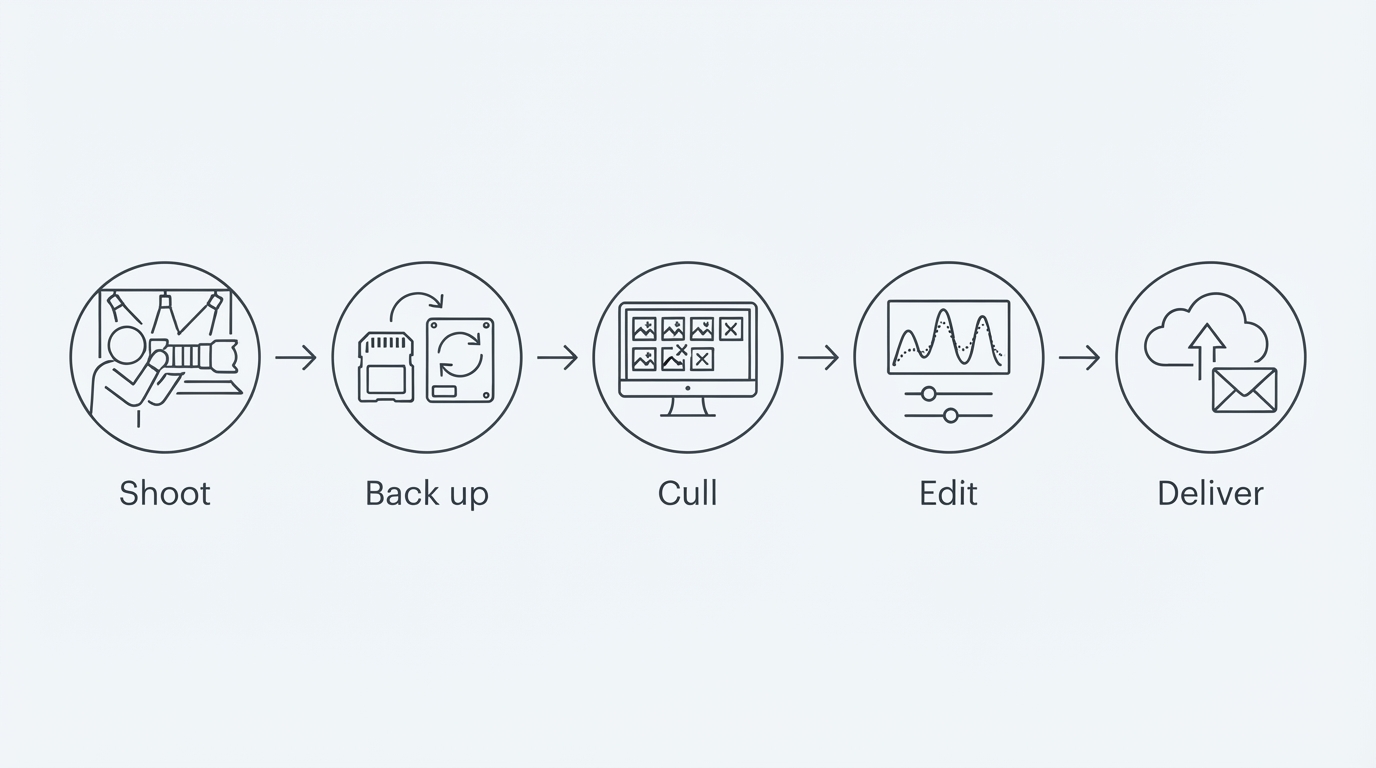
- Back up before you look. Copy the card to two separate drives before culling, and keep the card untouched until both copies verify. The standard 3-2-1 habit — three copies, two kinds of media, one off-site — exists because cards fail.
- Cull in passes. First pass for focus and obvious misses, second for expression and moment, third for a coherent sequence. Deleting aggressively early saves hours later.
- Fix color with intention. Colored LEDs make auto white balance meaningless. Correct skin tones first, then decide whether the magenta wash was part of the show — usually it was, so protect the mood without leaving faces green.
- Edit with restraint. Recover highlights, lift the shadows a little, and apply noise reduction gently; heavy noise reduction trades grain for plastic skin. Crop for the platform the image is going to, not for the screen you happen to be on.
- Caption and check rights. Record artist, venue, and date while you still remember the set, and check what you agreed to before posting or licensing anything. Unless a written agreement says otherwise, the photographer normally holds the copyright, but assignments, work-for-hire terms, and venue policies can change that — read the contract you signed rather than the one you assumed.
A practice plan before the next show
You do not need a paid gig to get better at this. Turn the house lights down, put a single lamp behind a chair, and practice holding 1/250s at a wide aperture while tracking a moving subject. Then pick a small local show, shoot it with one lens, and give yourself a hard rule: three songs, one position, and a written shot list of five frames you actually want.
The photographers who improve fastest are not the ones with the most gear; they are the ones who decide what they are trying to bring back before the set starts and review what they got while it is still fresh.
Where to go deeper
Everything above is a starting point, and the only way to make it stick is to repeat it with feedback. Chris Sidoruk Media publishes a free library of concert photography technique articles — sharpness in low light and motion blur, composition and framing, small-venue conditions, and first-show basics — illustrated with the site's own show photography and released without a paywall or email gate. Read one, shoot a show, and compare what changed.