What a license does, and what it does not
A license is a permission slip with limits. Whoever holds the rights keeps them and grants you a specific set of allowed uses. Anything you did not name stays with the rights holder. That is why a vague phrase like "use for marketing" causes trouble later: nobody can say what it covers, so every new channel becomes a fresh argument.
A license is not a transfer of ownership, and it is not a warranty that everyone visible in the frame has agreed to appear. If a photo shows a recognizable face or a private building, ask what releases exist before you build a campaign around it. This guide covers getting permissions in writing as a general practice, not legal advice; for high-stakes campaigns, have a lawyer review the agreement.
Step 1: Describe the use before you look for an image
Write the intended use in plain sentences and treat that description as the brief for everything that follows.
- Where will the image appear? A website, a printed poster, a paid ad, a product package, a presentation, a social post.
- What is the image doing there? Explaining a process, selling a product, illustrating a story, decorating a page.
- Who will see it, and how many of them? A note to existing customers is a different scale from a national campaign.
- Will it be altered? Cropped, color-shifted, combined with text, or used as a background.
Keep this description with the project file. If the scope later changes, you will have a record of what you originally asked for and a basis for renegotiating instead of guessing.
Step 2: Find the image and confirm who can grant the rights
Identify the actual rights holder before you negotiate. A gallery, a stock platform, a band, an agency, and a photographer are different sellers with different authority.
Ask three questions early:
- Do you own or represent this image?
- What uses is it already licensed for?
- What releases exist for identifiable people or private property in the frame?
If the answers are unclear, pause. A cheap license from someone who cannot grant it is the most expensive kind.
Step 3: Set the four scope terms before you discuss price
Four scope terms decide how much of the image's value you are buying: media, territory, duration, and exclusivity. Price follows from those terms, not the other way around.
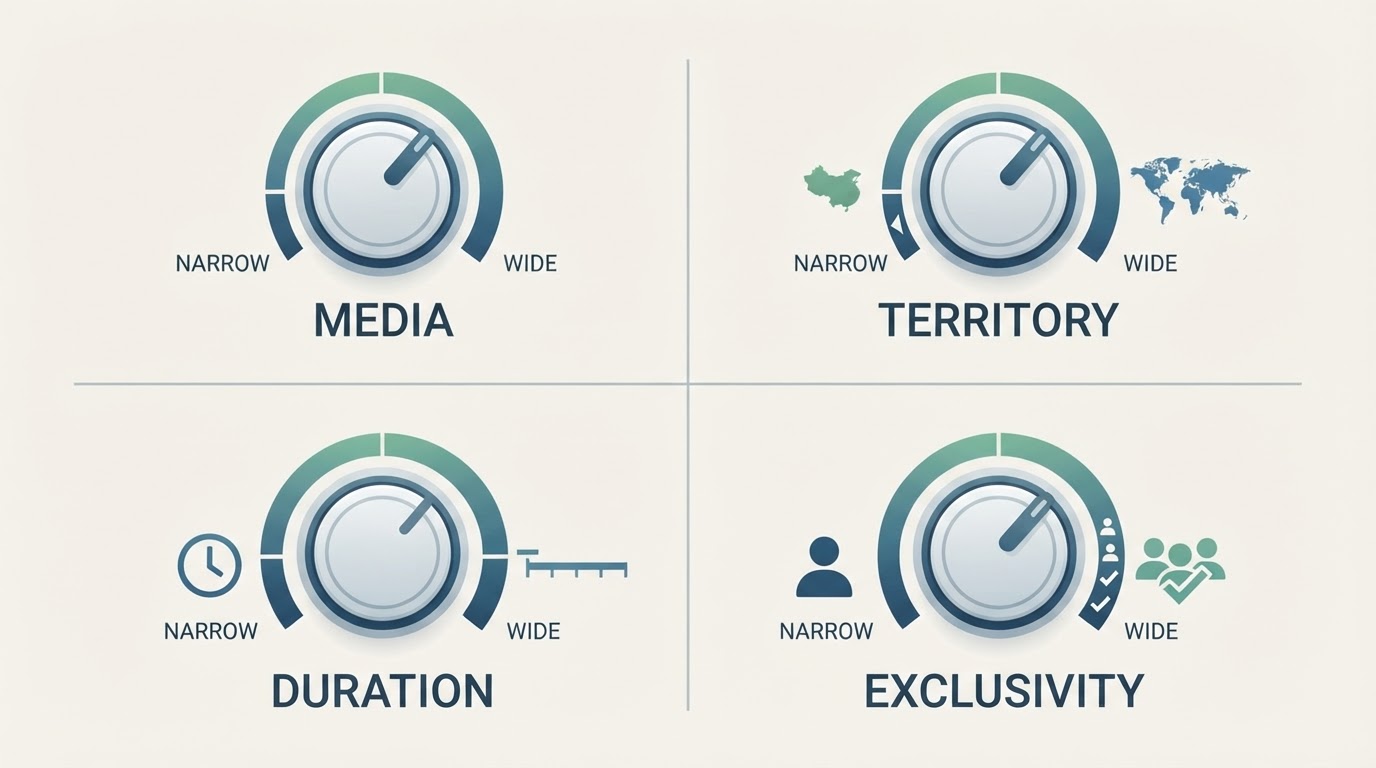
- Media names the channels: web, print, broadcast, paid social, packaging. One channel is cheaper than five.
- Territory names the geography: a single state, one country, worldwide. Wider reach costs more.
- Duration names the clock: one campaign, one year, or an open-ended term. Longer terms carry higher fees because they replace future sales for the rights holder.
- Exclusivity names the competition: can the same image appear in a rival's campaign? Exclusive use costs the most because the seller gives up other buyers.
Write down what you actually need for each term. Buyers often over-ask out of habit and then pay for reach they never use.
Step 4: Put the license in a plain written agreement
A license only helps if you can show it. Put the agreed terms in one document that a non-lawyer can read, and have both sides sign it or clearly accept it in writing.
A short agreement needs the parties, the image or images identified precisely, the allowed uses, the four scope terms, the fee and payment terms, the credit line if one is required, and the dates the permission starts and ends. Add what happens if you want to extend or expand the use later.
Do not import a ten-page contract for a single image if nobody will read it. Plain terms both sides understand prevent more disputes than elaborate clauses nobody checks.
Step 5: Keep a record you can find in two minutes
Store the license next to the image it covers, and keep both findable. When a colleague asks whether a photo can go on a new landing page, you want an answer in minutes rather than a search through old email threads.
A simple record includes the image file reference, the rights holder, the license date, the scope terms, the fee, the expiry date, and where the signed agreement lives. Track expiry dates. A license that quietly lapsed leaves the same exposure as no license at all.
How to run this with no tool at all
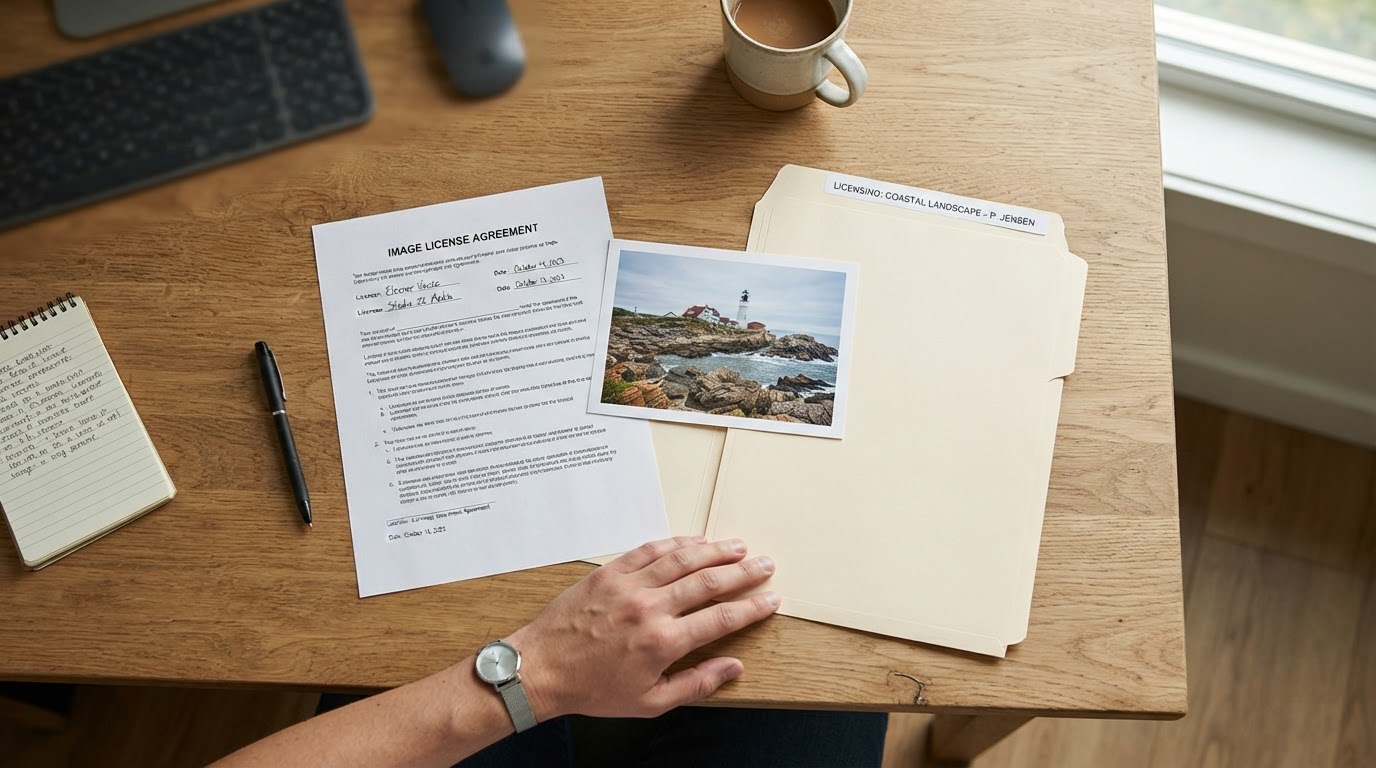
You need three things: the image file with its known source, a written agreement, and one place to keep both. A folder on your desktop, a shared drive, or a paper binder all work if the records stay together.
Name files so the license and the image cannot drift apart, for example a project folder that holds the image, the signed agreement, and a one-page summary of the scope terms. Set a calendar reminder two months before each expiry date. When someone asks for proof, open the folder and send the agreement.
The process is deliberately low-tech. Software helps you search and share, but it cannot decide what you are allowed to do with the image. That decision lives in the written terms.
When licensing from an established program is the faster path
Running the full process yourself makes sense for a handful of images or an unusual request. When you need several images quickly, a licensing program can compress steps two through four into one conversation, because the terms are already published, the rights holder is known, and the agreement is standard.
Chris Sidoruk Media runs that kind of program for its concert and landscape imagery. Its terms are published rather than negotiated per request: artist, EPK, and press use from $300 per image for one year; merchandise and physical media from $750 per image; retroactive use from $500 per image; and continued past use from $750 per image. Commercial campaigns are quoted individually against distribution scale and usage context. The program states that no rights are granted unless they are given in writing, and it allows artists to share images on personal, non-commercial accounts with full credit and no promotional intent such as ticket sales, tour promotion, merchandise, or advertising. For a band preparing an EPK or a tourism board planning a destination campaign, that structure removes most of the back-and-forth: you check the published terms, confirm the scope matches your use, and get the permission in writing.
Treat it as one option among several. If your use falls outside the published categories, a custom quote or a different rights holder may be the better answer, and the five steps above still tell you what to ask for.
Mistakes that cost money later
- Starting the campaign before the paperwork. A verbal yes is hard to prove and easy to dispute.
- Buying the cheapest license for the wrong use. A license written for editorial illustration does not cover a paid advertisement, even when the fee was paid in full.
- Reading "royalty-free" as "no rules." It often means no per-use fee, not unlimited use. Read the terms.
- Forgetting the expiry date. Continued use after the term ends turns a valid license into an unauthorized one.
- Ignoring the people in the frame. A photo can be licensed and still unusable if the model release does not cover commercial use.
- Cleaning up after the fact. When unauthorized use is discovered, a rights holder may resolve it through a retroactive license with a fee rather than a simple takedown, so a late fix usually costs more than the original license.
A short checklist for your next license
- Write the intended use in plain sentences.
- Confirm who can grant the rights.
- Agree on media, territory, duration, and exclusivity.
- Sign a plain written agreement with dates and a fee.
- File the license next to the image.
- Set a reminder before the term ends.
Six steps, one document, one folder. That is the whole practice of image licensing, and it is enough to keep most projects out of trouble.