Use guides as a sequence, not a library
Photography guides are easiest to use when they are read in the order the skills depend on each other. A guide on editing assumes you can already expose a frame well enough to keep. A guide on low-light concert work assumes you know what aperture and shutter speed are doing. Read out of order and the advice sounds like a list of unrelated settings.
A useful filter for any guide is to check four things before you spend an evening on it. The writer should show pictures made under the conditions being described, not perfect-weather examples standing in for a hard situation. Settings should be attached to a described light so you can see why they were chosen. The guide should say where its advice stops working. Finally, gear and software advice should carry a date, because menus, sensors, and noise behavior change.
The sequence below is deliberately narrow: one skill at a time, one practice task per stage, and a completion standard you can judge without asking anyone else.
Exposure fundamentals: three settings, one trade
Aperture, shutter speed, and ISO trade against each other, and every exposure decision is a choice about which compromise you can live with. Aperture sets how much light reaches the sensor and how much of the scene is acceptably sharp. Shutter speed sets how long the sensor collects light and how motion is recorded. ISO sets amplification and, with it, how much noise and how little highlight headroom you keep.
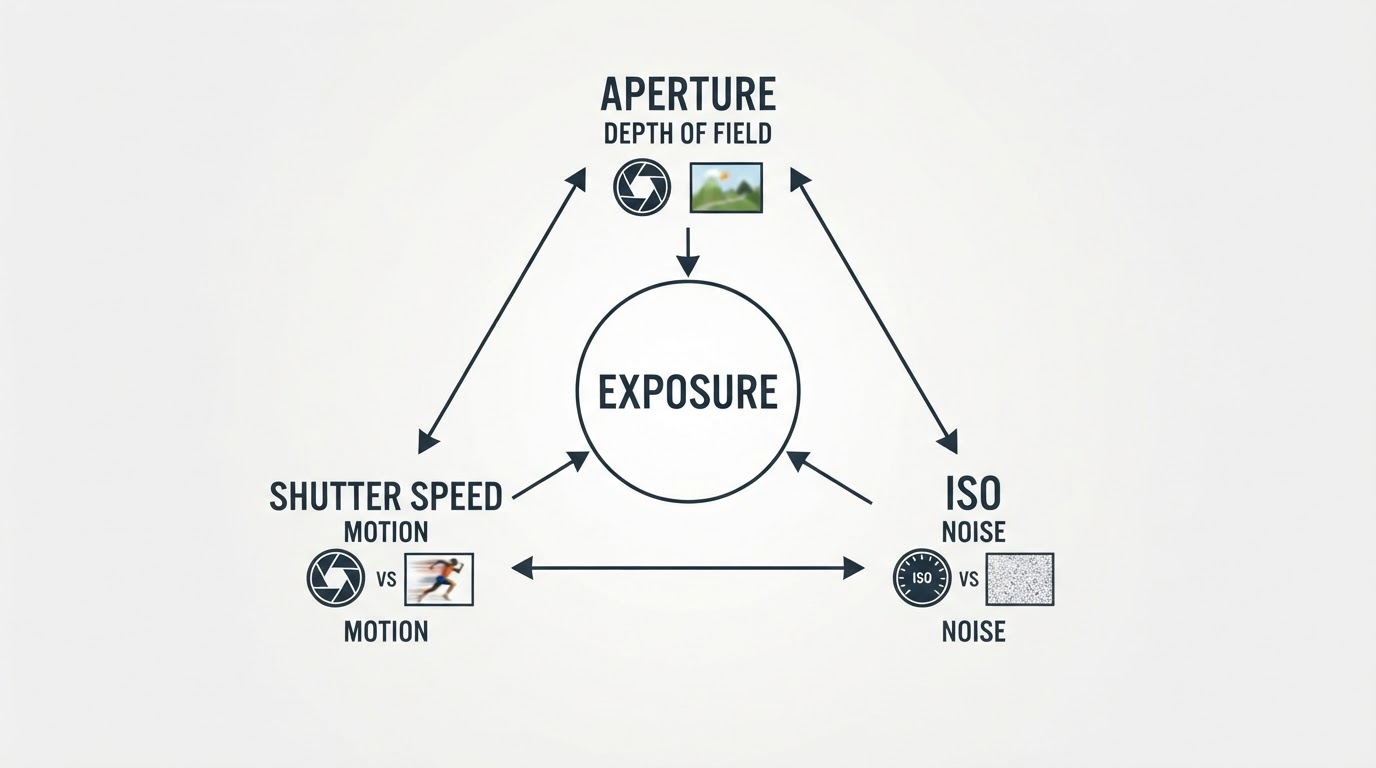
The practical skill is not memorizing combinations. It is deciding which side effect matters most in the frame in front of you, then adjusting the other two settings to protect it. For a still landscape, depth of field and clean shadows usually lead. For a musician mid-song, a shutter fast enough to stop motion leads, and ISO absorbs the cost. For a slow, deliberate subject, a low ISO and a tripod lead, and shutter speed becomes free.
Three habits make the learning faster:
- Work in manual with one variable at a time, leaving the other two fixed for a whole set.
- Check the histogram and highlight warning instead of judging exposure from the rear screen in daylight.
- Predict the change before you make it: say which setting has to move, then move it.
The completion standard is simple. Before you raise the camera, you can name the setting you are about to change and the visible result you expect.
Composition: make the frame a decision
Composition advice is often taught as rules, but the useful part is the decision behind the rule. Placing a subject off-center can give it room to move into. A leading line can pull the eye toward something worth finding. Negative space can make a small subject feel deliberate rather than lost. None of those choices help if you cannot say what the frame is about.
A practical order for a new scene is to identify the subject, choose the distance that gives it the right emphasis, then check the edges for intrusions. Layering a foreground, middle ground, and background creates depth without needing a wide lens. Framing through a doorway, branch, or crowd can add context. Moving your feet usually changes the picture more than changing lenses.
Practice with a frame limit rather than a time limit. Pick one subject, allow yourself twenty-four exposures, and make each one answer a different question about the scene. Review the set as a contact sheet and mark which frames were intentional and which were reflexes.
The standard: you can explain why you chose the frame, not just that it looked better on the back of the camera.
Low-light concert technique: work with the light you are given
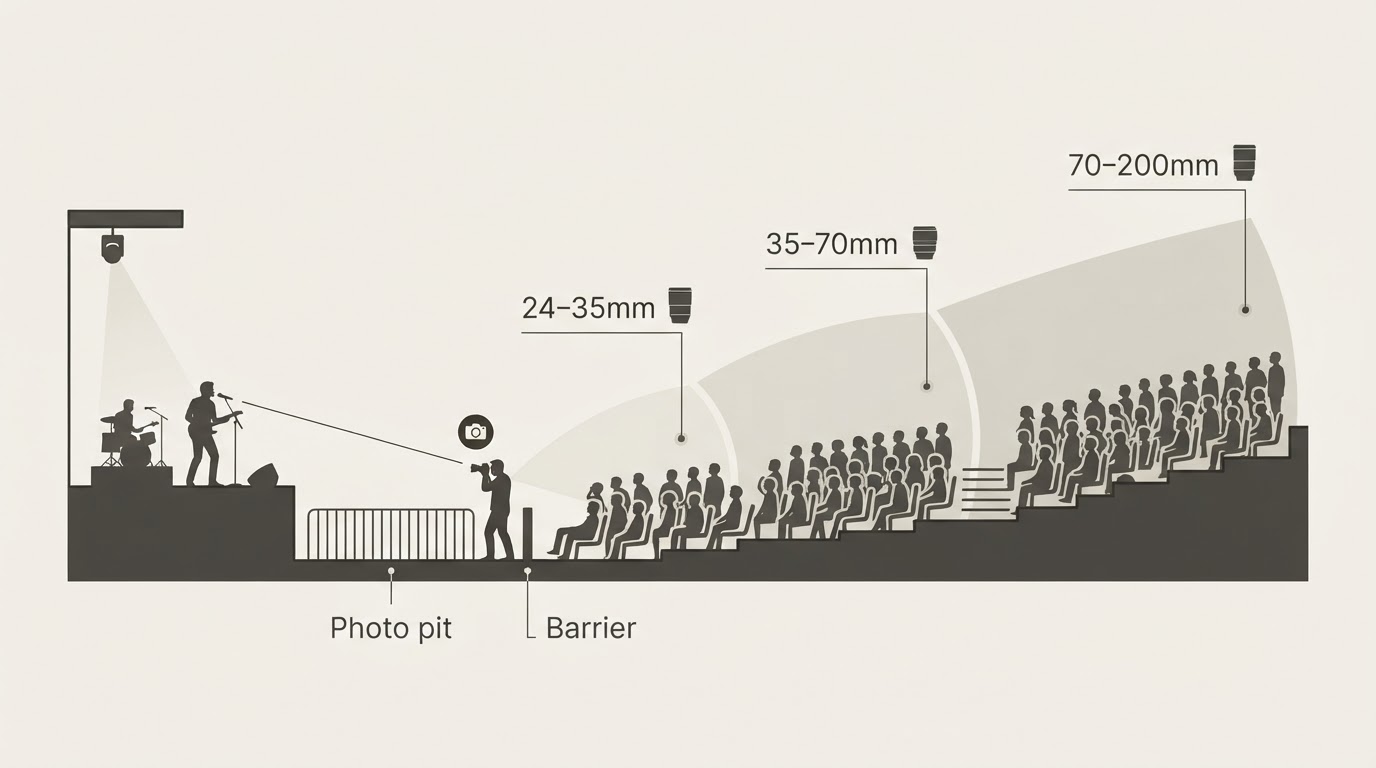
Live music is a control problem. The subject moves, the lighting changes color and direction without warning, flash is usually unavailable or unwelcome, and your position may be fixed by the room. Guides help most when they describe how to react rather than handing over a settings preset.
A workable starting approach is a fast prime lens, the aperture wide open, a shutter fast enough for the movement in front of you, and auto ISO with an upper limit you are willing to accept. Continuous autofocus with subject detection helps when faces are visible; single-point focus on a face or instrument helps when they are not. Spot metering or exposure compensation for faces prevents bright stage lights from dragging the whole frame down. Back-button focus separates focus from the shutter and makes it easier to hold focus through a phrase.
Timing matters more than burst length. The usable frames usually come from watching the lighting change and shooting at the peak of a phrase, when a gesture is fully expressed rather than midway. Backlight can be used deliberately: expose for the lit edge and let the face fall into silhouette. Protect the brightest stage lights so they do not clip into flat white, and accept that some frames will be noisy rather than blurred. Noise can be reduced; a missed moment cannot be recovered.
Shoot one full song, then stop and review focus, exposure, and framing before the next one. The review is the practice. Over several shows, track how many frames per song you would actually keep, and whether the reason for rejecting a frame is technical or compositional. Those two numbers tell you what to work on next.
Landscape planning and location scouting: decide before you arrive
Landscape work rewards planning because the light does not wait. Scouting is the part that happens before the camera comes out: reading a map for contours and access, checking where the sun will rise or set, noting tide or water levels where they matter, and confirming whether a location is legal to reach and safe to leave in the dark. A scouting walk without a camera is not wasted time; it is how you learn where the light lands.
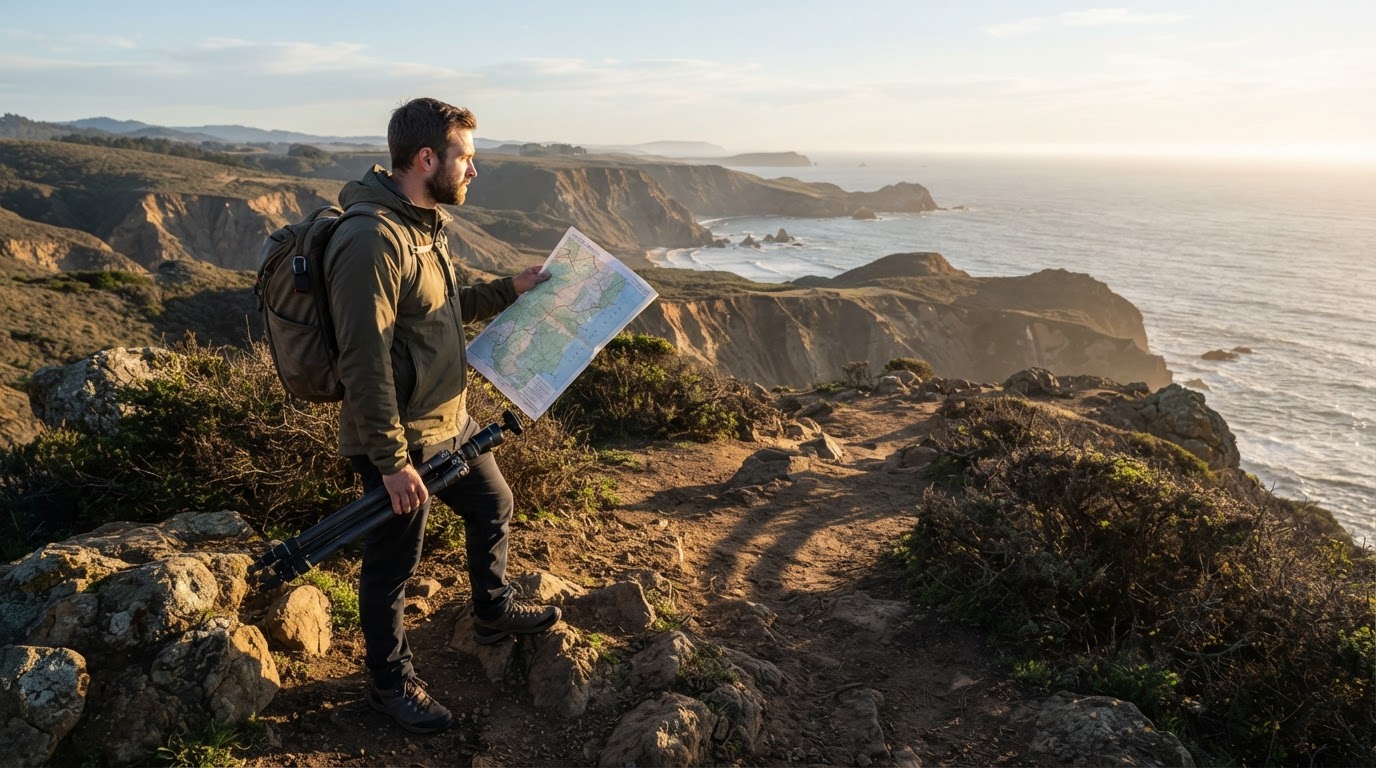
Build a short shot list for each outing: two frames you definitely want and two fallbacks if the weather turns. Arrive early enough to walk the scene and set up without rushing, and stay past the obvious moment, because the light after sunset and before sunrise often gives a cleaner result than the crowded peak. For coastal or mountain locations, plan the exit as carefully as the arrival.
Focal length is a composition decision as much as an optical one. Wide lenses exaggerate the foreground and pull in more of the sky; longer lenses compress layers and isolate a ridge or a detail. A polarizer can deepen a sky and cut reflections, and a neutral-density filter can extend exposure into smooth water or moving cloud. Both are optional, and both are easier to use after you can expose confidently without them.
For readers who want an aerial viewpoint in a location set, treat it as a separate skill rather than an accessory: flight rules, safe positioning, and deliverable formats each change the planning.
The standard for scouting is pre-visualization: you can describe the frame you expect before you arrive, and the file you bring home matches it closely enough to explain the difference.
Gear: choose constraints that match the work
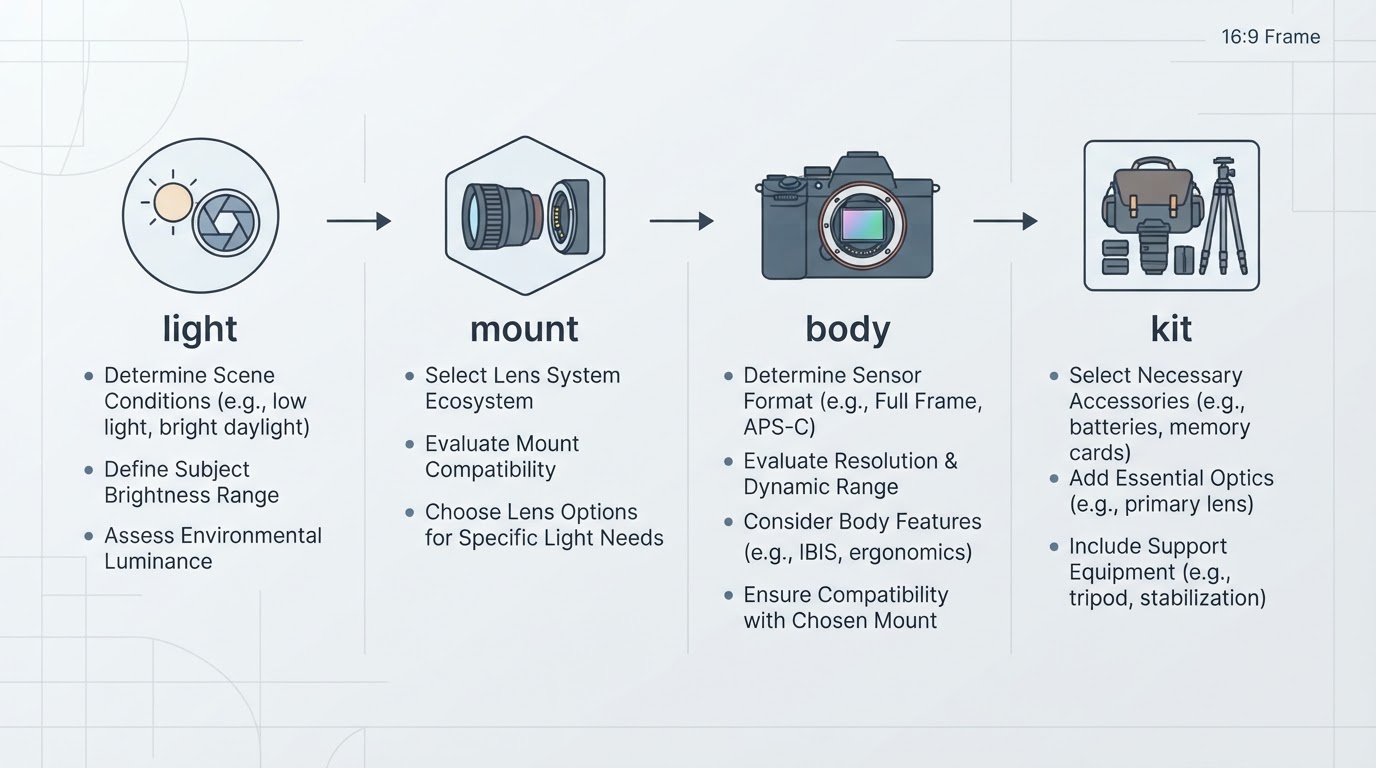
Gear guides are useful for narrowing choices, not for removing the need to practice. A camera body that feels predictable in bad light is worth more than one with a specification advantage you rarely use. Lenses decide most of what the pictures can look like, so start there.
What you shoot | Lens priority | Setting pressure |
|---|---|---|
Concerts and clubs | Fast prime, 35mm to 85mm | Shutter speed and ISO |
Landscape and travel | Wide zoom plus a short telephoto | Aperture and stability |
Everyday and documentary | Mid-range zoom or a 35mm equivalent | Framing speed and discretion |
A tripod, spare batteries, and cards you trust matter more than a second body for most beginners. Buying used is reasonable when you can check shutter count, sensor condition, and return terms. Renting a lens for a weekend is usually cheaper than buying the wrong one and reselling it.
Try a one-lens month. Choose the lens that matches most of your intended work, leave the rest at home, and note the frames you could not make. The standard is knowing which lens you reach for and why, along with a short list of shots you now know require something different.
Editing: finish the set, do not rescue the frame
Editing starts with selection. Cull for focus, expression, and story before touching a slider; a sharp frame of the wrong moment is still the wrong frame. Then correct exposure and white balance globally, set contrast with a tone curve, and use local adjustments only where the eye actually needs direction. Noise reduction and sharpening belong at output size, not at the start.
Consistency across a set reads as competence. A viewer should not be able to tell which frame was edited on a different evening. Keep backups in more than one place, and keep your catalog simple enough that you can find a frame a year later.
The efficient practice is a timed edit: ten selected frames in twenty minutes, then compare the set against one reference image you admire. Speed comes from deciding quickly, not from moving sliders quickly.
The standard: edits get lighter and faster over time, and the final set looks like one photographer made it.
What to practice first
Start with exposure, because every later stage depends on it. In the first week, run one drill: a static subject, twelve frames, one setting changed per frame, with a prediction written down before each shot. Review the predictions rather than the pictures.
Then move to composition with the twenty-four-frame limit on a single subject. Keep the exposure knowledge in place but stop thinking about it; the goal is to make framing deliberate under mild pressure.
Low-light concert work comes next, even if you only shoot one local show. It forces fast decisions and teaches you what noise and motion actually look like in your files. Landscape planning follows, because it teaches patience and preparation that balance the reaction speed of live work.
Gear decisions come after those stages, not before. Editing can start in parallel, but limit it to culling and basic correction until your shooting is consistent.
How to tell you are improving
Progress in photography shows up as prediction and repeatability, not as a growing folder of tutorials.
- You know which setting you will change before you lift the camera.
- You shoot fewer frames per usable image, not more.
- You can explain why a frame works without describing the gear.
- Your results hold up in bad light, not only in easy conditions.
- Your edits take less time and use fewer moves.
- Your portfolio looks like one body of work rather than a set of experiments.
The reverse signals are worth noticing too: buying gear to solve a technique problem, collecting presets instead of making decisions, reading about editing instead of culling a shoot, and chasing a new genre before the last one is repeatable.
Where guides stop helping
A guide can shorten the distance to a working method, but it cannot supply repetitions, access, or honest feedback. It cannot tell you what the light will do at a specific venue on a specific night. It cannot make a slow lens fast or recover a moment you did not anticipate. And it cannot replace the review loop, which is where most of the learning happens.
Read one stage at a time, do the practice task, and judge yourself against the standard before moving on. The pathway is only useful if it changes what you do on the next shoot.