Read the Room and Its Light Before Doors
Arrive early enough to see the room empty. Note where the stage wash lands, whether a front truss throws hard beams into the first rows, and how much light leaks in from the bar, the lobby, or an exit sign near the stage. A low-ceiling club with one overhead key reads nothing like a theatre with a flown rig and side booms, and the difference changes where you stand and what settings you carry in.
Watch the colour of the wash as it changes. Deep blue and magenta make a face look flat and can clip the red channel before you notice on the back screen. Soundcheck gives you a free preview: the first song often opens in near darkness and then lifts, so a setting that works for the opening bar is rarely the one you keep.
Find out where the barricade sits and whether a photo pit exists at all. Some rooms have a wide pit; smaller venues expect you to shoot from the crowd with a barricade at your back. Ask security where they want photographers during the set rather than discovering it mid-song.
Confirm Access Before You Travel
Photo credentials usually come from the artist's publicist, the tour manager, or the venue's marketing contact. Ask early, in writing, and include the show date, the outlet you shoot for, and what you intend to do with the images. A verbal yes at the box office is not a credential; a written approval you can show at the door is.
Expect the visiting conditions to be specific: a three-song window, no flash, house photography only, and sometimes an approval step before anything goes public. Read them before you accept them. A pass that comes with approval rights over your edit is a different job than one that comes with credit requirements, and both are worth knowing before you travel.
Confirm where photo call begins, who escorts you in, and whether you must leave the pit after the window closes. If the shoot is for a specific use, such as a tour announcement or a venue season recap, say so up front so the person granting access knows what the images are for.
Build a Kit That Survives the Dark
One fast prime does more for live music than a bag of slow zooms. A 24–35mm lens on full frame covers the pit and the front rows; an 85mm covers a performer who stays mid-stage and gives you separation from the backdrop. If you carry a zoom, take the fastest one you own and accept that you will shoot it wide open for much of the night.
Bring a second body. Swapping lenses in a dark pit, with a crowd pressing behind you and a song ticking down, is how mounts get damaged and frames get missed. Set the backup to the same exposure logic, keep it on a strap you can reach without looking, and treat it as the body you grab when the light drops.
Pack more power and storage than the set list suggests: spare batteries because continuous autofocus drains mirrorless bodies quickly, spare cards, a lens cloth for haze and sweat, gaffer tape, and earplugs. Earplugs are not a concession to age; monitoring fatigue over a three-hour show is part of coming home with usable work.
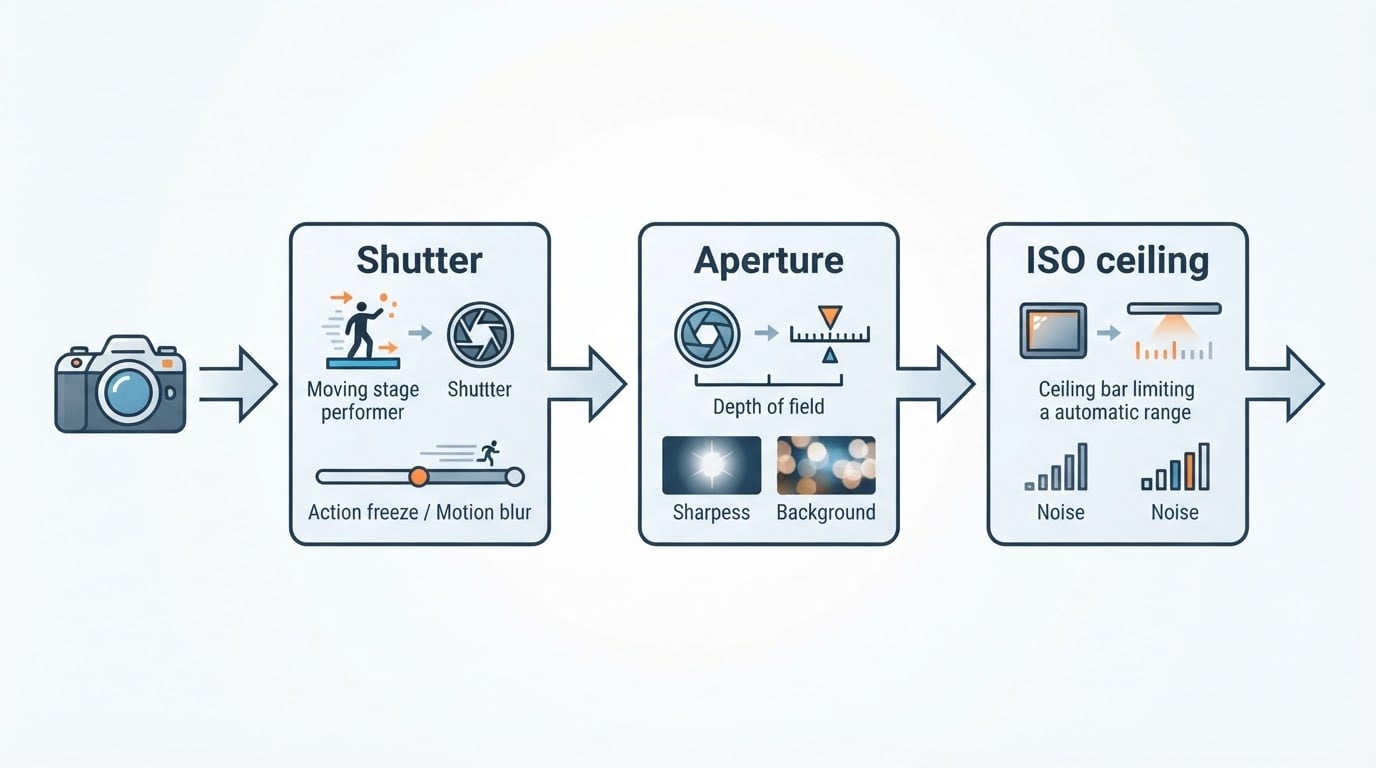
Speed has a cost, and it decides your look. Shooting at f/1.4 buys shutter speed and separation but leaves almost no depth of field, so a singer's eyes can be sharp while the microphone and hands fall away. Stop down to f/2.8 when the light allows if you want the instrument in the frame to read, and accept the higher ISO that comes with it. There is no setting that solves both ends of that trade; pick which one the image needs.
Set Exposure for Light That Changes Every Song
Manual exposure with auto ISO inside a range you control is the most predictable setup in a venue. Set the shutter first. Around 1/250 freezes most gestures and hair movement; drop toward 1/125 for a slow ballad and expect some blur as part of the frame; push toward 1/500 for drummers and anyone who jumps. Choose the aperture your composition needs, then let auto ISO cover a working range with a ceiling you are willing to live with.
Meter for the face, not for the frame. A reading taken from a lit cheek keeps a spotlight solo from blowing out and stops the rest of the stage from dragging the exposure down. Protect the highlights and lift the shadows later; a clipped channel on a face cannot be recovered, while blocked shadows can usually be opened enough to read.
Check the histogram after the first thirty frames of each song rather than after every frame. Stage light moves in cues, and a set of frames that looks right on the back screen can be a stop hot once you see it on a calibrated display.
Use continuous autofocus with subject detection where it tracks reliably, and switch to a single point when haze, laser patterns, or a busy backdrop pull the focus away. On the darkest songs, prefocus on the microphone stand or the monitor wedge and let the performer walk into the plane instead of chasing them across the stage.
Work the Pit and Your Sightlines
Plan two positions per song instead of running the length of the barricade. A wide frame from centre and a tight frame from stage left usually beats five rushed angles, and moving less keeps you out of the way of security and the front row.
Get low for performers who lean into the crowd, and shoot slightly upward to keep the stage light behind them rather than flat on their face. Check the drum riser early: a seated drummer is often best framed from a side angle where the kit and the hands both read, and that angle is usually available from the pit corner rather than the centre.
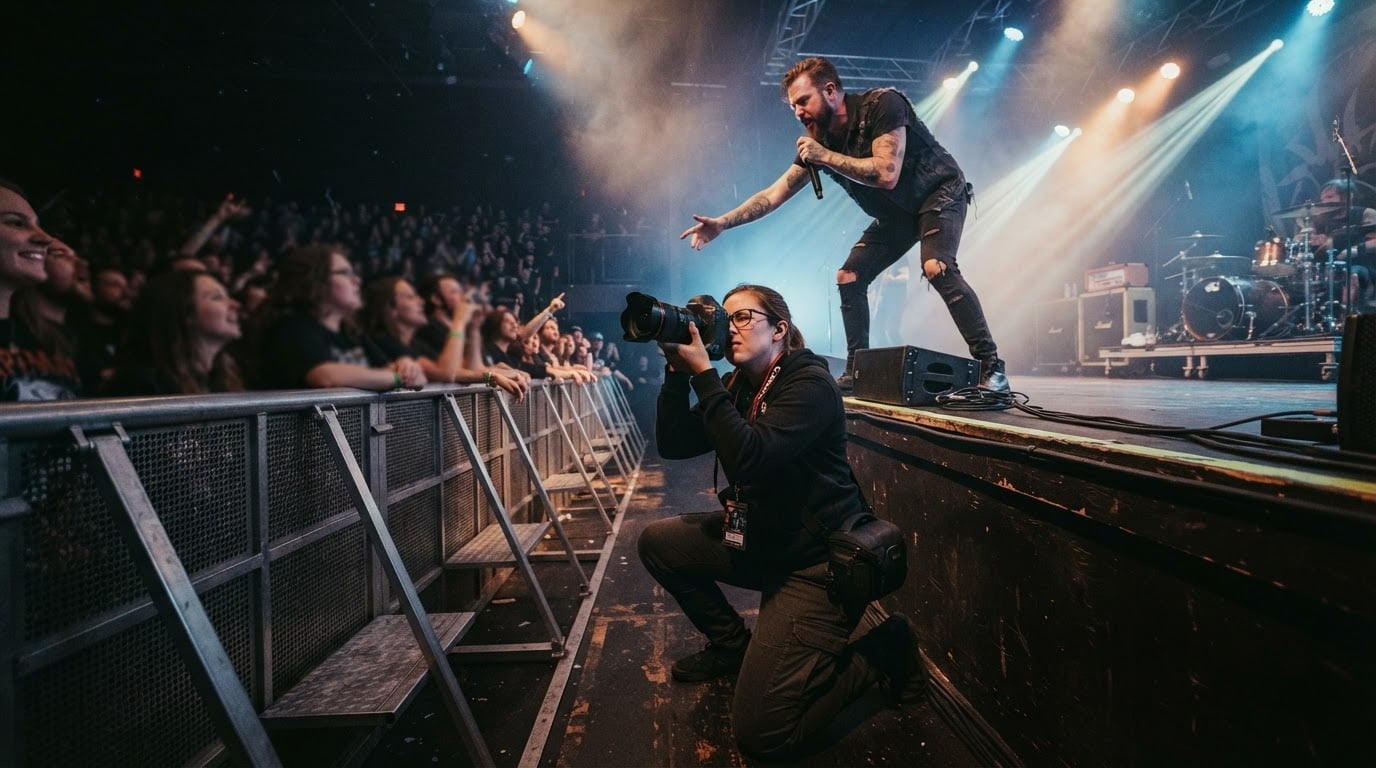
Move between songs or during instrumental breaks, never across the artist's eyeline mid-verse. If you are blocking a fan's view, crouch, shoot from a knee, and keep your bag against your body instead of on the floor where someone will trip on it.
Handle Crowds and Etiquette
A photo pass buys you a place in the pit, not the right to push through a crowd that paid to be there. Ask before you step in front of someone, keep your elbows in, and give security the space they need to work. When a crowd surfer comes over the barricade, lower the camera and help rather than shooting through it.
No flash, and not only because the venue said so. Flash flattens the stage lighting you spent the evening reading, draws attention away from the performance, and in most rooms is a condition of your access. Work with the light that exists and let the high ISO earn its keep.
Respect the artist's frame. If a performer signals you back, back off without discussion. Some songs are deliberately dark, some moments are for the audience, and a photographer who reads that earns repeat access that no credential can buy.
Cull Fast, Then Edit for One Consistent Look
Import, back up to a second drive, and cull in one pass at full screen. Grids encourage keeping frames that look fine at thumbnail size and fall apart at full resolution. Flag the keepers, reject the rest, and resist editing before the cull is done; a set with forty frames that belong together reads better than a hundred that do not.
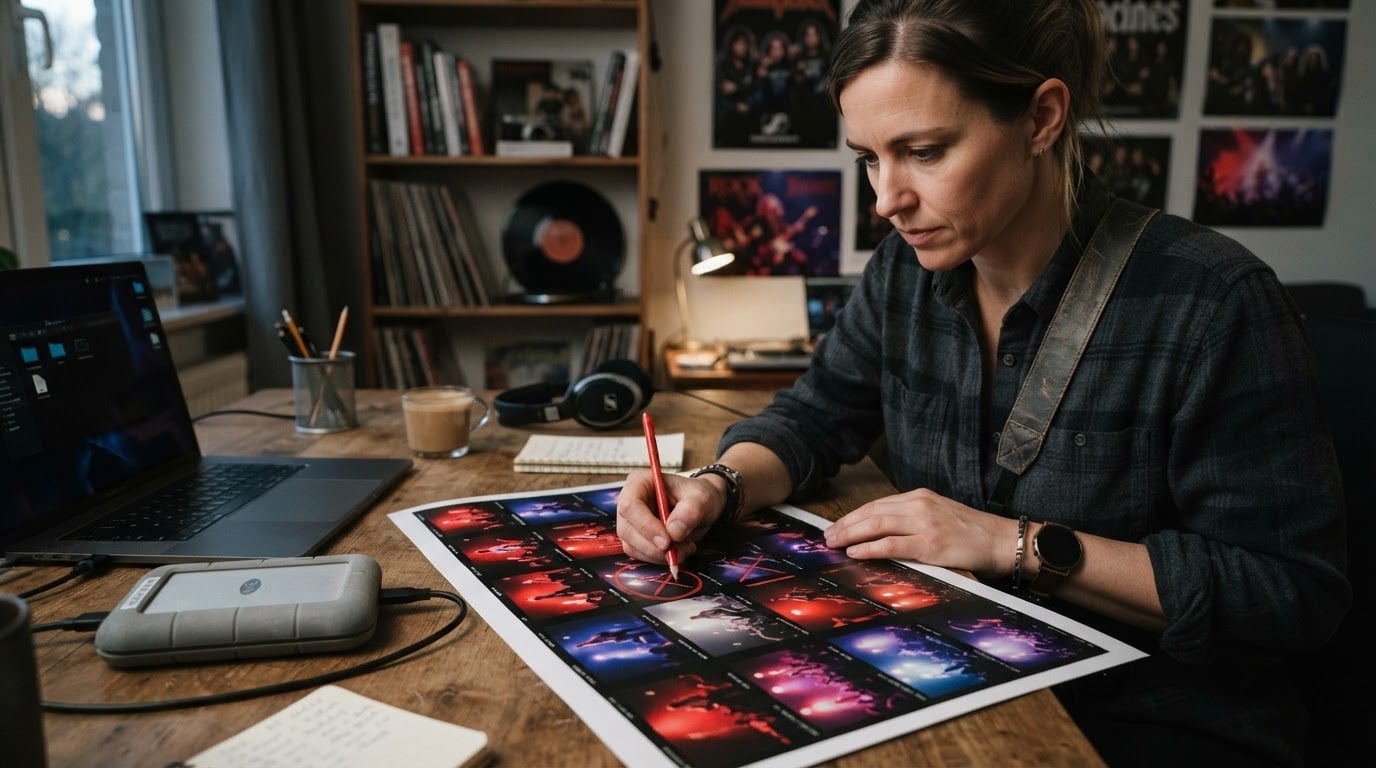
Pick one exposure and one white balance reference for each lighting state, then apply edits in groups: one set per song, or per lighting cue. This is what makes a night look like a night rather than five different shoots. Correct the colour cast from coloured wash toward something plausible for skin, not toward neutral grey.
Restrain noise reduction and skin smoothing. Over-processed live frames lose the texture that makes a performance photograph feel live, and heavy smoothing turns faces waxy under coloured light. Sharpen after noise reduction, and check the result at the size the images will actually be seen.
Choose a sequence with a point of view: a wide establishing frame, mid shots that show the performance, tight expressions, one crowd frame, and one detail such as a set list or a pedalboard. Sequence the delivery in shooting order or in a narrative arc, and cut anything that repeats a frame you already used.
Deliver Files the Band and the Venue Can Actually Use
Name files so they sort without a caption: venue, artist, date, and a frame number is enough. Whoever opens the folder at midnight should be able to identify the show from the filenames alone, which also saves you a round of email questions.
Deliver two sizes in one folder: full-resolution JPEGs for print and press, and web-sized files that a venue social account can post without opening an editor. Include a plain-text file with credit wording, the date, the venue, and any use conditions that came with the credential. If approval was part of the arrangement, say when the files will be ready for review and hold to that date.
State usage in the delivery message rather than assuming it. Editorial use, the artist's own promotion, and a venue's paid advertising are three different permissions, and the person receiving the files needs to know which one they have. If you are unsure of the terms you were granted, ask before you send the gallery.
A finished delivery passes four checks: the band can identify the show from the filenames, the venue can post a frame without asking for a different size, the whole set looks like one night, and no image needs a caption to explain what is happening.
Where a Library Shortens the Learning Curve
Every step above has details that take years of shows to notice, and some of them are better studied between gigs than discovered on the job. Practical Photo Notes publishes a free, ungated library of concert and live music technique guides, with no email wall in front of them, covering sharpness and focus under low light, motion blur, composition and framing, small-venue conditions, and the basics of a first show. Companion guides cover cameras, lenses, and bags chosen for concert work, and the articles come from a working concert photographer whose live coverage runs back to 2018. Read a guide before a show you are unsure about, then test one idea at a time in the pit; the workflow above still decides whether the images hold together.
What to Change If the Set Goes Wrong
Low light that defeats your ISO ceiling, a three-song window that starts before you reach the pit, or a lens that hunts on a backlit performer are all recoverable. Raise the shutter only as far as the gesture requires, take the wide frame first in case the window closes early, and switch to prefocus on a fixed point when autofocus stops being reliable.
If the whole set comes back soft, check the shutter speed and the focus mode before blaming the venue. If the colour is unusable, the white balance reference was probably taken under a different cue. If the delivery gets rejected, the terms or the file sizes were usually the reason, and both are cheaper to fix before the next show than after.