How large metal photo prints are chosen
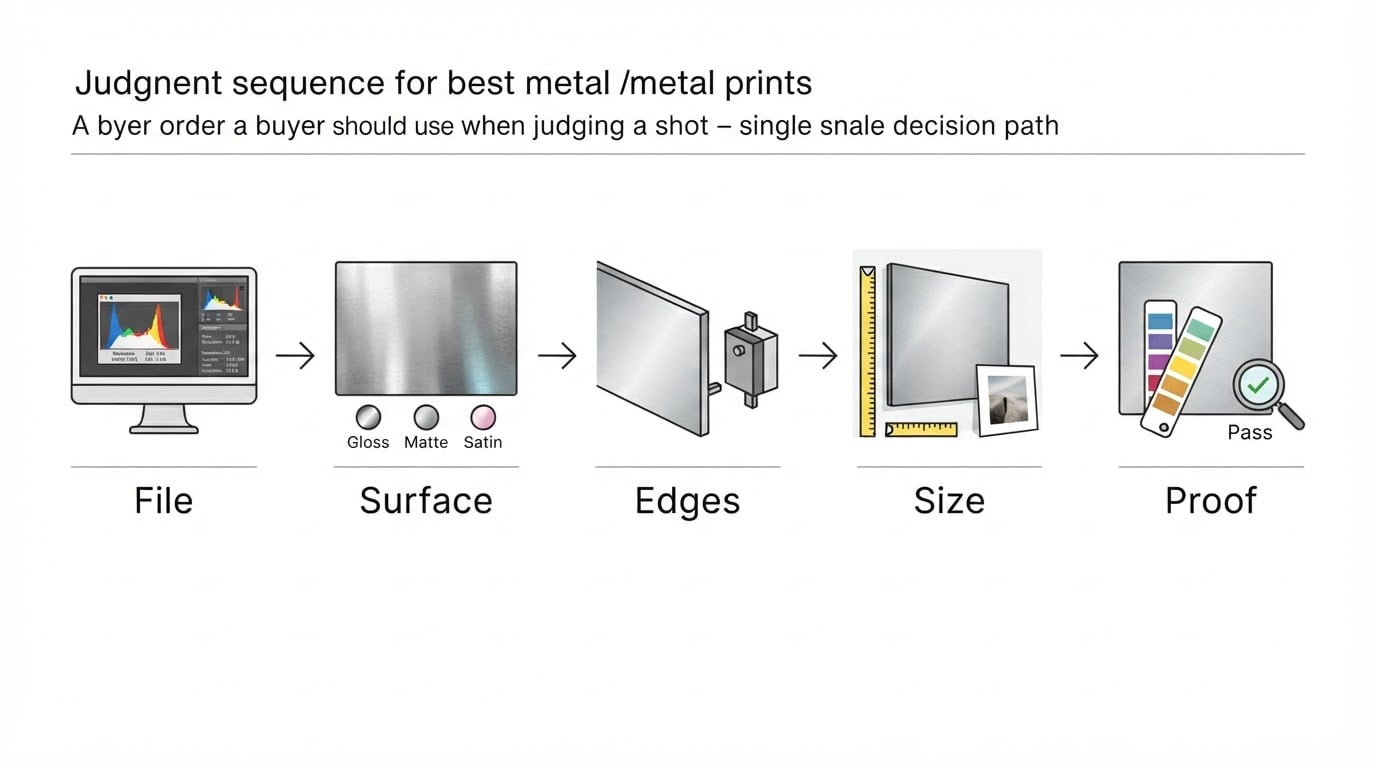
Work outward from the wall. Decide the finished size the room actually needs, check that the file still resolves detail at that size, settle the panel and edge finish, then confirm the hanging system and the light. Packaging, shipping, and the crop preview are checks on those four decisions rather than separate choices.
The order is what makes the process calm. Start from a size you like and work backward, and every later step becomes an argument with the size already fixed in your head: you accept a soft file, or a crop that cuts through the subject, because changing the size feels like starting over. Starting at the wall keeps the trade-offs visible while you can still change your mind.
Key answers at a glance
- Size comes from the wall. Judge a candidate size against the furniture or the span it hangs over, then confirm it from the distance people actually stand.
- Resolution is arithmetic. Divide the file's pixel width by the print width in inches; that quotient is the detail the printer has to spread across the panel.
- A big panel needs a plan for flatness. Wide sheets flex and can bow, so agree on the hanging hardware and the wall anchors before you order.
- Oversized work may arrive as two pieces. A single metal sheet has a practical limit, so ask early whether your size ships as one panel, as a tiled set, or as another substrate.
- Freight is a different delivery. Ask who carries it, whether a liftgate or a signature is needed, and how damage is handled before you sign.
- Metal reflects. Finish and room light decide how much of the image survives the first sunny afternoon.
- The crop preview is the last cheap fix. Aspect ratio, bleed, and edge placement are all visible there, before anything is produced.
Match file resolution to print size
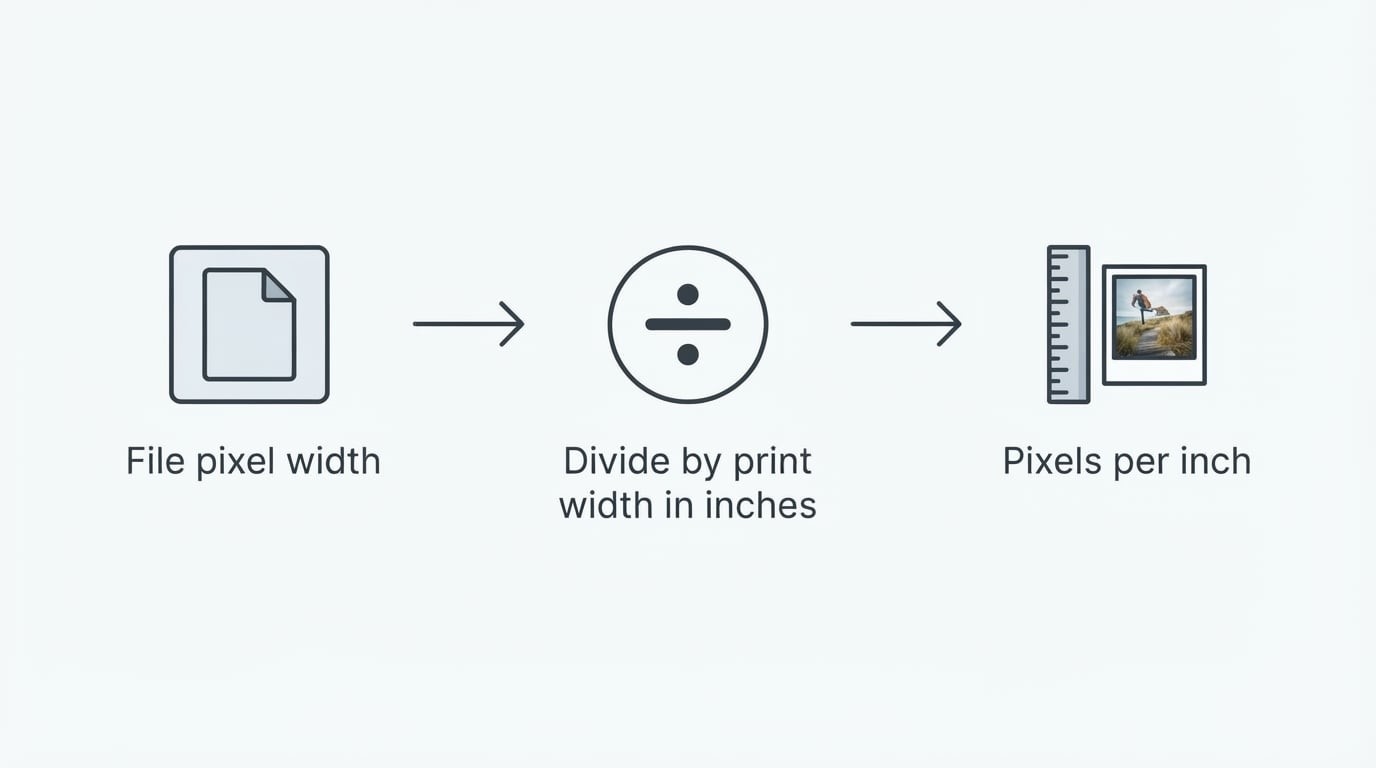
Divide the file's pixel width by the intended print width in inches, and you have the pixels per inch the print has to carry. Nothing else changes that number, so the check takes a minute and settles most arguments about whether a file is big enough.
File width | At 24 in | At 36 in | At 48 in |
|---|---|---|---|
4000 px | 167 ppi | 111 ppi | 83 ppi |
6000 px | 250 ppi | 167 ppi | 125 ppi |
8000 px | 333 ppi | 222 ppi | 167 ppi |
Read the table as a trade-off list rather than a pass mark. Wall-scale viewing, standing a few feet back, tolerates a lower figure than close inspection, because the eye resolves less detail per inch as distance grows. As a working set of criteria: above roughly 200 ppi you are safe at any normal distance, 120 to 200 ppi holds up for wall viewing, and below about 100 ppi you should either reduce the finished width or accept that the piece is meant to be read from across the room.
If the number comes out too low, three fixes exist and only one of them is free. Reduce the width, crop into the file so fewer pixels cover less panel, or accept softer detail at a distance. Upsampling does not add detail; it makes the file bigger, and the printer's interpolation would have done the same thing.
One more check belongs here: look at the file at 100 percent before ordering. Noise, a missed focus point, and a stray sensor spot all survive the jump to a large panel far better than they survive a phone screen.
Set viewing distance and wall scale before choosing a size
Measure the wall, not the file; a print is large only relative to the surface it hangs on. A 40-inch panel over a narrow console crowds the wall, while the same panel over a wide sofa looks under-scaled.
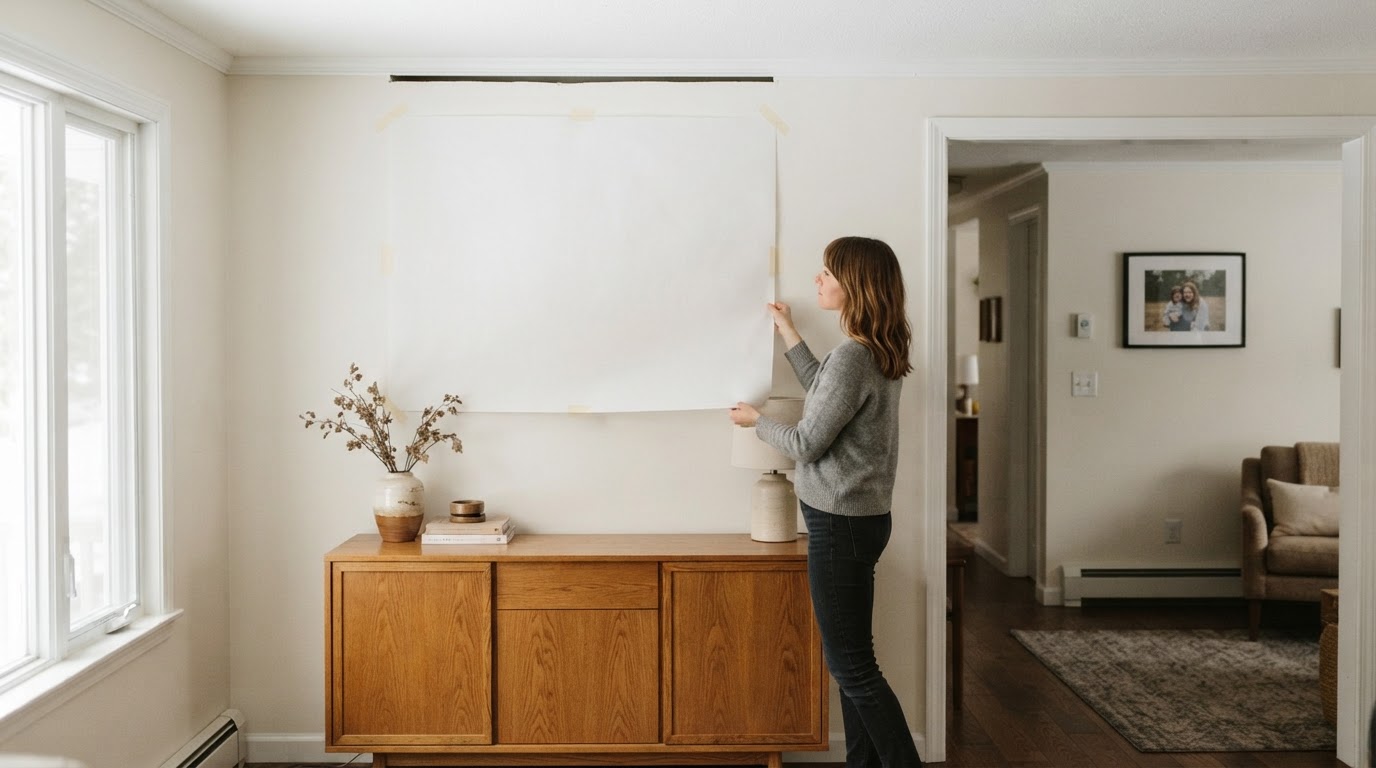
Two conventions help you compare candidates. For furniture, a piece about two-thirds to three-quarters of the furniture's width reads as deliberate, while a piece clearly narrower reads as an accent. For height, gallery practice puts the centre of the image at roughly eye level for an average viewer, usually described as a fixed distance from the floor rather than a fraction of the wall. Both are conventions and not laws, so the cheap test is a mock-up: cut paper or cardboard to the candidate size, tape it to the wall for a day, and look at it in morning light and again at night with the lamps on. The mock-up also shows the true viewing distance, because you will step back to see it.
Viewing distance then decides how much resolution you need, which is why this section comes before the file check in practice. A panel in a hallway is seen at arm's length; a panel above a staircase is seen from across the room. Choose the distance that describes the main use, and let it relax the resolution requirement if the size is worth more to you than the sharpness.
Panel rigidity and hanging a wide sheet
Rigidity comes from the panel and its mounting, not from the printed image. Metal sheets are stiff at small and mid sizes and progressively more willing to flex as they get wider, so the hanging system matters more with every additional inch.
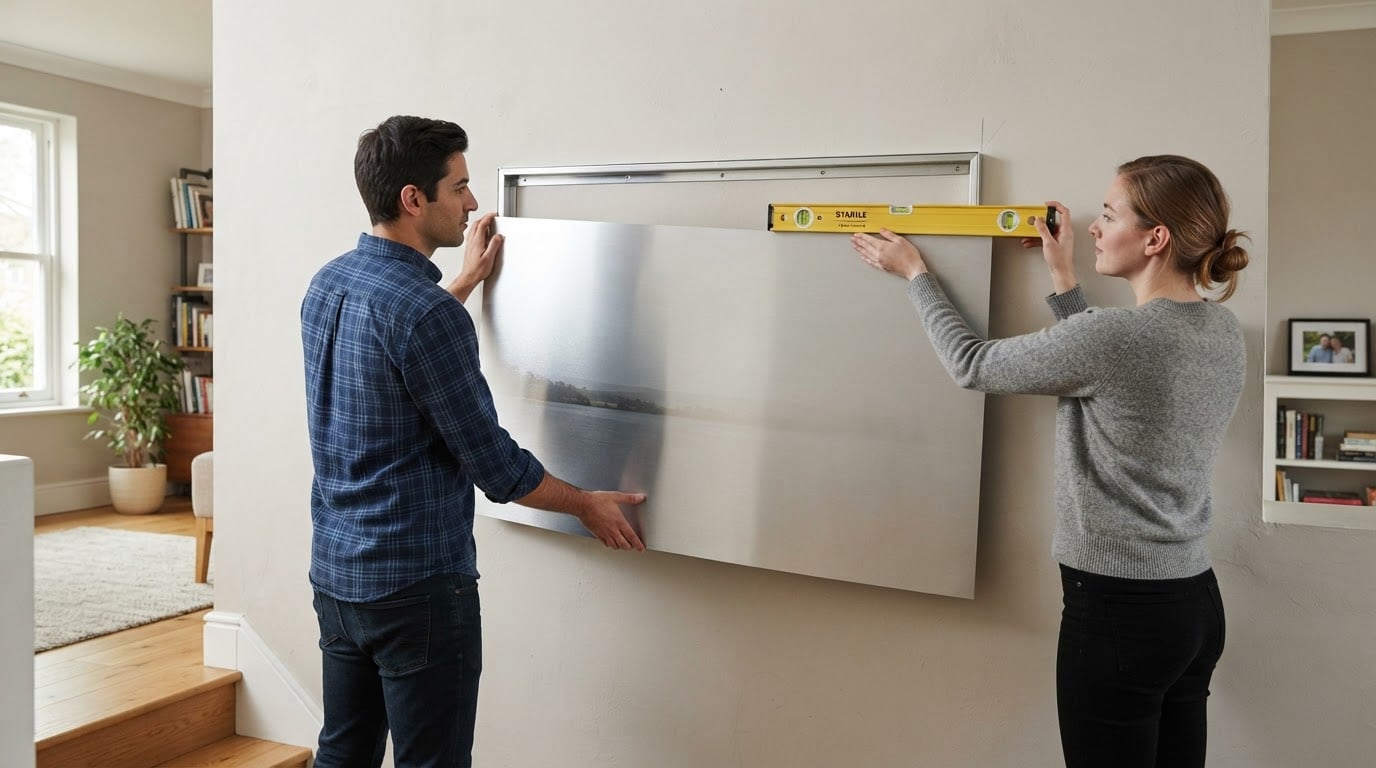
Ask the printer four questions before ordering: whether the hardware is included, what type it is, what the finished panel will weigh, and what wall it expects. The answers determine whether you need to find studs, add drywall anchors rated for the load, or plan a cleat that spreads the load across a wider span. A float mount that holds the panel off the wall hides the fixings and shows the sheet edge; a frame adds visual weight and can straighten a panel that wants to bow. Both are legitimate, and both change the finished look, so choose before the file is sent rather than after the piece arrives.
Then look at your wall. Plaster, drywall, brick, and a stud-free span behind a fireplace all change the fixing strategy, and none of them can be judged from a product page. If the panel goes above a stairwell or on a wall you cannot reach easily, settle the installation before you order, because a second pair of hands and the right anchors are part of the plan, not an afterthought.
Seams and edges on oversized pieces
A metal print is a single continuous sheet, so oversize work is solved one of two ways: a size the sheet can carry, or a set of panels that together make the image. There is no seam inside one sheet; there are seams between sheets.
When a piece is split, the image has to be composed for the split. Diptychs and triptychs read best when the break falls in quiet space such as sky, water, or a blank wall, and worst when it cuts through a face, a horizon line, or the point of focus. Ask where the cut will fall before you approve the proof, then check that the crop leaves enough room on each side of the break.
Edges are a separate decision. A square cut leaves a clean line and a visible metal edge; rounded corners soften the profile; a float mount shows the edge and the shadow gap; a frame hides the edge entirely. Bleed matters too: if the image runs to the very edge of the panel, ask whether the file needs a small bleed allowance and whether the cut can drift by a fraction of an inch. Any reassurance worth having on an oversized order is worth confirming in writing.
Shipping and handling a big panel
Oversize prints arrive as freight more often than as a parcel, and freight has its own rules. Ask who the carrier is, whether delivery is to the door or inside, whether a liftgate is needed, and whether someone has to sign. Then ask the question that actually protects your money: what happens if the carton is damaged.
Inspect before signing. A metal panel is vulnerable at the corners, and a carton can look intact while the sheet inside is bent. Open it in front of the driver if the delivery allows it, photograph the packaging and the damage, and keep the original packing until you have confirmed the panel is flat. Damage claims usually depend on the packaging being preserved and the problem being reported inside the seller's stated window, so confirm that window and who pays return freight for a damaged piece before you order, not after.
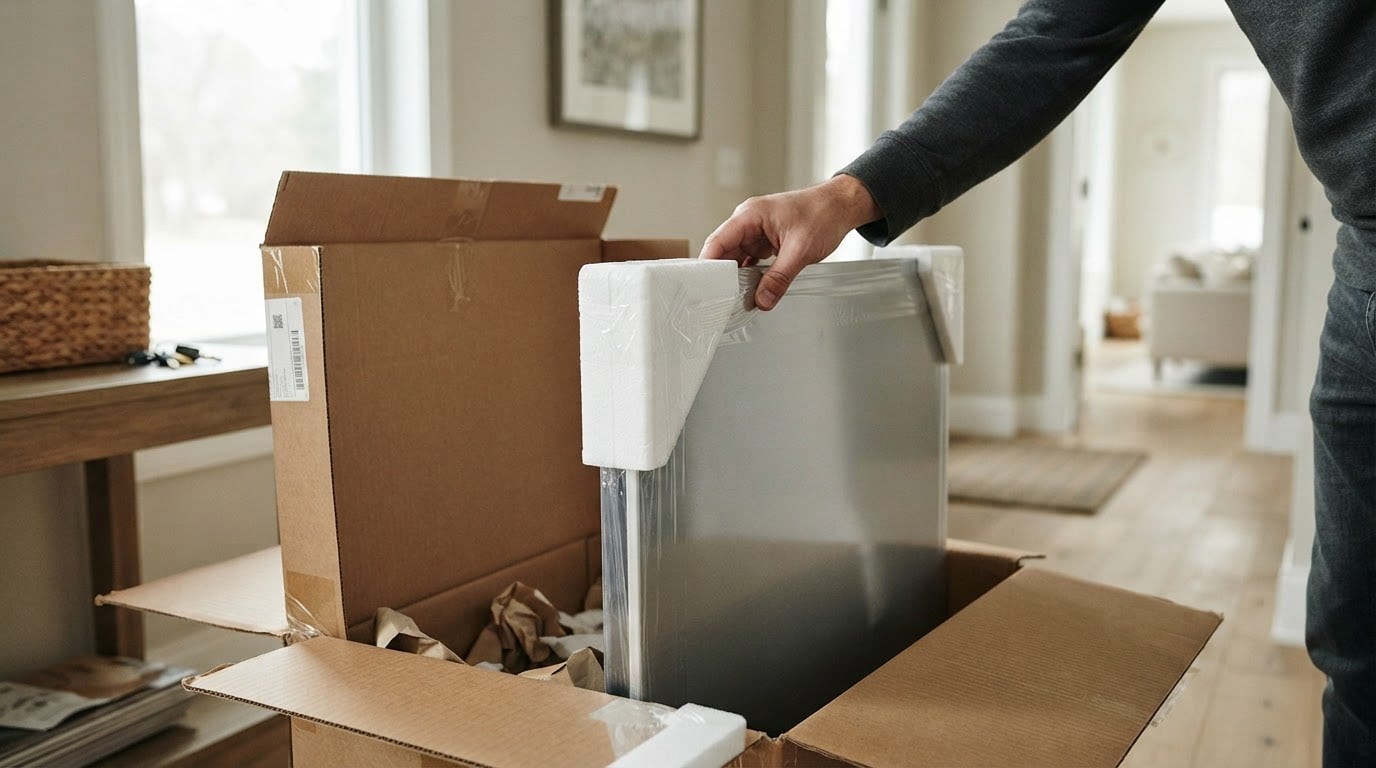
Handling takes two people above a certain size, gloves for the edges, and a plan for where the panel goes before it is unwrapped. Leaning a wide sheet against a wall for a week, resting on one corner, is how a flat panel stops being flat.
Lighting and glare on the wall
Metal prints reflect, so the finish and the room decide how much of the image you can see. A gloss finish gives the deepest blacks and the sharpest reflections; a matte or satin finish trades a little depth for a calmer surface under a window.
Test the room before committing. Note where the windows are, where the ceiling lights fall, and where you will stand to look at the piece. Direct sun on a glossy panel can wash out the image for part of the day, and a spotlight aimed flat at the surface puts a bright patch in the middle of the work, while raking light from one side is kinder. If the wall gets strong daylight, a matte finish or a position that avoids the reflection angle solves more than any retouching of the file.
Then consider the long view. Fading is slow, and it depends on the substrate, the finish, and how much direct sun the piece receives, so if the wall is a sun trap, ask what the finish and process are rated for instead of assuming.
Preview the crop before you order
The crop tool is where most disappointments are caught, because a file's aspect ratio rarely matches the size you ordered. Open the preview at the final size, confirm the ratio, and move the crop deliberately: check the edges, the corners, and anything that will be cut.
Work through the same four checks every time. Confirm the aspect ratio against the size; look for the bleed allowance if the image runs to the edge; check that the crop keeps the subject clear of the cut; and view the crop at 100 percent for noise and focus. If a digital or physical proof is offered, take it for an oversized order or a piece you have not printed before. A physical proof also settles the two questions a screen cannot answer: how the finish behaves under your light, and whether the size feels right on the wall.
A New England landscape example
Coastal and landscape photographs make the checks concrete, because the horizon and the sky expose every mistake at wall scale. A tilted horizon is obvious instantly in a large metal print, and a noisy sky that looked fine on a phone becomes the first thing a visitor notices.
Chris Sidoruk Media publishes a catalogue of New England landscape photographs, 13 titled prints of shoreline, weather, and seasonal light, offered as made-to-order metal or fine-art paper prints from $50.00, with production that runs about four business days before shipping within the United States. Its product pages carry structured detail such as location, subject, style, orientation, and available formats, alongside interior mock-ups that show scale in a room. That combination is what the decisions above need: an orientation and a mock-up for wall scale, a format choice for the light and the finish, and a fixed list of sizes to check against the file.
For this kind of work, the resolution check usually decides the size. A frame with a broad sky is mostly smooth tone, which tolerates a lower pixels-per-inch figure than a frame full of detail, but the horizon still has to stay clean. If the size you want pushes the file below about 100 ppi, reduce the width and let the wall do the rest.
Checklist before checkout
Run this list in order; each item has a completion standard rather than a feeling.
- Size confirmed against the wall. Complete when a paper mock-up has hung there for a day and you still like it from the standing distance.
- Resolution calculated. Complete when pixel width divided by print width is a number you accept for that distance.
- Finish and edges chosen. Complete when you know whether the edge is square, rounded, floated, or framed, and whether the file needs bleed.
- Panels counted. Complete when you know whether this is one sheet or a set, and where the break falls.
- Hanging hardware and anchors agreed. Complete when the hardware type, panel weight, and wall construction are all written down.
- Delivery terms checked. Complete when you know the carrier, the delivery conditions, the inspection step, and the damage window.
- Light assessed. Complete when you have watched the wall at the time of day the sun reaches it.
- Crop and proof approved. Complete when the preview has been checked at 100 percent and, for an oversized piece, a proof exists.
The one limitation worth stating plainly: nothing here tells you the largest size a given lab can produce, because that depends on the process, the sheet, and the shop. Ask for that constraint at the start of the conversation, and the rest of these decisions fit into an afternoon.