Red Stage Light Is a Channel Problem, Not Just a Dark Room
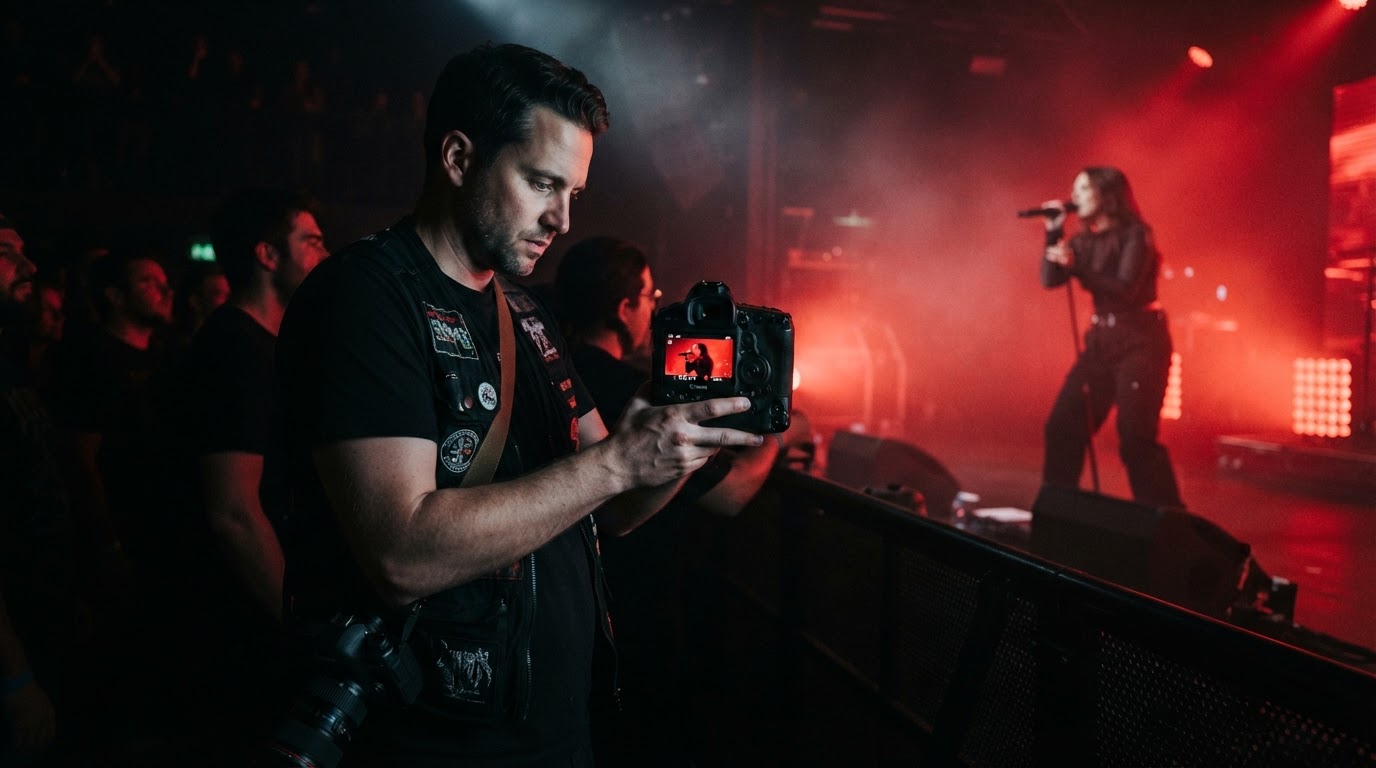
Deep red and magenta stage lighting is not simply a darker version of a normal show. It is a narrow-band color problem. A red wash pushes one color channel hard while green and blue receive very little light, so the camera screen can show a dim frame while the red channel is already at its ceiling. Magenta is its own case, because it mixes red and blue: two channels run hot at once, and the clipping risk is harder to judge by eye. Treat red and magenta shows as a channel-protection problem first and a brightness problem second.
That distinction decides what you check on location, what you expose for, and what you can honestly claim in editing. A frame with a clipped red channel cannot be rescued by a global brightness change, because the missing information was never recorded. The practical goal is to protect the channel closest to clipping, then edit with restraint.
What the Histogram Is Really Telling You Under Red Light
Read the channels, not the brightness average
A luminance histogram summarizes brightness rather than showing each color channel separately. A saturated red wash can pin the red curve against the right wall while the overall image still looks dark. If your camera offers an RGB histogram, check it; otherwise inspect per-channel clipping in your editor and review representative frames. A red curve pressed against the right edge warns that important red highlights may be clipping.
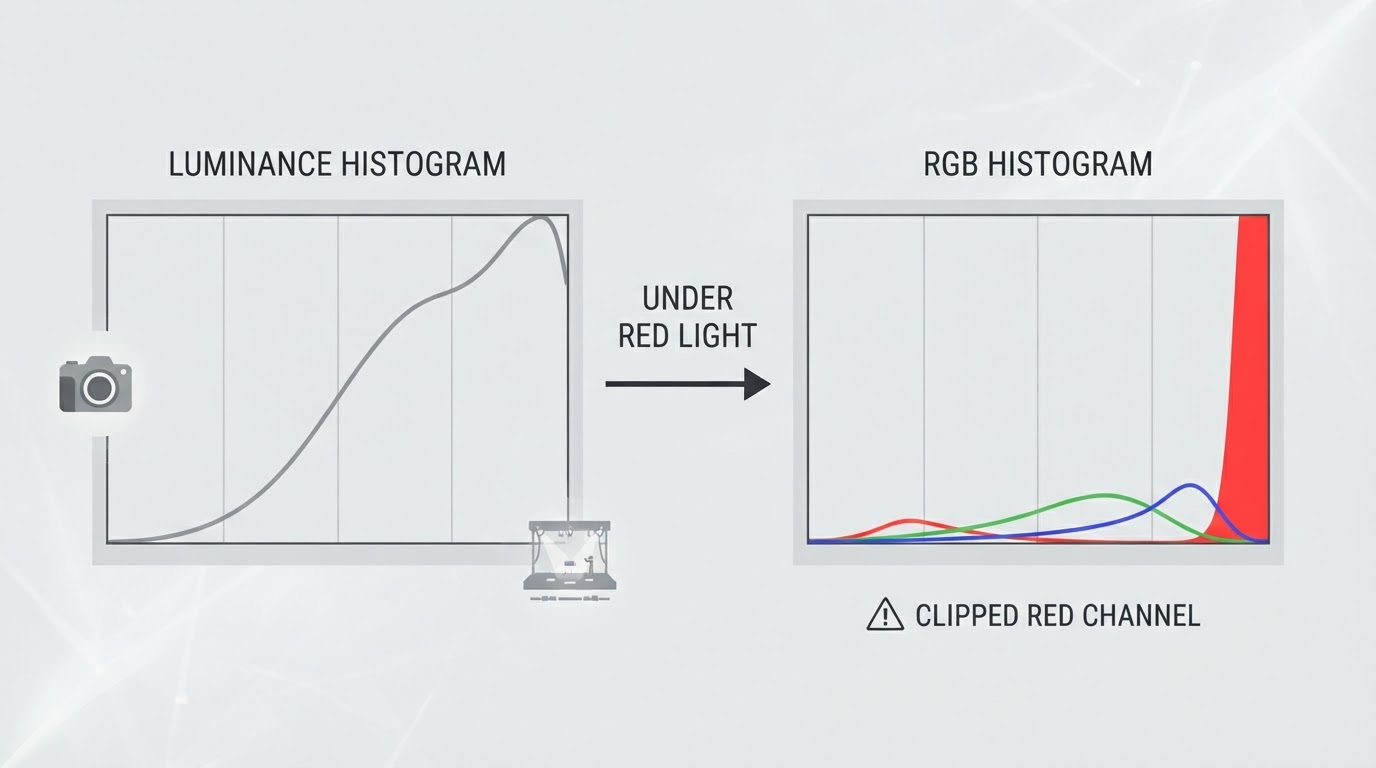
One more caution: the histogram on the camera or in an editor is a rendered interpretation of the file, not a guarantee about the raw data. It reflects how the current settings are being interpreted, so treat it as a strong signal to verify, not as a final verdict.
Recoverable highlights versus lost detail
Highlight recovery works by using channels that still hold data to reconstruct brightness and color where one channel has clipped. It depends on information that exists somewhere in the file. RAW gives more latitude than JPEG for correcting highlights, color balance, levels, and noise, which is why working photographers treat it as the baseline for concert work (PetaPixel's concert shooting tips). But no file format can rebuild a pixel where every channel has already reached its maximum. RAW widens the range before that point; it does not remove the limit.
Capture Decisions That Protect the Red Channel
Work through these checks in order rather than chasing a settings recipe:
- Check the RGB histogram after the first frames. Red light changes quickly, and the opening songs often carry the most saturated wash. Verify the red channel before you settle into a rhythm.
- Expose for the brightest red surface that must keep texture. That is usually a face, hands, or a costume detail, not the overall darkness of the room. The room can stay dark; the red highlight cannot come back.
- Shoot RAW when the venue and your workflow allow it. JPEG bakes in the camera's contrast and color decisions before you can protect a single channel.
- Lock exposure while the wash is steady, then re-check when the lighting changes. A wash that holds for a verse can spike at the chorus, and a saturated red channel is the first thing to go.
- Read the channel, not the mood, on the LCD. A frame that looks slightly dark on the screen is easier to work with than one where red is already pressed against the right edge.
There is no single underexposure amount that works for red light, and any guide that promises one is ignoring how much of the frame the wash covers, how pink or deep the red is, and which tones matter to the picture. Judge each scene by its red channel, then adjust as the lighting changes.
Editing Red Light Without Producing Fake Color
Work globally first, then locally
Start with the broad moves: lower Highlights and Whites where recoverable red glow is hottest, and adjust exposure and white balance only as far as the image can support. An older PetaPixel red-fill tutorial uses Lightroom controls whose names have since changed; take its selective-correction idea, not its slider values or interface labels. Correct the overall cast first, then refine areas that still look wrong.
Local adjustment is where the careful work happens. Mask the performer's face or the lit skin and reduce the cast there, keeping the surrounding red wash intact. Keeping the stage red while a face reads believably is a compromise between accuracy and honesty, and it is normal for those two goals to disagree under a heavy wash.
The saturation trap
Raising saturation to make the red look vivid also exaggerates any color error on skin. Lowering saturation globally to fix the skin flattens the stage into gray. Neither global move solves a channel problem, which is why selective adjustments matter more under red light than in almost any other concert situation.
Skin-tone limits under saturated red light
When a red wash removes most of the green and blue information from skin, no slider invents it back. You can warm or cool a face slightly, and a mild correction often looks plausible, but a fully natural-looking face under a heavy red wash is usually the result of local desaturation rather than recovery. If the face cannot become honest in color without becoming fake, that is the moment to consider black and white instead of pushing further.
When Black and White Is the Honest Choice
Black and white is not a retreat from editing. It is a truthful rendering of what the sensor recorded: tone, shape, and gesture survive even when color does not.
- Use it when the red wash has removed the color information your eye wanted to see and every color correction looks invented.
- Keep the conversion straightforward. A neutral or slightly warm monochrome respects the original light.
- Avoid reaching for black and white mainly to hide noise or a busy background. The reason should be honesty about color, not concealment.
- When the frame works as black and white, the image stops pretending and starts documenting.
A Red-Light Decision Table
What you see | Histogram clue | Capture response | Editing response |
|---|---|---|---|
Dark room, an important face inside a red wash | Red channel pressed against the right edge | Expose for the face, not the room | Bring down Highlights and Whites, then mask the face |
One channel clipped, others still holding data | Red at maximum, green or blue below it | Adjust exposure if important red detail is being lost | Try highlight recovery, then accept a qualified result |
Every channel clipped in a highlight | All three at the top of the scale | Recompose or accept the loss | Leave the blown area alone; do not invent texture |
Mixed white and red lights | Red clips before the other channels | Check both the important face and colored highlights | Balance locally and keep the red source red |
Color on the subject no longer reads | Weak green and blue under deep red | Keep the RAW for later work | Convert to black and white rather than force color back |
Being Straight About Irrecoverable Detail
When the light was hot enough to saturate every channel, the photograph contains a blown highlight. Leaving it is more honest than drawing texture back from nowhere, and it is also a composition decision: a small specular area reads as light, while a blown face reads as a mistake. Compose deliberately around the highlight you cannot save, and when the image is delivered or published, describe it as it is, a document of a moment under strong light rather than a reconstruction of a scene the sensor never saw.
FAQ
Can a blown red channel be fixed in a raw file?
Only when another channel still holds usable information at those pixels, because recovery borrows from that data. If all channels are at maximum, the detail was never recorded. RAW's extra headroom only moves the point at which that happens.
How much should I underexpose for red lighting?
There is no universal number. The right exposure depends on how much of the frame the wash covers, how saturated it is, and which highlight must keep its texture. Use the red-channel histogram scene by scene and adjust as the lighting changes.
Is converting to black and white a way to avoid editing?
No. It is a response to lighting that removed the color information, and it keeps the image truthful. Forcing color back into a face that never recorded it is the greater distortion.
For the broader capture workflow, see the site's concert photography settings guide. If the file has usable color but needs a more general edit sequence, use the Lightroom concert-photo workflow. This article addresses the narrower problem of saturated red light and channel loss.