The finder has its own focus
A viewfinder is a second optical system sitting on top of the one that records the picture. On a DSLR, light from the lens reaches the eyepiece through the focusing screen, mirrors and prisms. On a mirrorless body, the eyepiece shows a small display. Either way, the last lens in that chain is an eyepiece you look through, and it has to be matched to your eye.
That match is the diopter setting. Turning the dioptric adjustment knob or dial moves the eyepiece lens to compensate for how your eye focuses, and the amount of correction is expressed in diopters. The control changes what you see in the finder. It does not touch the autofocus system, the lens elements, or the file the camera writes.
That separation is what makes the symptom worth reading carefully. When the camera focused correctly, the saved frame is sharp, and the finder still looks soft, the eyepiece adjustment is the fastest thing to check. It is not the only candidate: the eyepiece surface, the finder's own display, and condensation inside the finder all sit between your eye and the recorded image.
Test the marks the camera draws, not the scene
Focus the eyepiece on something the finder overlays: AF points, AF marks, a grid, the exposure readout, a menu. Those graphics sit in the same optical path as the image you are judging, and they are fixed, so softness in them is not subject motion. A dark stage with a moving performer tells you less here, because softness in that picture could come from subject motion, missed focus, shallow depth of field, or a dim finder signal.
Canon's manual for the EOS Rebel T8i and EOS 850D gives the sequence directly: turn the dioptric adjustment knob left or right so that the AF points in the viewfinder look sharp, and remove the eyecup if the knob is difficult to turn (EOS Rebel T8i manual, Adjusting the Viewfinder). The EOS R5 manual uses the display as its reference: turn the dioptric adjustment knob left or right to make the viewfinder display look sharp (EOS R5 manual, Using the Viewfinder).
The two pages name different targets, AF points on the T8i and the display on the R5, but the operation is the same, and both use something the camera generates rather than the subject in front of the lens. That is the practical rule: adjust on the marks, then look at the picture.
If the marks are crisp and the scene still looks soft, a diopter mismatch is not the explanation. The finder is drawing sharp graphics at that setting, so the next thing to examine is what the camera captured.
Check the file before you touch the dial
Open the frame you just shot at full size, on the camera's screen or on a computer, and look at the part you actually focused on.
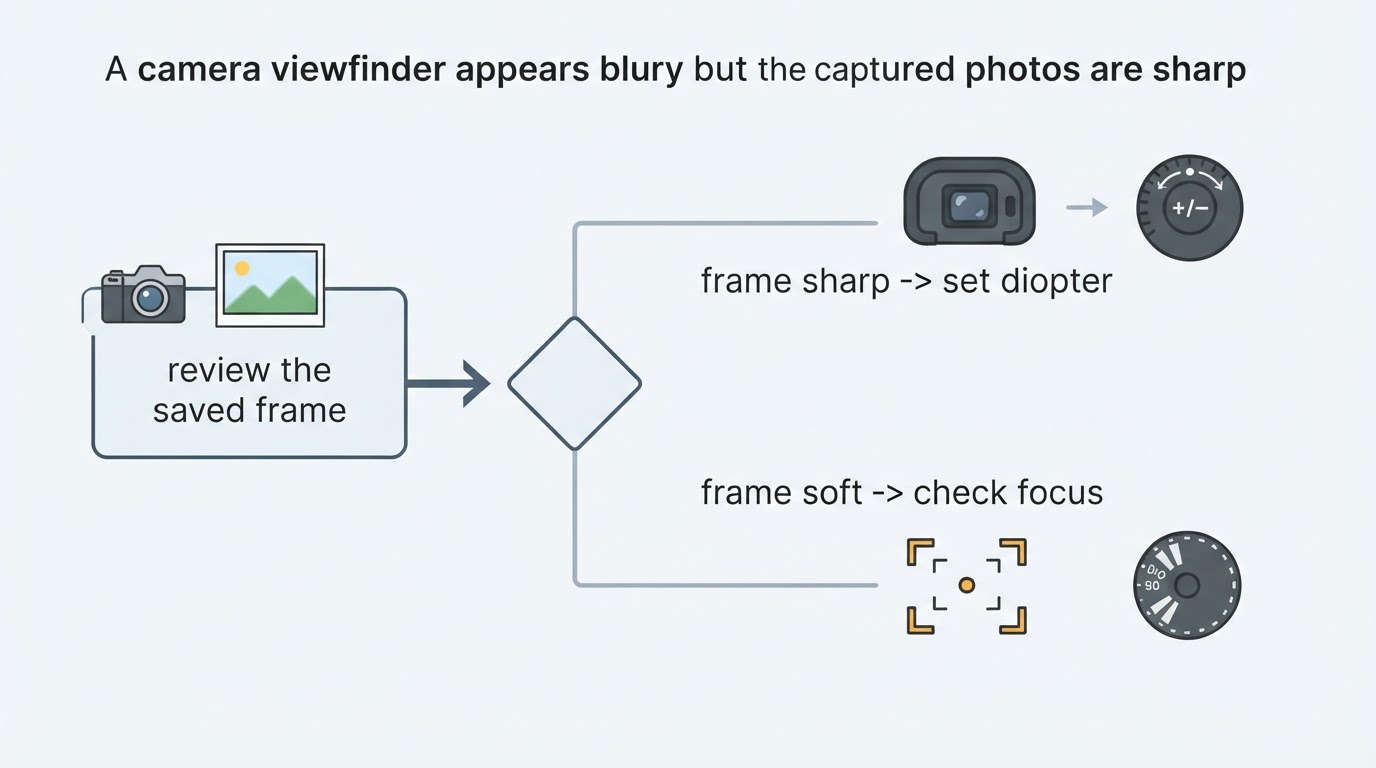
- Sharp frame, soft finder marks: the capture worked. The eyepiece adjustment is the first thing to check, and it will not alter the file either way.
- Soft frame: changing the diopter will not sharpen a recorded file, so the finder is the wrong place to start. Several causes stay in play at once: autofocus mode and where focus locked, shutter speed against the subject's motion, the aperture and depth of field in use, and a dirty front element or filter. For low-light stage work, concert autofocus settings covers which mode to use and where to place the point.
- Sharp in the center, soft where the subject sits: that can come from the active AF point or from limited depth of field, but it can also come from subject movement, a lens that is soft toward the edges at that aperture, or focus that locked slightly behind the subject. Before changing anything, check which AF point was active and what shutter speed the frame used.
Checking the file first also protects the settings you have already tuned. If the frames are good, the finder is the narrower place to look, and autofocus or drive changes address the captured image rather than what you see through the eyepiece.
Adjust the diopter on the finder's own marks
Find the control beside the eyepiece. Its name and shape vary: Canon calls it a dioptric adjustment knob on the bodies above, Sony calls it a diopter-adjustment dial. Point the camera at a plain, evenly lit surface, then turn the control slowly in one direction while watching the finder's text or AF marks, turn it back through the range, and stop where the marks look crispest.
Canon's T8i page says to remove the eyecup if the knob is difficult to turn. Sony's viewfinder troubleshooting article gives the same instruction in different words: if it is hard to operate the diopter-adjustment dial, remove the eyepiece cup before operating the dial (Sony support, article 00298900). Neither page suggests forcing the control, and neither describes taking the finder apart to reach more adjustment.
To check that the setting suits your eye rather than the moment, look away from the finder and look back. If the text still snaps into place at the same position, the adjustment is done, and the sharp frame you started with should still look sharp on the screen. If you find yourself hunting again, the control moved or your eye was accommodating while you adjusted. Whatever you normally do with your glasses while shooting, do it while adjusting as well.
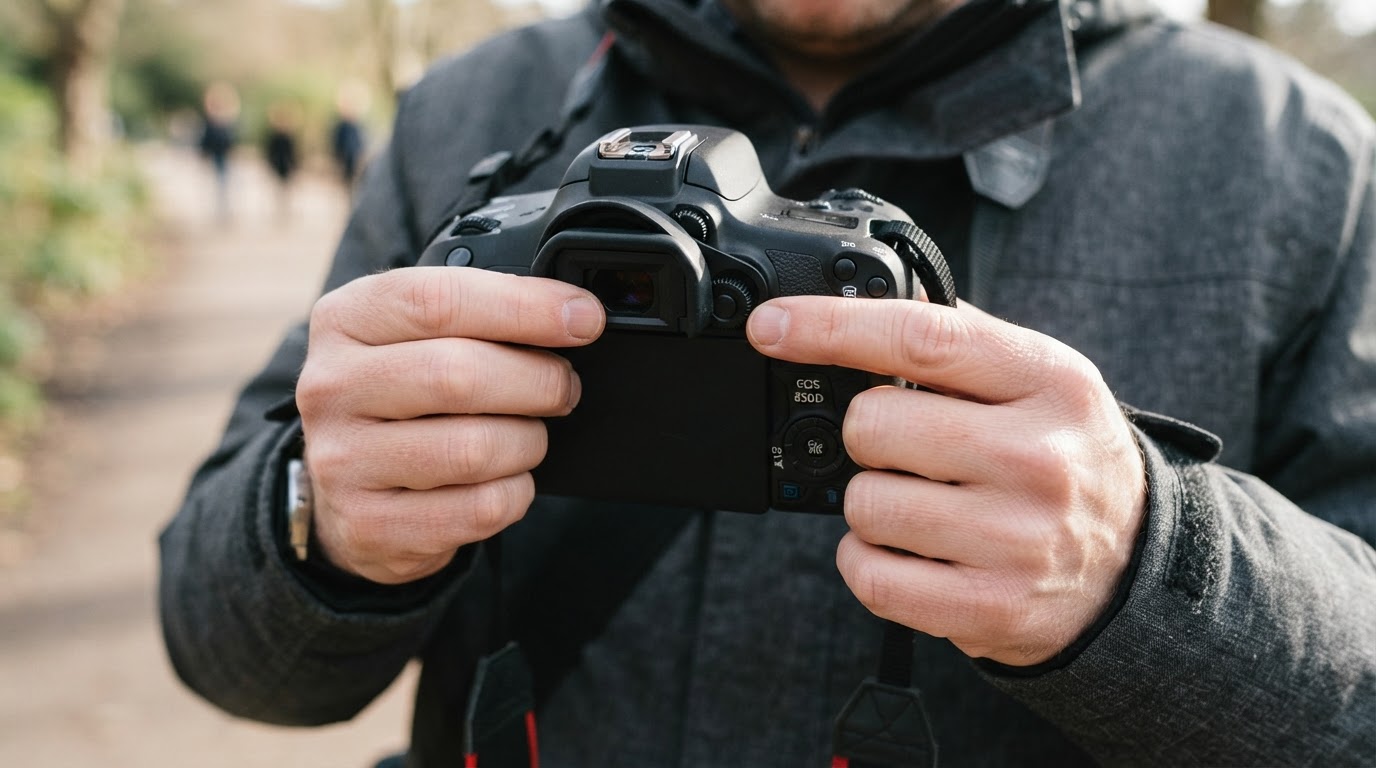
If the built-in range cannot make the finder sharp, the T8i manual page points to E series Dioptric Adjustment Lenses, sold separately. That accessory belongs to that body. Whether another camera accepts a correction lens, and which one fits, has to come from that body's own manual or accessory list, because the adjustment range and the eyecup removal method vary from model to model.
What if the display stays soft?
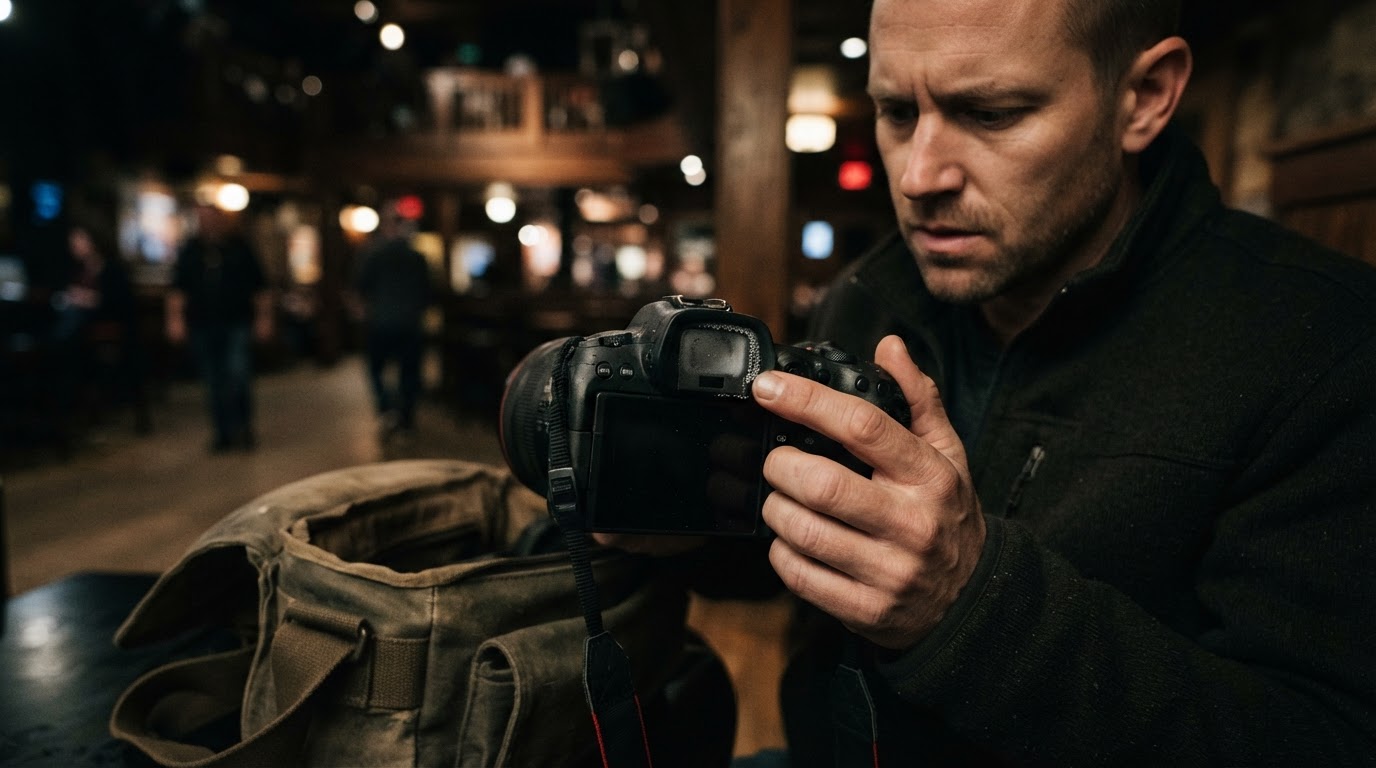
Sony's article, last modified June 4, 2025, is written for blurry or distorted electronic viewfinder images and gives an ordered list, checking the finder after each step: adjust the diopter dial according to your eyesight until the display appears clearly in the viewfinder, set Focus to Auto, make sure the lens and viewfinder are clean, make sure the inner surface of the lens is not fogged, and, if moisture condensation has occurred, turn the camera off for at least an hour and power it on again. That hour is Sony's procedure for the fogged lens its article describes; it is not a fixed cure time for every soft finder. If those documented checks do not resolve the display problem, the article says service may be required.
Much of that list sits outside the eyepiece. A dirty eyepiece surface veils the finder, and cleaning it is one of the normal checks. Fogging is a separate fault with its own cause: cold gear brought into warm, humid venue air condenses moisture on the glass and inside the finder, and no diopter setting clears it. Lens fogging at concerts covers preventing and managing that condensation, which is a different problem from an eyepiece mismatch.
The list also separates the finder from the file. Focus set to Auto addresses a soft photograph, and cleaning the lens addresses a soft photograph. The diopter step is the one that affects only what you see through the eyepiece.
If the finder text cannot be made crisp at any setting, or the image is distorted rather than evenly soft, work through the checks the body's own manual documents. Sony's guidance for its cameras is that service may be required when those normal steps do not resolve the display problem. A camera article cannot assess anyone's eyesight; it can only describe how the finder adjustment works and how to tell it apart from a capture problem.