Start With Continuous Autofocus, Then Choose What It Tracks
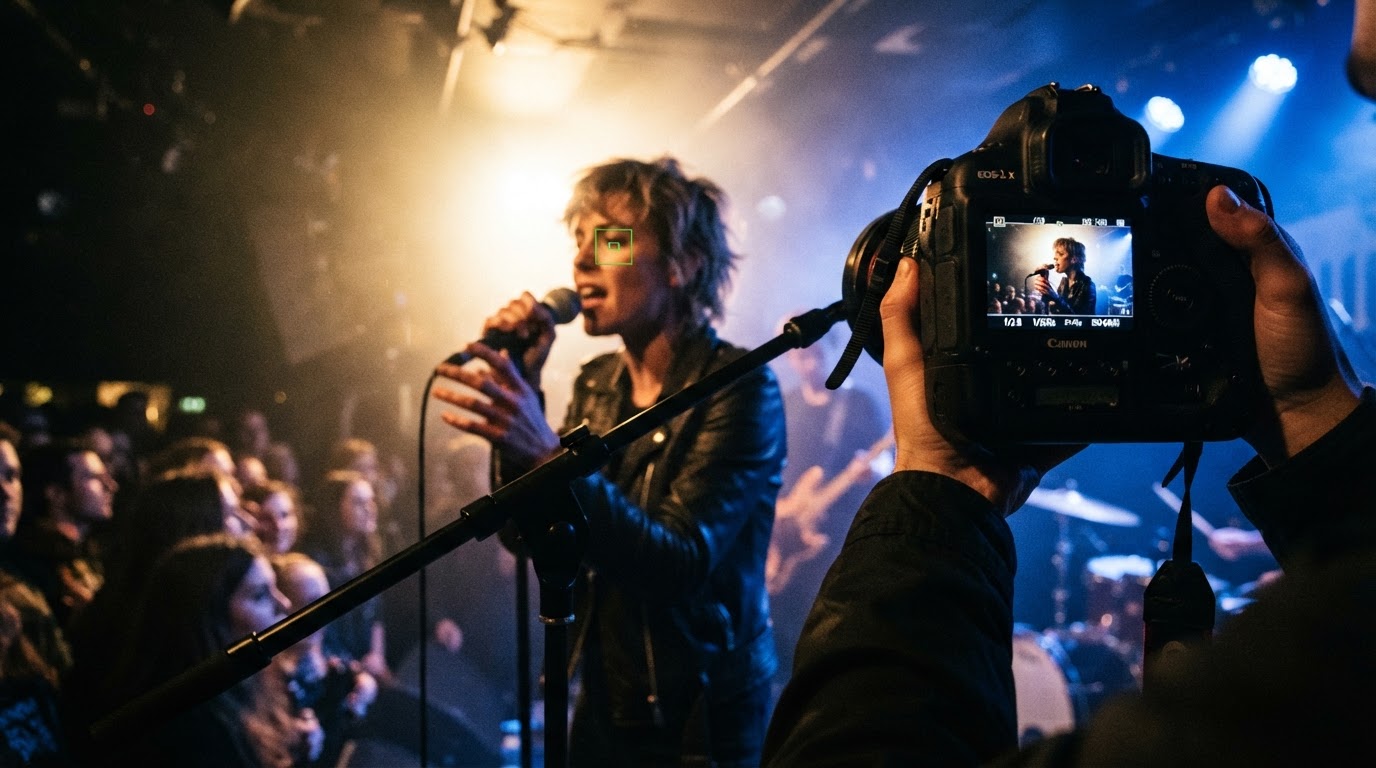
For concert photography autofocus settings, a practical starting point is continuous autofocus plus a subject you selected. Nikon and Sony call it AF-C and Canon calls it Servo AF, but labels and sub-options differ, so confirm the behavior on your own camera. Single-shot modes lock once and let a moving performer leave the focus plane; continuous keeps correcting. Put a single point or small zone on the performer's face, or start subject tracking from a point you chose. That pairing is a conditional option, not a benchmark; cameras track differently.
Why Stage Light Defeats Autofocus
Autofocus needs edges and contrast. A face under a narrow red wash or a silhouette rimmed by white LED gives the camera little to lock onto. Backlighting makes the background brighter than the subject, so the system may prefer the area behind the performer, while mic stands, hands, or hair sit closer to the lens and can look like better targets. Subject detection helps but does not remove the problem: when a face is hard to find, the camera falls back to the strongest contrast. Deep red and magenta washes add an exposure problem, which is why reading the RGB histogram under red light tells you more than the LCD preview.
Match the Focus Area to the Conditions
Stage condition | Option to try | Fall back to |
|---|---|---|
Face lit and moving | Small zone or face/eye tracking | Single point on the face |
Strong backlight or silhouette | Single point on a lit shoulder | Prefocus and shoot on arrival |
Obstruction in front | Small zone repositioned past it | Single point or manual focus |
Jumps, spins, hard drumming | Tracking started on the face or body | Prefocus on the peak position |
Deep red or magenta wash | Single point on a lit edge | Eye detection off if it hunts |
What One Photographer Does on One Camera
Nikon Ambassador Todd Owyoung, in a commissioned Nikon Z5II launch piece, describes picking a focus point and using Nikon's 3D Tracking for live music, with face/eye AF choices. In the supplied Nikon source, he describes the camera following his chosen subject while the performer moves, including a backlit performer and a drummer in motion. That is his experience with the Z5II, not a guarantee for another camera or venue, and 3D Tracking is a Nikon-specific mode name, not a setting on every DSLR or mirrorless body. Take the principle — choose the subject, let the camera follow — and check your own model's options.
Separate Motion Blur, Missed Focus, and Clipping
Several failures look similar on a small screen, and more than one can be present in one frame. Check each separately.
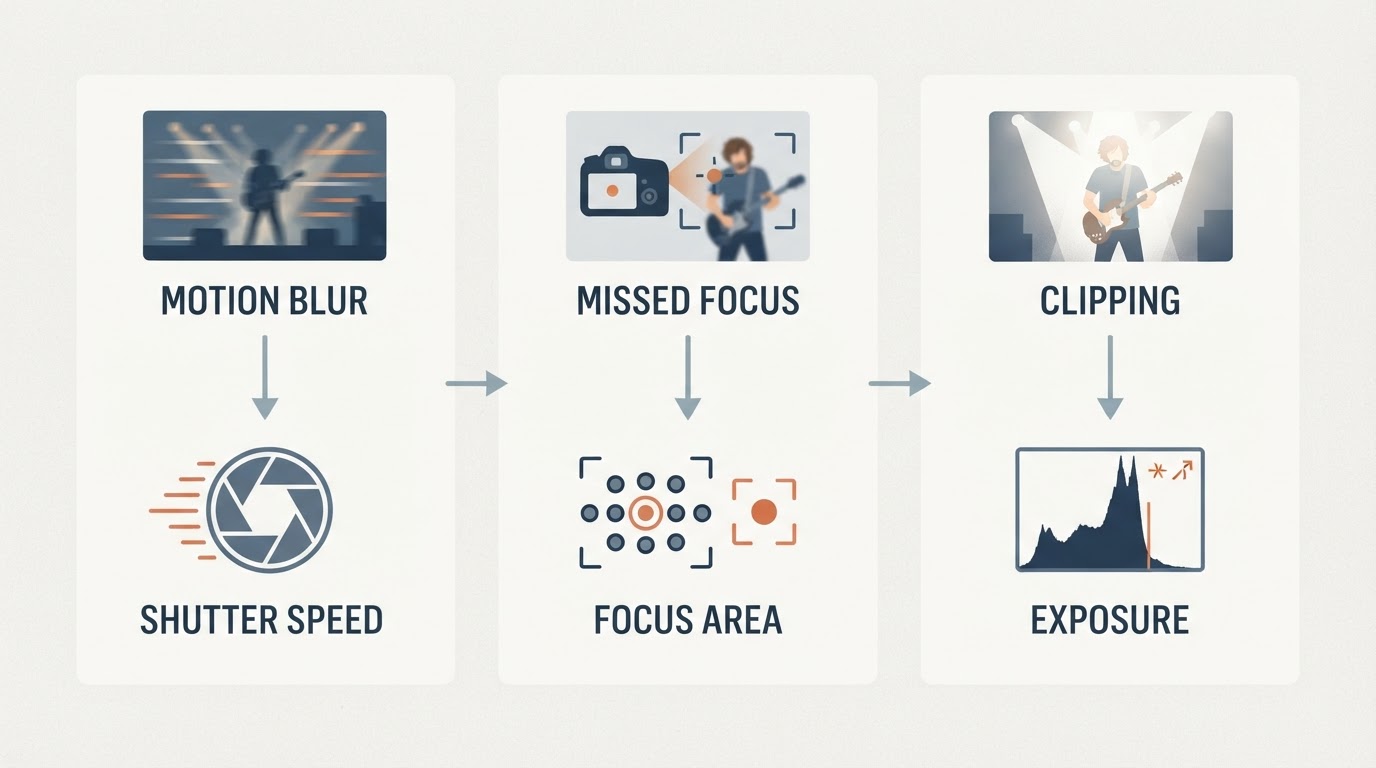
- Missed focus: Something else is sharp — the backdrop, a mic stand, a hand, a lit sleeve — while the performer is soft. A sharp background with a soft performer often means the autofocus plane landed behind the subject, not that the shutter speed was too slow. Fix the focus area or the point you started from.
- Wrong focus plane or shallow depth of field: Focus confirmed, but only part of the performer is sharp, such as a nearer instrument or shoulder. Check where the AF point sat and whether the aperture left enough depth.
- Motion blur: Look for directional streaks that follow the performer. If stationary objects smear too, suspect hand movement rather than subject speed. Motion blur and missed focus can overlap, so identify what is sharp first.
- Hunting: The lens keeps searching without confirming, and frames come out soft with no consistent direction. Low contrast, red or magenta wash, haze, and obstruction make it more likely. The red-lighting guide covers the exposure side.
- Clipping: Highlights lose detail and skin becomes a white or saturated red patch. That is exposure; an autofocus change will not recover it.
Build a Practice and Capture-Review Routine
Settings are learned on stage. With permission at soundcheck or rehearsal, run this sequence:
- Save two setups you can reach without looking: small-zone tracking and a single point.
- Shoot one song as a calibration run, using both setups on the same lighting cue.
- Review at 100 percent between songs: is the eye sharp, and if not, what is?
- Note the lighting, obstruction, and movement beside each failure to learn which cue makes you switch.
- Re-run the review whenever movement, light, or occlusion changes, and keep adapting. A burst of sharp frames is useful evidence, not a pass/fail benchmark.
Treat changes as responses to the review rather than a hunt for a setting that never misses. For the exposure side, the baseline concert photography tips cover shutter speed and lighting choices.