Start With the Captured File
Banding may be visible in live view, or it may only become obvious in a captured file — the preview and the recording path are not the same, so a clean-looking live view is not reliable clearance. Open a saved shot at full size and zoom to 100%. Banding appears as horizontal rows of lighter and darker exposure, sometimes with a color shift, running across the whole frame. Sony's flicker explainer shows the same pattern, where changes in brightness are recorded as banding in the still image (Sony flicker explainer).
Check several frames, not one. A single exposure may reflect timing more than your settings.
Why LED Stages Cause Banding
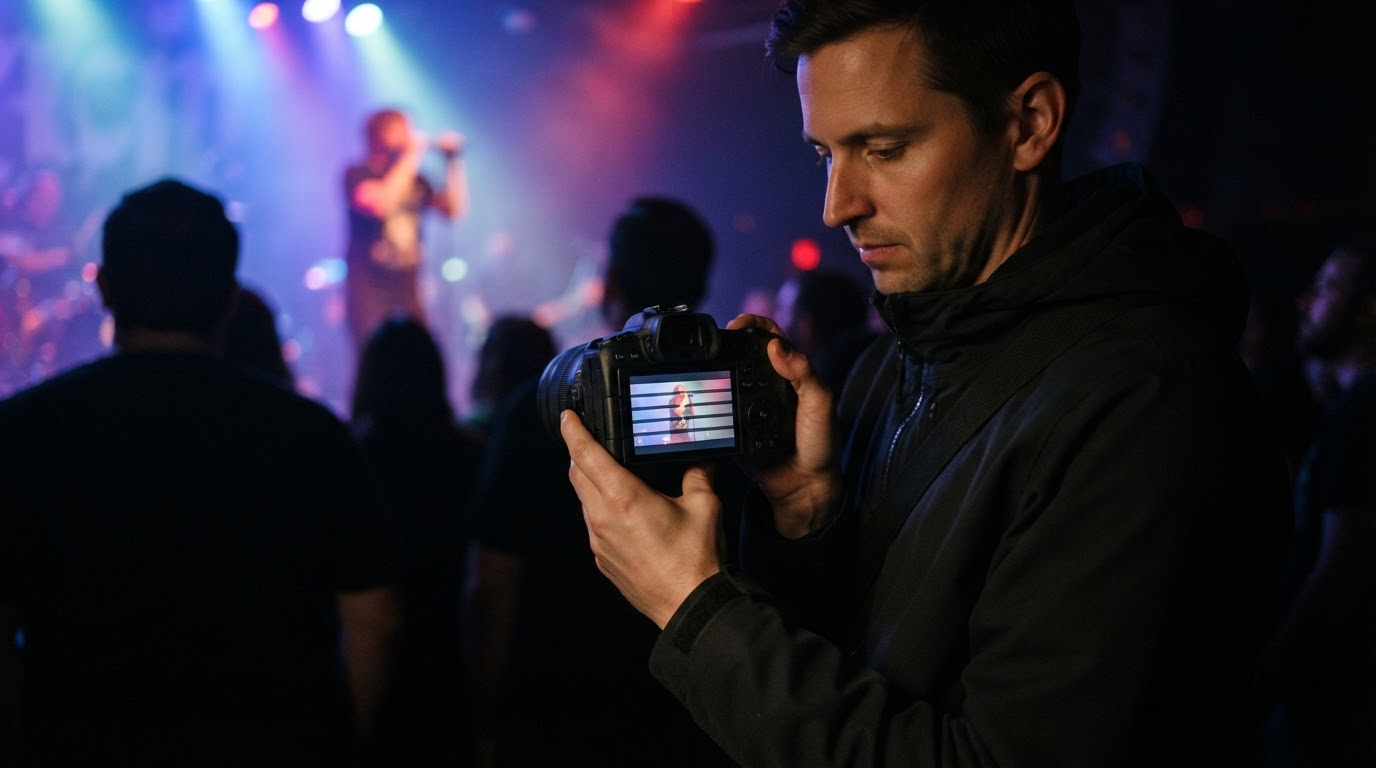
Two frequencies meet inside the camera. Older fluorescent tubes flicker 100 or 120 times per second, while LED lighting and signage can pulse hundreds or even thousands of times each second (Sony flicker explainer). The eye smooths that pulsing out; the sensor does not.
A focal-plane shutter exposes the frame through a moving slit. The front curtain opens, the rear curtain follows, and full travel can take about four milliseconds on faster designs, up to several dozen on slower ones (Sony flicker explainer). Rows at the top and bottom are recorded at slightly different moments. When the light pulses between those moments, some rows catch a bright phase and others a dim one, and the stripes appear. A slow electronic readout, as with a silent shutter, widens that timing gap.
Compare Frames Under Another Lighting Cue
Shoot the same subject at identical settings under a steady wash, then under a moving cue. Bands that move or change with the lighting or the settings point to a lighting interaction rather than a fixed pattern, but that is not proof of a unique cause and does not rule out sensor or processing contributions. If the same rows band in every frame no matter what the lights do, test other variables — shutter type, shutter speed, and camera processing — before blaming the rig.
Shutter and Anti-Flicker Checks
Sony's support guidance lists three levers against flicker and banding: turn off the electronic front curtain or set the shutter type to mechanical, adjust the shutter speed, and try the anti-flicker or variable-shutter functions. Some features are model-dependent, so confirm what your camera offers (Sony support guide).
Mechanical versus electronic readout depends on the camera design: on many cameras a mechanical curtain travels faster than a line-by-line electronic readout, which narrows the window in which rows are exposed at different phases. It may help, but it is no guarantee: when a fixture pulses faster than the readout, bands can still appear.
Then test anti-flicker. Ordinary anti-flicker and high-frequency or variable-shutter features are different tools: the ordinary modes target the mains-linked 100/120 Hz flicker class, while LED pulse intervals can be far shorter — which is why anti-flicker alone may not clear an LED stage. Variable or high-frequency shutter, where available, fine-tunes shutter speed to the pulsing cycle and is often the better match for fast LEDs, but availability and behavior depend on the camera model.
Mains-synced speeds are worth testing as candidates: 1/60 or 1/120 where power runs at 60 Hz, 1/50 or 1/100 at 50 Hz. Treat them as a starting point, not a universal 1/60 or 1/100 cure. Rigs mix sources; the useful speed is the one that produces clean test frames on that stage.
Slower shutter speeds let each row average more flicker cycles and often reduce banding, but the performer keeps moving: a longer exposure trades motion smear for cleaner light. The long-exposure concert photography guide covers how that tradeoff plays out in practice. Settings that work in one venue are no guarantee in the next.
Decision Table
Symptom | First check | Why it matters |
|---|---|---|
Stripes in the saved frame, clean live view | Inspect the file at 100% | May form during exposure and readout; live view is not a reliable clearance. |
Bands shift with the lighting cue | Compare two lighting states at identical settings | Points to a lighting interaction; not proof of a unique cause. |
Bands survive the mechanical shutter | Test anti-flicker, then variable shutter | Fast LEDs can outpace the readout. |
Bands shrink as exposure lengthens | Weigh banding against performer motion | Averaging flicker cycles costs sharpness. |
Keep Corrections Limited
Fix what you can in camera; post-processing is only a partial tool. A band is a recorded brightness or color difference: raising a dark band raises its noise too, and detail not recorded or highlights clipped cannot be reconstructed. Local adjustments can soften the look, but do not count on a rescue.
Flash is restricted at many shows and would not solve stage-light flicker. Banding is also not the same problem as deep red stage lighting, which is not simply a white-balance issue: the red-light guide covers channel clipping and the limited color information that remains. Deliberate motion blur is a creative shutter choice with its own tradeoffs. Those need different fixes.
The Q&A segment Banding in Concert Photos with David Bergman covers the same ground: causes, shutter choice, and post-processing limits (video).
Verify Every Test Frame
Shoot a test frame, zoom to 100%, change one variable, and shoot again. Change one setting at a time so you know what helped, and test the options your specific camera model actually offers. A clean frame under the current cue proves only that cue, so re-check each time the lighting changes. Sometimes no shutter and motion combination produces a fully clean frame; when that happens, pick the tradeoff that best serves the shot instead of chasing a result that may not exist.