The short answer: choose four settings, then stop fiddling
Start with the main 1x camera and a 30 fps mode your phone supports, check whether Auto FPS is available in that resolution, and record a short clip to judge highlights and sound. Do not assume Auto FPS works in 4K on every iPhone: Apple's current video-settings guide specifically notes 4K Auto FPS support on iPhone 18 Pro models. On other models, check the options shown by your phone; 1080p at 30 fps may be a better starting point for low-light Auto FPS, while 4K at 30 fps is an option to test when detail matters. Pull exposure down if a spotlight clips the performer's face, and test a telephoto view only when light permits. No single combination fits every model or venue.
Run a 15-second test before the first song
If recording is allowed, run a short test clip under lighting as close to the performance as possible. A house-lights-on clip may reveal sound or handling problems, but it will not predict a dark stage. Use the same lens, format, and frame rate you plan to use, then play it back and check four things:
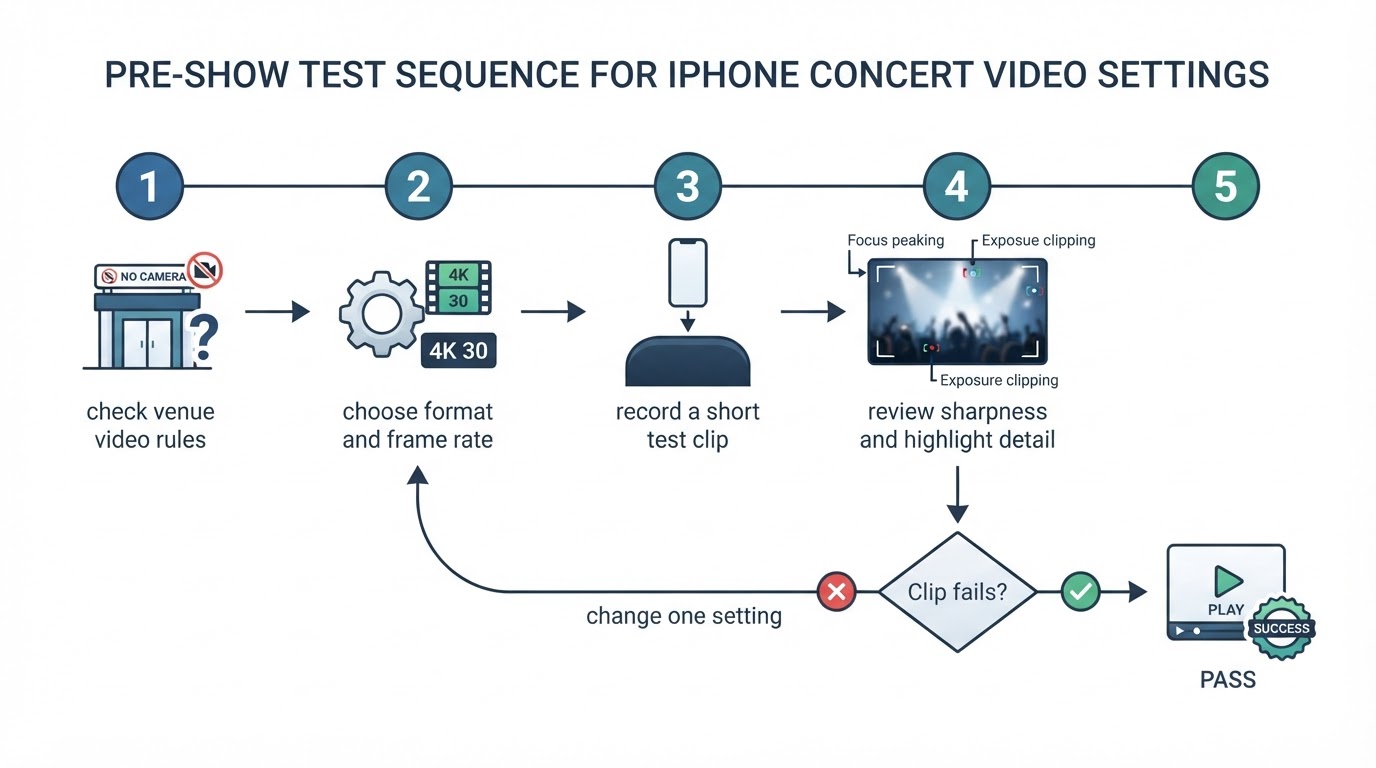
- Sharpness. Step through the clip. Is the performer, or a stand-in subject, crisp, or is every frame soft?
- Highlights. Do the brightest spotlights keep some detail, or does the singer's face turn into a white smear?
- Stability. Both hands stay on the phone and your elbows tuck against your body; does the clip still shake?
- Sound. Does the audio sound like the room, or does it clip into a wall of noise?
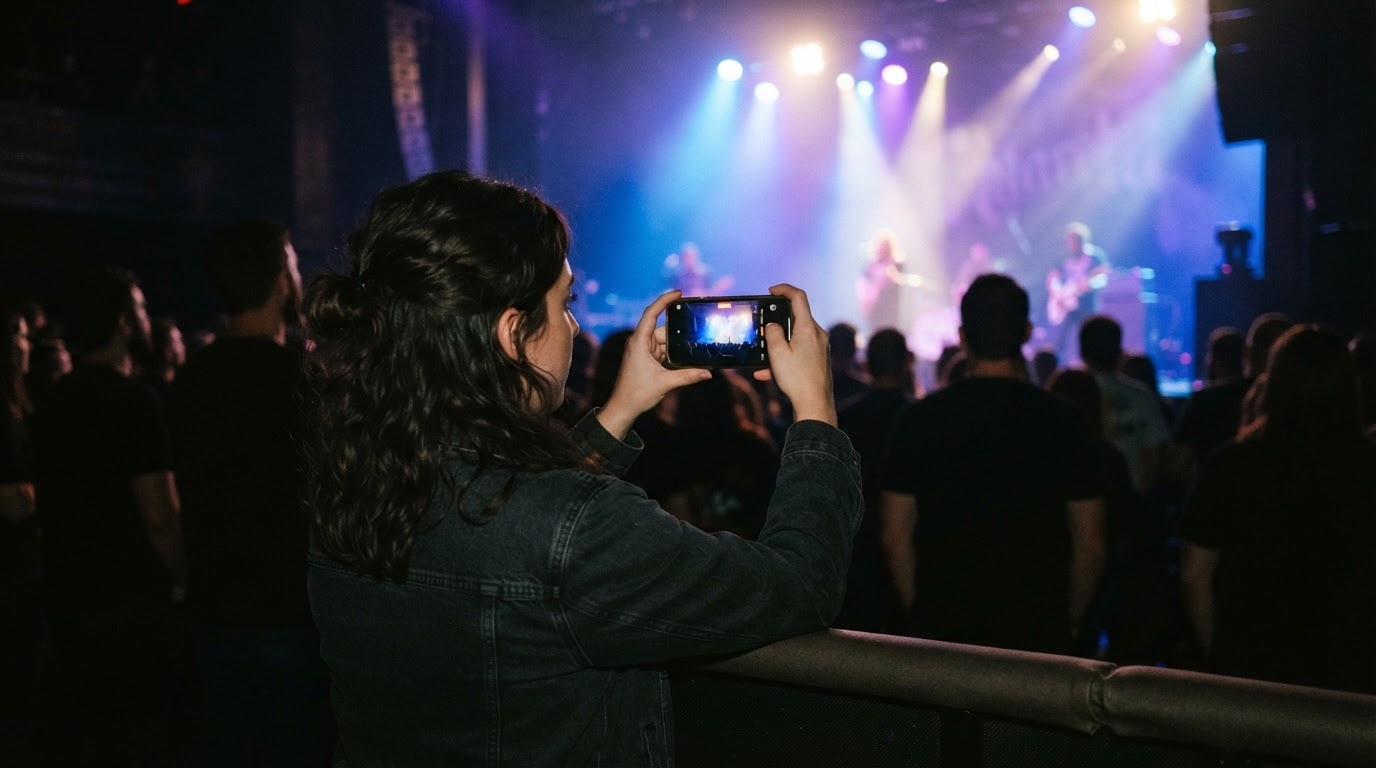
Then change one setting and record again. The completion standard is simple: you have at least one test clip you would keep if it were the real performance. Check the event's rules first as well — camera and video policies are set by the venue, the promoter, and the artist, and a permitted phone does not automatically mean unrestricted recording.
4K at 30 fps or 4K at 60 fps: decide by light, not habit
Open the Camera app in Video mode and tap the resolution and frame-rate values at the top of the screen to see the formats your iPhone supports. Apple's guide to recording a video makes two practical points: the list of formats and frame rates varies by model, and faster frame rates and higher resolutions produce larger files.
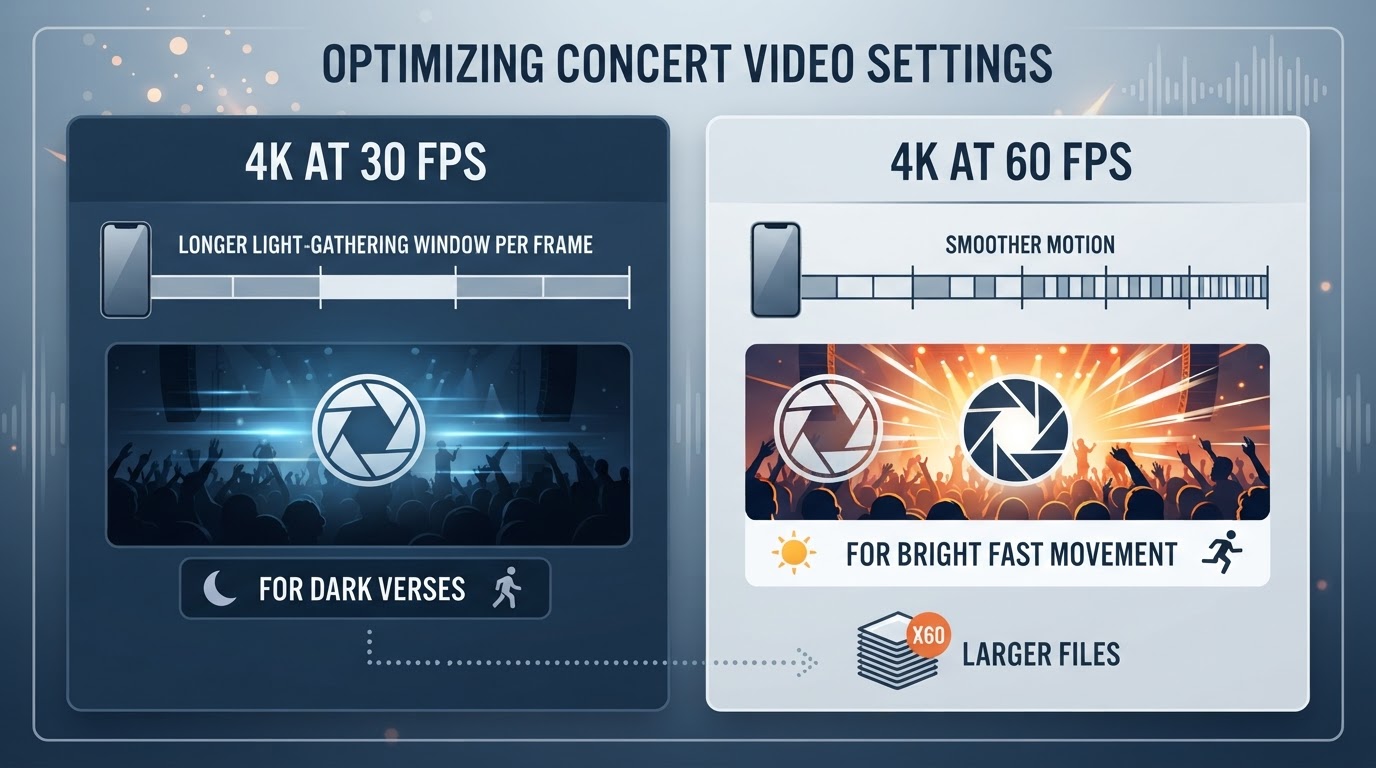
Frame rate affects the available exposure time per frame. At 60 fps, the maximum time per frame is shorter than at 30 fps, so a phone may compensate with more gain and visible noise in dim light. Test a supported 30 fps mode first; use 60 fps when brighter light and smoother movement make that trade-off worthwhile. Resolution adds another choice: 4K files are larger, and Auto FPS in 4K is model-dependent. Do not choose 4K solely because a newer phone offers it.
Your situation | Start with | Why |
|---|---|---|
Dark verse, distant seat | A supported 30 fps mode; try 1080p if Auto FPS is unavailable in 4K | Check the actual low-light clip rather than assuming 4K Auto FPS support |
Fast movement on a brightly lit stage | 4K at 60 fps | Smoother motion, at the cost of light per frame and storage |
First song, still learning the light | Short test at a supported 30 fps mode, then adjust | A test shows whether focus and highlights hold |
Clips you will send to mixed devices | Test HDR sharing or record in SDR | Playback and sharing may vary by device and platform |
Let Auto FPS handle the darkest passages
Auto FPS lets supported iPhones reduce frame rate in low light, sometimes to 24 fps. Apple's settings guide says availability depends on model and specifically identifies iPhone 18 Pro models for Auto FPS while recording 4K. Look under Settings > Camera > Record Video for Auto FPS or Auto Low Light FPS, then check which modes your model actually offers.
If it is available for your chosen mode, compare a test clip with Auto FPS on and off. The frame rate may drop in dark passages, trading smoothness for a brighter image; that may or may not suit your intended clip. Auto FPS cannot create light that is not there, so keep exposure focused on the performer rather than the dark room.
Pick the optical lens, then stop zooming
Start on the main 1x camera and stay there until the stage brightens. When a follow spot finds the singer, try the telephoto view for reach or the ultrawide for a full-stage frame. Two model-dependent details matter here. First, the set of cameras varies by iPhone, and an ultrawide view is usually the more demanding one in low light. Second, Apple's Enhanced Stabilization, which is on by default on supported models, zooms in slightly to provide improved stabilization, so your 1x framing may already be a little tighter than the raw lens.
Resist pushing magnification past what the phone can capture sharply in that light. Beyond the optical range, zoom crops the frame and magnifies noise; a wider, sharp clip can be cropped later with better results. Compare a zoomed clip with a wider one during your test, and let the sharper one win.
Lock focus and exposure on the performer
Automatic exposure will chase stage lighting changes and swing between a dark silhouette and a blown-out face. Tap the performer to set focus, drag the exposure slider down until important highlights hold, and — when the performer stays at roughly the same distance and the light is steady — hold the screen to lock AE/AF so the camera stops re-deciding. Refocus as soon as the subject moves or the lighting changes.
Expose for the brightest thing you care about: the lit side of a face, a microphone hand, or the bright edge of a backlit silhouette. Video also raises the stakes compared with a photo. A still frame only has to survive one instant, but a clip has to stay watchable for its whole length, so lock exposure only while conditions are stable and be ready to unlock and re-adjust when the lighting swings. If colors keep drifting under changing LEDs, Apple's Lock White Balance setting is worth turning on before the show.
Switching cameras while recording
On supported models, Apple's Lock Camera setting prevents switching between cameras while recording, and it is off by default. Whether your phone can switch views and how smoothly it does so depends on its cameras and recording mode. Test the behavior before the show rather than discovering it mid-song.
If you would rather remove the risk entirely, turn Lock Camera on and commit to one view for the whole song. The choice depends on whether you value one unbroken clip more than coverage from two angles.
Record sound you can still listen to later
iPhone uses multiple microphones to capture stereo sound; you can turn stereo recording off under Settings > Camera, and on iPhone 16 models and later the camera records in Spatial Audio by default. To choose between Spatial Audio, Stereo, and Mono, go to Settings > Camera > Record Sound. Mono is a predictable single track to edit; Spatial Audio and Stereo preserve the sense of the room.
There is no manual microphone gain to ride, so you cannot turn the venue down. Position is your only control: keep fingers, a case edge, or a grip off the microphones, and accept that the mix at your seat is the mix the PA is producing. A quiet phone held still usually beats a hand-wrapped one pointed at a speaker stack.
HDR: what you record is not always what your friends can play
On supported models, iPhone records video in HDR, and Apple shares HDR videos with devices using iOS 13.4, iPadOS 13.4, macOS 10.15.4, or later; other devices receive an SDR version of the same video. That automatic fallback makes HDR safer to leave on than many people assume. If you would rather keep every copy in predictable standard dynamic range — for editing, for older hardware, or for platforms you have not tested — turn off HDR Video under Settings > Camera > Record Video.
Stills or video? These companion guides solve different problems
Stills and video are different reader jobs. The site's iPhone concert photos guide covers still-image choices such as Night mode and timing a light cue. Its concert photography tips address dedicated cameras and still-photo exposure. This page stays with video frame rate, clip length, continuous focus, and sound.
Neither companion guide is an iPhone video recipe. Keeping that distinction prevents a still-photo setting from being presented as a universal video setting.
What still varies by model, iOS version, and venue
There is no universal best exposure, no universal best microphone setting, and no guarantee that another phone's settings will transfer to yours. Formats, frame rates, Auto FPS availability, Lock Camera, and audio options all depend on the iPhone model and the iOS version, and menus move between releases. Venue rules decide whether you may record at all. Test your own phone, in your own room, at your own seat, and change one setting at a time.
The two-minute show-day checklist
- Check the event's camera and video policy, and note where you are allowed to stand.
- Choose a supported 30 fps format and check whether Auto FPS is available at that resolution; do not assume 4K support.
- Stay on the main 1x camera and leave digital zoom alone.
- Record a 15-second test clip, then review sharpness, highlights, stability, and sound.
- Fix one weak point, then re-test.
- During the set, shoot the bright cues, tap the performer to focus, and pull exposure down when spotlights clip.
Your completion standard for the night: a handful of clips that hold focus, keep detail in the brightest lights, and sound like the show rather than a wall of noise. That is the real answer to iPhone concert video settings — not one magic number, but four choices tested before the first song.
Make your own comparison record
The guidance above is documentary, not a set of field-test results from this project. Use a real, permitted test or authorized image when comparing outcomes; do not treat editorial illustrations as evidence of a camera or lens test.
Record | Your actual observation |
|---|---|
Device and software | Exact body or phone, lens and software version |
Scene and permitted position | Venue conditions, distance and access limits |
Baseline | Mode, lens, shutter/frame rate and relevant exposure settings |
One change | Name the single setting or equipment change |
File and outcome | Identify the actual file; record blur, focus, highlight or audio issue |
Keep the two files and their conditions together. If no comparison was made, record not tested rather than inventing a result. For a general plan, return to the concert photography field guide.