The Short Answer
Concert photos from a phone can fail for several reasons: a lens or zoom choice unsuited to low light, missed focus, blown highlights, or exposure long enough to record performer motion. Check the failed frame before changing a setting.
The answer is not one settings number. Camera options vary by iPhone model and iOS version, and stage light varies by venue, so no ISO, shutter speed, EV value, or Night mode duration applies to every show. What carries across models is a short decision path: obey the venue's rules, choose a suitable available camera, focus on the performer, protect important highlights, hold the phone still, and shoot when the lighting improves.
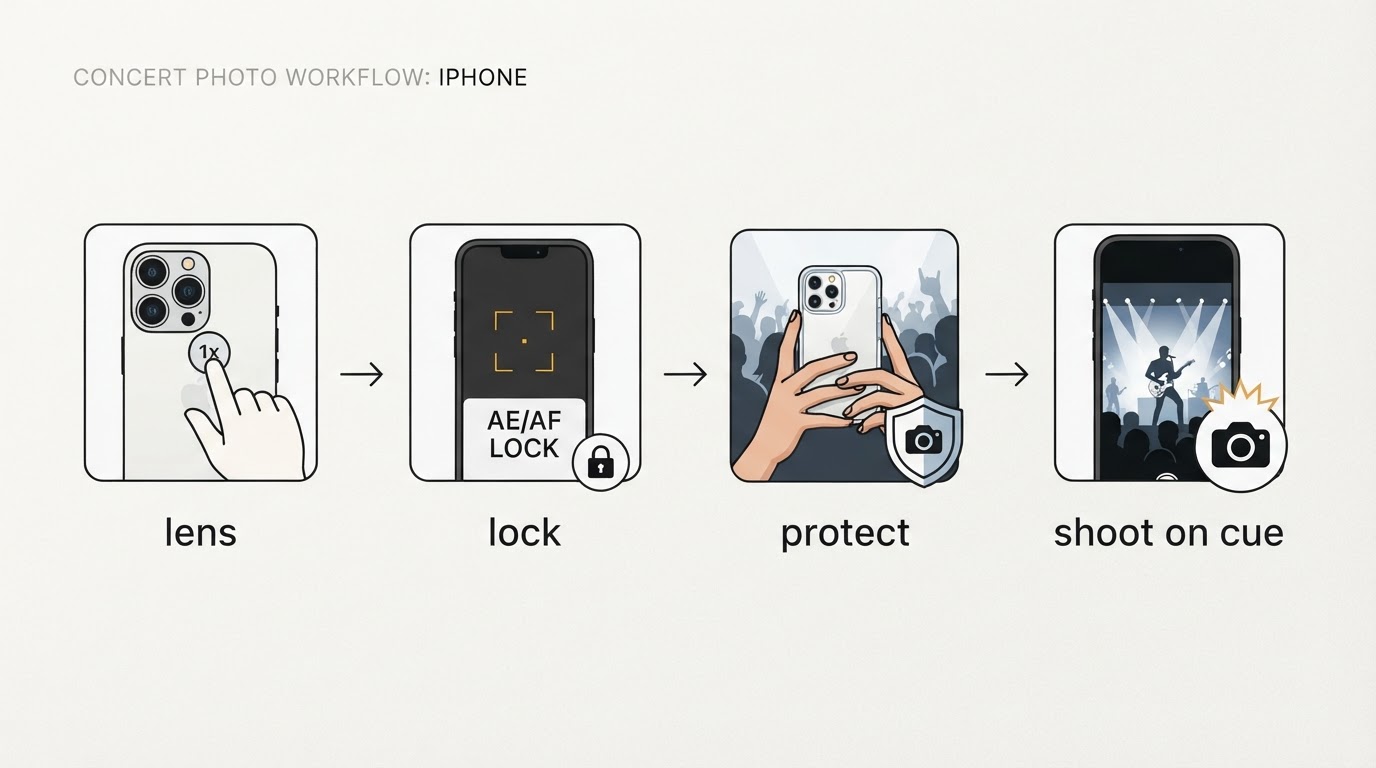
The checks below explain when each adjustment helps and when it does not.
Before the Doors Open: Rules First, Lenses Second
Camera rules can be set by the venue, event, and artist; they can differ even within one tour. Do not assume that a permitted phone means unrestricted photography or video. Check the published event policy before you travel, and follow staff instructions at the show.
Flash is a separate question from camera access. It may be restricted, and a phone flash is unlikely to help with a distant stage. Apple's camera guide documents the flash control (Auto, On, Off), so turn it off deliberately if the event requires it or you do not want it to fire.
Learn the cameras on your own phone before the show. The main (1x) camera is a sensible low-light starting point; try other available views when the stage brightens, then compare sharpness. The set of cameras and controls depends on the model — Apple's Camera guide is model-aware — and some zoom steps may crop or use a different camera according to lighting.
Avoid pushing zoom beyond what your phone can capture sharply in that light. Additional magnification may crop the image and magnify noise; compare a zoomed frame with a wider frame before committing to it. If the performer looks small, a wider, sharper frame that you crop later can be more useful. Move closer only where the venue permits.
Lock Focus and Exposure on the Performer
Changing stage lights can make automatic exposure swing between a dark silhouette and a blown-out face.
Tap the performer to set focus, then adjust the exposure slider down if important highlights are clipping. Apple documents tapping to focus, dragging to adjust exposure, and holding for AE/AF Lock. Lock can help when the performer stays at roughly the same distance and the lighting is steady enough; unlock and refocus when they move or the light changes. Do not leave focus locked on an empty spot while the subject crosses the stage.
Two refinements help in practice. First, lock on a lit part of the performer — a face, a microphone hand, a moving arm — rather than on the dark side of the stage. Second, when a performer is heavily backlit, lock on the bright edge of the silhouette; that preserves the rim light which makes a concert frame read as a concert frame rather than an underexposed portrait.
If the subject changes distance, tap to refocus. If only the brightness changes, compare the preview before deciding whether to readjust exposure.
Protect the Highlights and Wait for the Light
Blown highlights are the most common reason a phone photo looks amateurish. A single clipping spotlight flattens skin tones, erases the color of a stage wash, and destroys detail that cannot be recovered later.
Expose for the brightest area you care about, not the average brightness of the room. If the frame still clips, pull the exposure down another notch and accept a darker floor and crowd. In a concert frame the audience is allowed to go black; the performer is not.
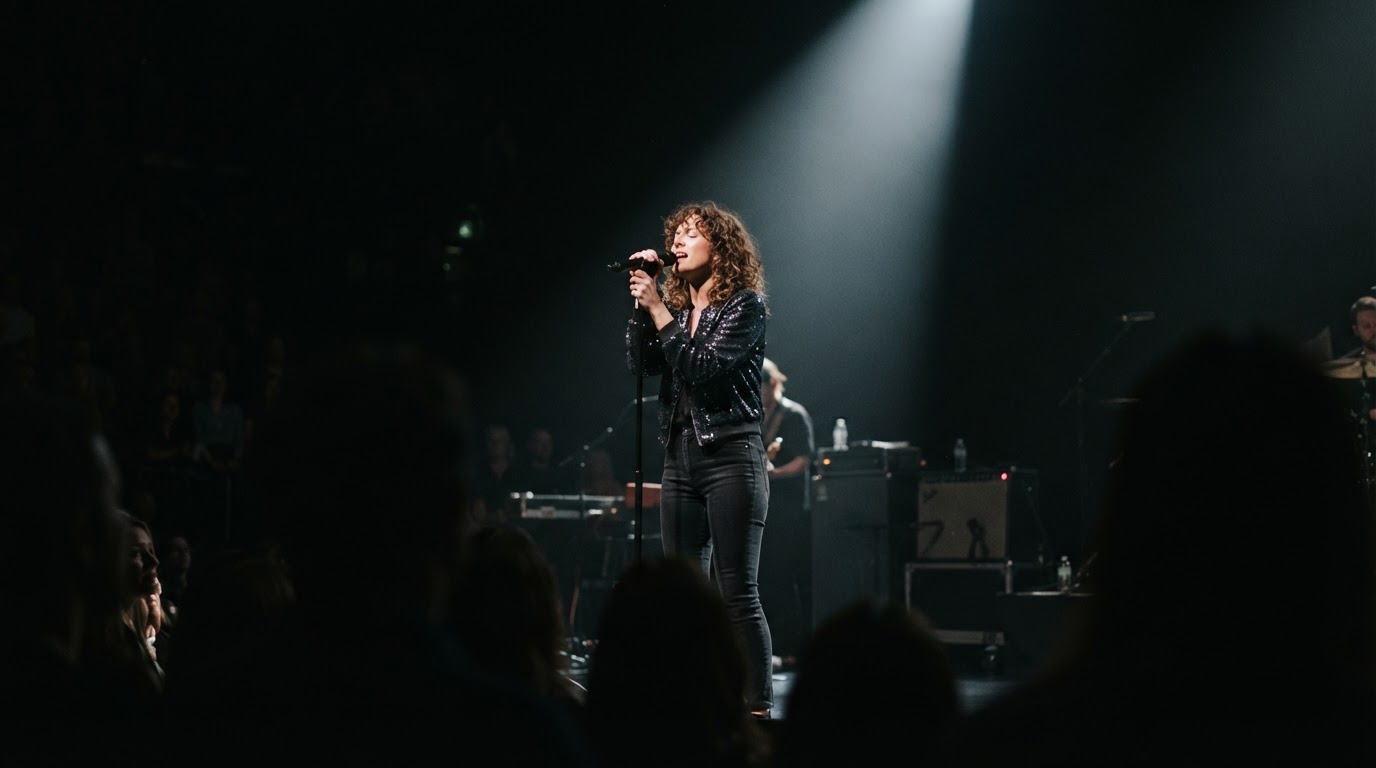
Then let the show supply the light. Beams, white key moments, and chorus re-lighting produce contrast and clarity that no amount of editing will manufacture from the darkest bar of a song. Waiting half a bar for a light cue costs nothing and returns cleaner frames with more color, especially when the stage is bright enough that the phone does not need its longest exposure.
Watch the lighting for a verse or chorus. If a useful light cue repeats, anticipate it on the next pass instead of shooting continuously through the darkest moments.
Hold the Phone Still, and Understand Night Mode
A concert is a stability test. Hold the phone with both hands, keep your elbows close to your body, plant your feet, and avoid shooting at arm's length over your head for any longer than a single frame. Where you can, lean an elbow or the phone against a railing, a seat back, or a wall; that one contact point is often the difference between a keeper and a smear.
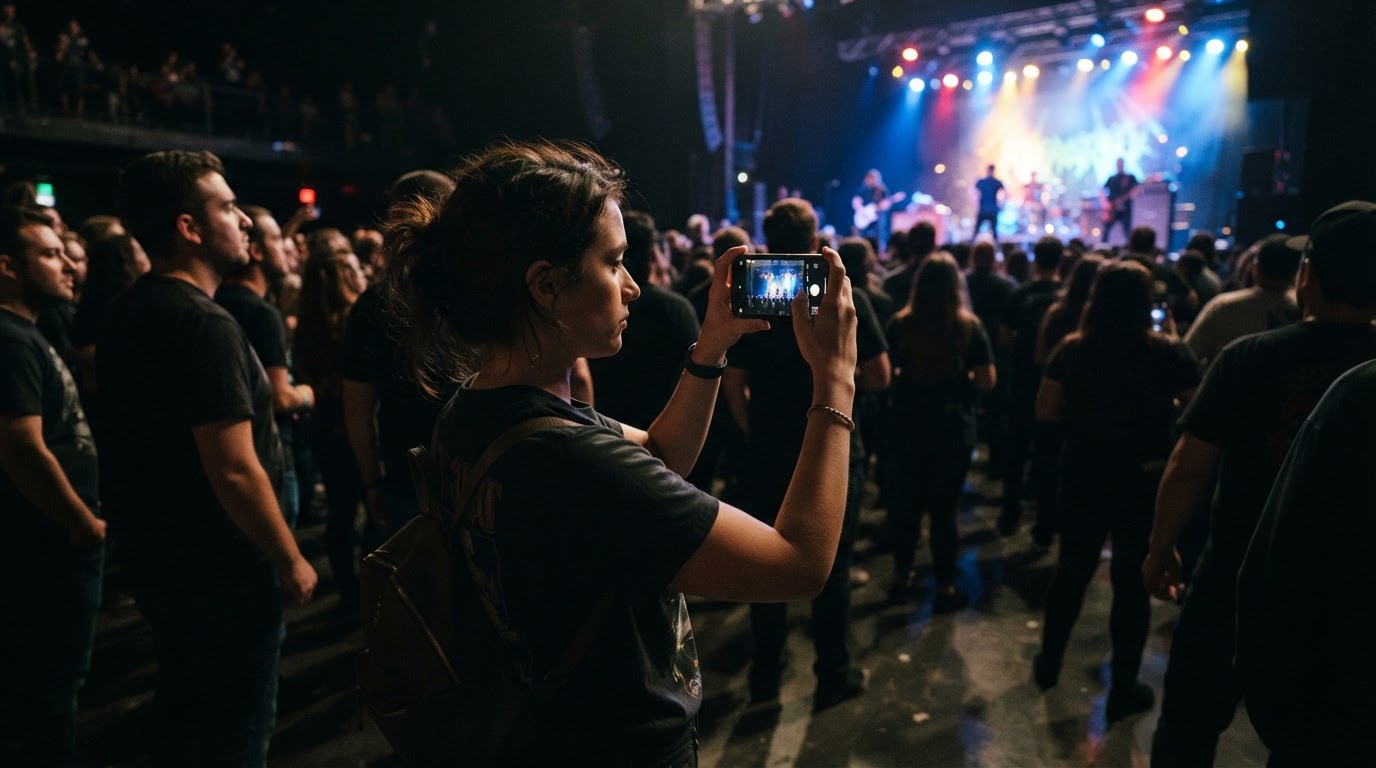
Night mode is where stabilization and lighting collide. Apple's Night mode guide explains that in low light the camera turns Night mode on automatically, sets the exposure time itself, and lets you adjust the available exposure options. It also notes that a tripod improves detail, that you should hold the phone still, and that crosshairs appear when the phone detects movement, which you can align to reduce motion and improve the image.
That is the mechanism behind the classic concert failure: a long exposure gathers light over time, so a performer who moves during the exposure becomes a smear of color rather than a person. When the artist is relatively still, a Night mode exposure can deliver color and detail a darker frame cannot. When the performer is moving, favor the shortest exposure available and let the frame go darker. A sharp image with visible noise reads far better than a bright blur. If Night mode will not shorten enough, turn it off for that sequence, drop the exposure with the slider, and take the darker frame.
A Step-by-Step Decision Path for the First Few Lighting Changes
Treat this as a checklist you can run while you learn the stage light. It is not a three-song access rule for audience members; follow the actual event policy.
- Check the rules and the prohibited-items list before the show, including flash and video limits.
- Clean the lens, turn flash off, and start on the main camera with the composition grid on if you want level horizons.
- When the performer is visible and lit, tap to focus and lower exposure if the brightest important area is clipped. Use AE/AF Lock only while the subject remains at roughly the same distance.
- Compose with space around the performer so you can crop later instead of zooming now.
- Shoot two or three frames per light cue rather than holding the shutter through the whole song.
- Review one frame at full zoom when convenient; check whether the subject is sharp and important highlights retain detail.
- Refocus or readjust exposure when the performer or the lighting changes.
Use sharpness, important highlights, and timing as your checks. If the frame still fails, identify which of those failed before trying a different control; no adjustment can make a distant, dark, fast-moving subject easy for every phone.
Troubleshooting Table
Symptom | Likely cause | What to change |
|---|---|---|
Soft or blurred performer | Long exposure or missed focus | Tap to refocus, brace the phone, wait for a brighter cue, shorten Night mode or turn it off |
Blown white spotlights and faces | Camera exposing for the dark room | Tap the performer, lower exposure, then check again when the lighting changes |
Grainy, muddy dark frames | Too little light reaching the sensor | Move closer if allowed, stay on the main lens, shoot during brighter cues, accept a darker frame |
Crooked or tilted stage | Shooting overhead at arm's length | Shoot at chest or eye level, keep both hands on the phone, use the grid to check level |
Missed the moment | Slow reaction or holding the shutter too long | Anticipate choruses and solos, take two or three frames at the cue, keep at least one keeper per song |
What Changes Between iPhone Models and iOS Versions
The workflow above is deliberately model-agnostic, and that is not a dodge: Apple states that the camera modes available depend on your iPhone model, and menus move between iOS releases. Which lenses your phone has, whether Night mode appears at all, and where the exposure control sits are all things to verify on your own device before the show rather than assume from a tutorial written for different hardware.
The useful cross-model decisions are where to focus, how to protect highlights, and when to press the shutter. A phone with only one rear camera can still use those decisions; a model with additional lenses offers more framing choices, but each choice should be judged from the resulting frame rather than its label.
How This Differs From a Camera Guide
This guide is limited to still photos captured from the audience with an iPhone, and that scope matters.
If you shoot with a DSLR or mirrorless camera and a detachable lens, your controls and possibly the event's access rules differ. See the site's concert photography settings guide for that separate path; a photo pass or time limit depends on the event.
If your phone is a Samsung device, use the site's Samsung concert camera settings guide for its different controls. The broader decisions — focus, highlights, stable grip, and timing — remain relevant.
FAQ
Should I use flash at a concert?
Follow the event's flash policy. A phone flash rarely improves a distant stage subject, so turning it off is usually sensible even where it is permitted.
Is Night mode good for concert photos?
It can be, when the performer is still and you can hold the phone steady. For fast movement, a shorter exposure produces a sharper result even if the frame is darker, and at a live show that trade-off usually favors sharpness.
Do these settings work on every iPhone?
There is no universal settings recipe. Features and menus vary by iPhone model and iOS version, so treat the steps as a decision path and verify the exact lens names, modes, and controls on your own phone.