Start With Your Model, Then Set the Mode
There is no single Samsung preset that works in every venue. Menus shift between models and One UI versions, and Samsung's own guidance says Pro mode may not be available on every Galaxy device, with settings varying by camera hardware and software version (Samsung's Pro mode guide). Everything below is a starting point you tune in two or three frames.
Your exact model and software set how much manual control you get. Many recent Galaxy S and Z phones offer Pro mode, while some Galaxy A and older devices offer fewer controls or none. Expert RAW is an optional extra, but availability depends on model and firmware; confirm that it opens before the show and use the camera modes actually available on your phone.
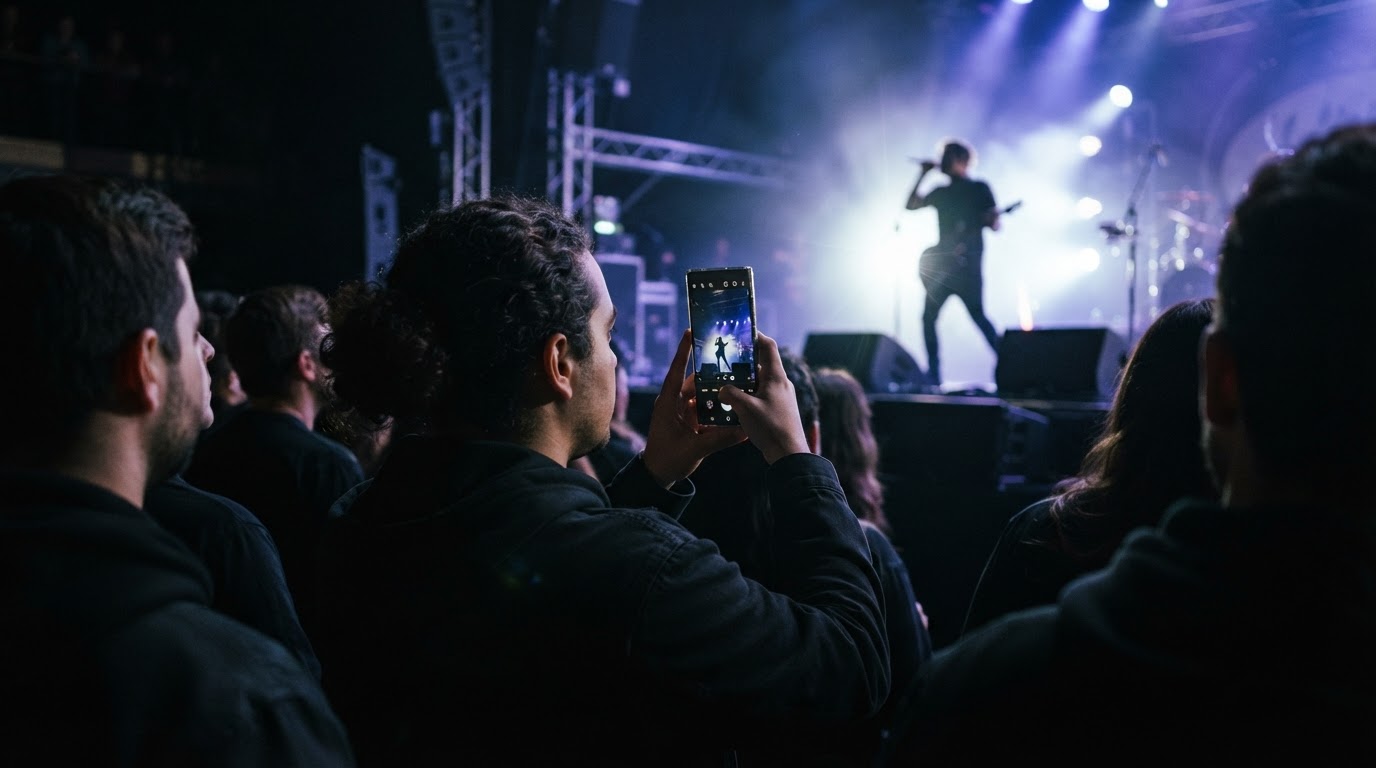
Two variables drive every choice: how fast the performer moves and how much light the stage gives you. Auto mode is fine for wide, static frames, but it struggles when the camera hunts between a bright spotlight and a dark crowd.
A Starting-Point Table by Phone Class and Mode
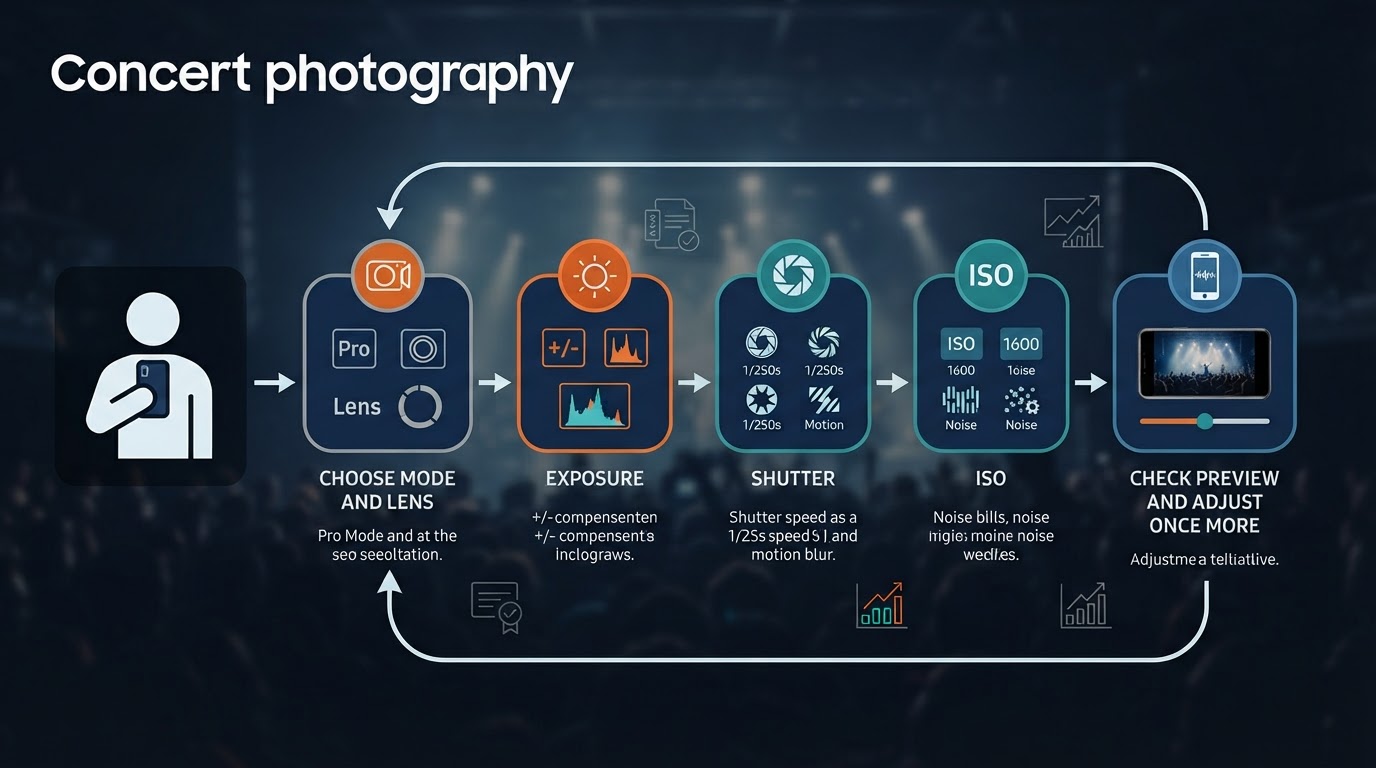
Set the mode and the lens first, then fix exposure, shutter and ISO in that order. These are realistic first values for a mid-size venue; verify them against your own preview before the first song.
Phone class or mode | Photo starting point | Video starting point | Main caveat |
|---|---|---|---|
Galaxy S Ultra (S23 Ultra class and newer) | If Pro mode is available: main lens, try ISO 400–800 and 1/125–1/250 s, then inspect the result | 4K/30 if supported, stabilization if available | Stay near the phone's optical lenses rather than pushing digital zoom. |
Galaxy S or Z flagship (S23/S24/S25, Z Fold, Z Flip class) | If Pro mode is available: main lens, try ISO 400–800 and 1/125 s, then inspect the result | 1080p/30 or 4K/30 if supported | The ultra-wide is dimmer; the main lens is the safer low-light pick. |
Galaxy A or older device with limited Pro mode | Pro mode if available, otherwise auto with tap-to-focus and lowered exposure | 1080p/30 | Fewer manual controls; keep shadow-detail expectations modest. |
Photo Settings That Matter at a Show
Check exposure without combining incompatible controls. In an automatic or semi-automatic exposure mode, try negative exposure compensation if the performer's face is clipping. If you set both shutter speed and ISO manually in Pro mode, change one of those values instead; the exposure-value display may be only a meter, not another independent brightness control. Menu behavior varies by model. Clipped highlights cannot be recovered by lifting shadows later.
Shutter speed decides whether you get the moment. For a moving singer or guitarist, 1/125 to 1/250 s is a realistic starting range. Faster freezes limbs and lets in less light; slower brightens the frame but risks blur. Samsung's support documentation describes the same trade: a fast shutter is ideal for fast-moving subjects, while a slow one suits dim scenes (Samsung Malaysia Pro mode guide).
ISO is a deliberate trade. Start at 400–800 and raise it only if the performer is still blurry at your chosen shutter speed. Samsung notes that higher ISO values can introduce noise, so spend that noise budget where it buys sharpness.
White balance. Stage washes swing between blue, magenta and tungsten within one song. Pick a preset such as Daylight or Tungsten, or set the colour temperature manually, then leave it alone so your frames stay consistent.
Focus. In Pro mode you can switch to manual focus and drag the slider until the face is sharp, then return to autofocus by tapping the same control (Samsung's Pro mode guide). Manual focus stops the camera hunting for the crowd behind the performer.
Night mode and zoom range. Night mode brightens a calm stage over a longer capture, so a moving performer will smear; keep it for static moments. For longer shots, work within the optical zoom your phone documents and crop later rather than relying on digital zoom, which softens detail.
Video Settings That Matter at a Show
Resolution and frame rate. 1080p at 30 fps is the dependable default: smaller files, less heat, easier editing. Move to 4K at 30 fps for cropping room, and to 60 fps only for dance or fast motion when the light is strong enough.
Exposure and focus. Set exposure compensation and focus once the performance starts, then keep your framing steady instead of letting auto settings chase every lighting change.
Stabilization. Keep video stabilization on, hold the phone with both hands and brace your elbows against your body; a crowd makes even small tremors visible.
Audio. The phone's microphone hears the PA system and the crowd at once. Step away from the loudest speaker stacks for clearer vocals, and keep your fingers clear of the mic.
Clip length. Shoot in 20–40 second clips. Long takes drain battery and fill storage fast.
When the Shot Comes Out Wrong
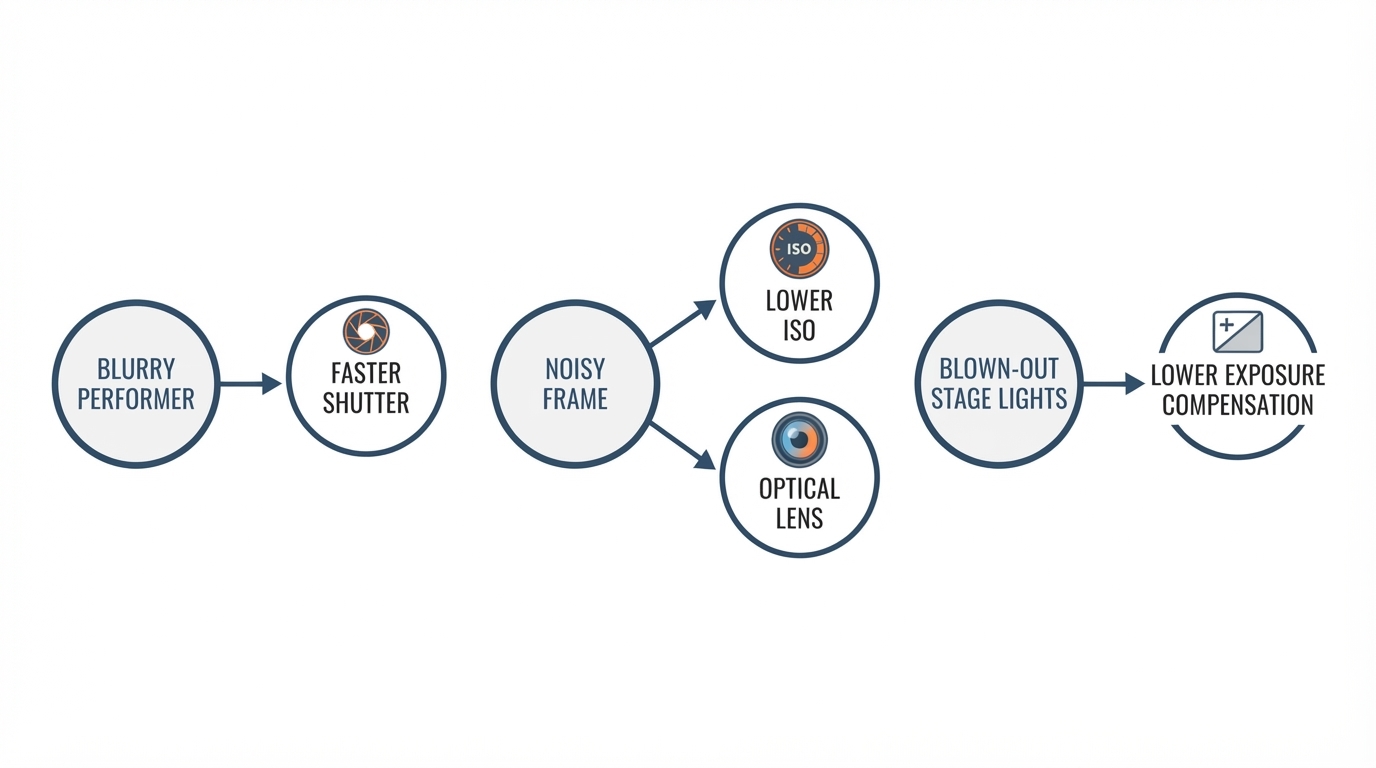
Use this table when a frame looks wrong on the phone's screen, and change one setting at a time.
Symptom | What is happening | First fix |
|---|---|---|
Performer blurry, background sharp | Shutter too slow, or focus locked on the crowd | Raise the shutter toward 1/250 s and refocus on the performer |
Grainy, noisy image | ISO pushed high, or digital zoom in use | Lower ISO and accept a darker frame, then move to the optical lens |
White stage lights blown out | Auto exposure reacting to the brightest light | Lower exposure compensation to −0.7 or −1.0 EV and leave it |
Everything looks orange or magenta | White balance following the stage wash | Set Daylight or Tungsten, or fix the colour temperature manually |
Frame is good but detail is soft | Digital zoom beyond the optical lens | Frame wider on the optical lens and crop in editing |
What You Cannot Fix in Camera
Some problems are not settings problems. Options differ by model and One UI version, and Pro mode may be missing on older or entry-level devices, as Samsung's documentation notes. No preset suits every venue: a club with a low stage and an arena with a lighting rig are different problems. Venue policy also sits above every setting — check the camera rules before you travel. Treat this as documented guidance rather than a hands-on review of your exact model: the values come from Samsung's published feature descriptions and standard low-light practice, so verify them on your own preview.
FAQ
What ISO should I start with for concert photos on a Samsung phone?
Start at 400–800 with a shutter speed between 1/125 and 1/250 s. Raise ISO only if the performer is still blurry, and expect more noise as it climbs; a lower ISO and a darker frame usually look better than a bright, mushy one.
Is Pro mode better than Night mode for a concert?
Pro mode is the better default when people are moving, because you control shutter speed and exposure. Night mode suits a calm stage where you can hold the phone still, since it brightens the scene over a longer capture — which is exactly why it smears movement.
Does Expert RAW work on every Galaxy phone?
No. Availability depends on the model and firmware, so confirm the mode opens on your phone before the show. If it is not available, Pro mode covers the same manual exposure controls and remains the practical fallback.
For composition and venue workflow beyond phone settings, see our separate concert photography tips.
A 60-Second Pre-Show Check
- If your model has Pro mode, try a shutter near 1/160 s and ISO near 640, then inspect the brightness; do not also assume exposure compensation can be adjusted independently when both values are manual. Set a consistent white balance if available.
- Focus on a friend's face at performance distance and take one test frame while they move.
- Check the frame for clipped stage lights and motion blur, then adjust only one value at a time.
- Switch to video, select 1080p/30, turn stabilization on, and record a 20-second test clip.
Done when your test photo holds sharp detail, the brightest stage lights are not pure white, and your test clip is steady without hunting focus.
Make your own comparison record
The guidance above is documentary, not a set of field-test results from this project. Use a real, permitted test or authorized image when comparing outcomes; do not treat editorial illustrations as evidence of a camera or lens test.
Record | Your actual observation |
|---|---|
Device and software | Exact body or phone, lens and software version |
Scene and permitted position | Venue conditions, distance and access limits |
Baseline | Mode, lens, shutter/frame rate and relevant exposure settings |
One change | Name the single setting or equipment change |
File and outcome | Identify the actual file; record blur, focus, highlight or audio issue |
Keep the two files and their conditions together. If no comparison was made, record not tested rather than inventing a result. For a general plan, return to the concert photography field guide.