This checklist starts with a file you may print
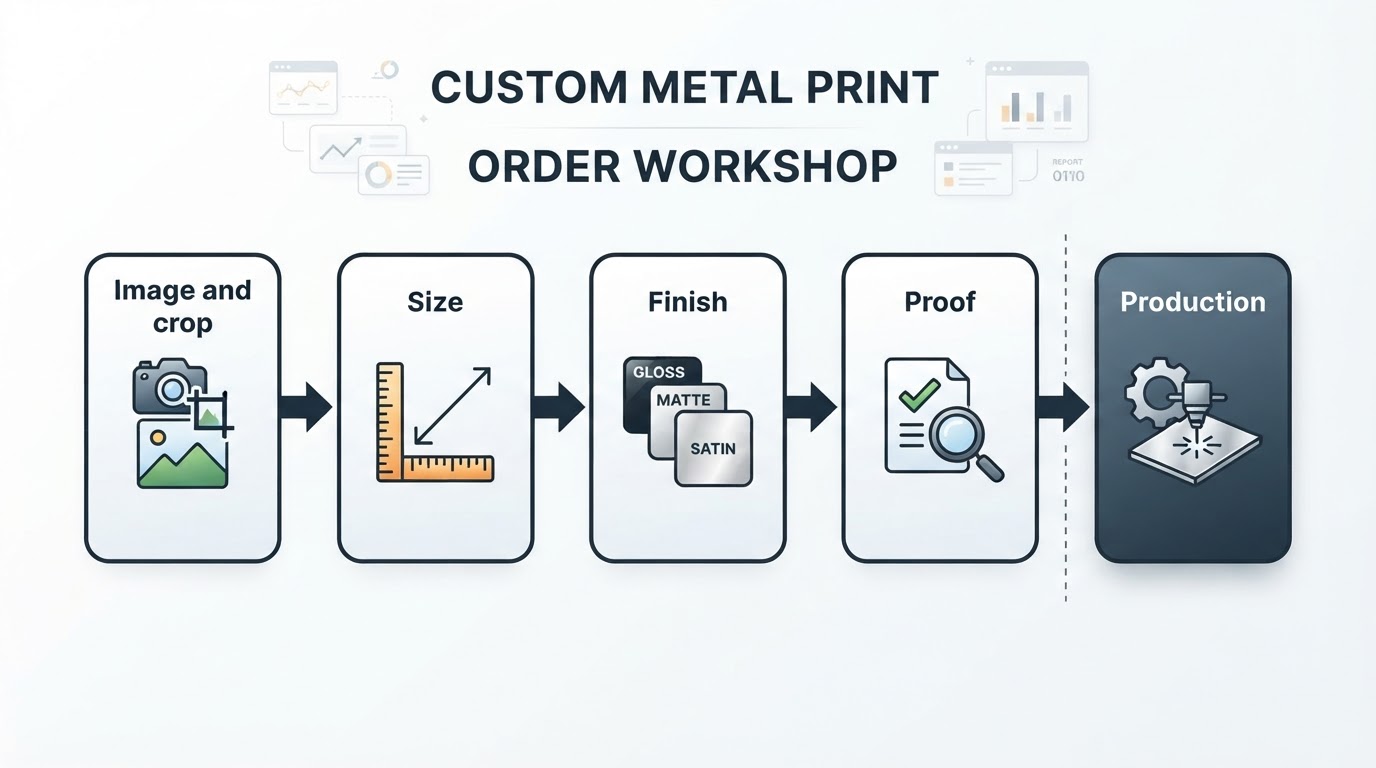
Use this page when you have your own photograph, or clear permission to print another person's work, and need to prepare an order for an independent lab. Practical Photo Notes does not accept files or orders. For base, finish and mount selection, use the separate metal-print material guide.
First confirm the lab's actual file requirements. WHCC's metal-print preparation section, for example, requests high-quality JPEGs with an embedded RGB colour profile and describes its resizing practice. That is a named lab's workflow, not a universal rule for every printer or a guarantee about your file.
Work out the crop before the order
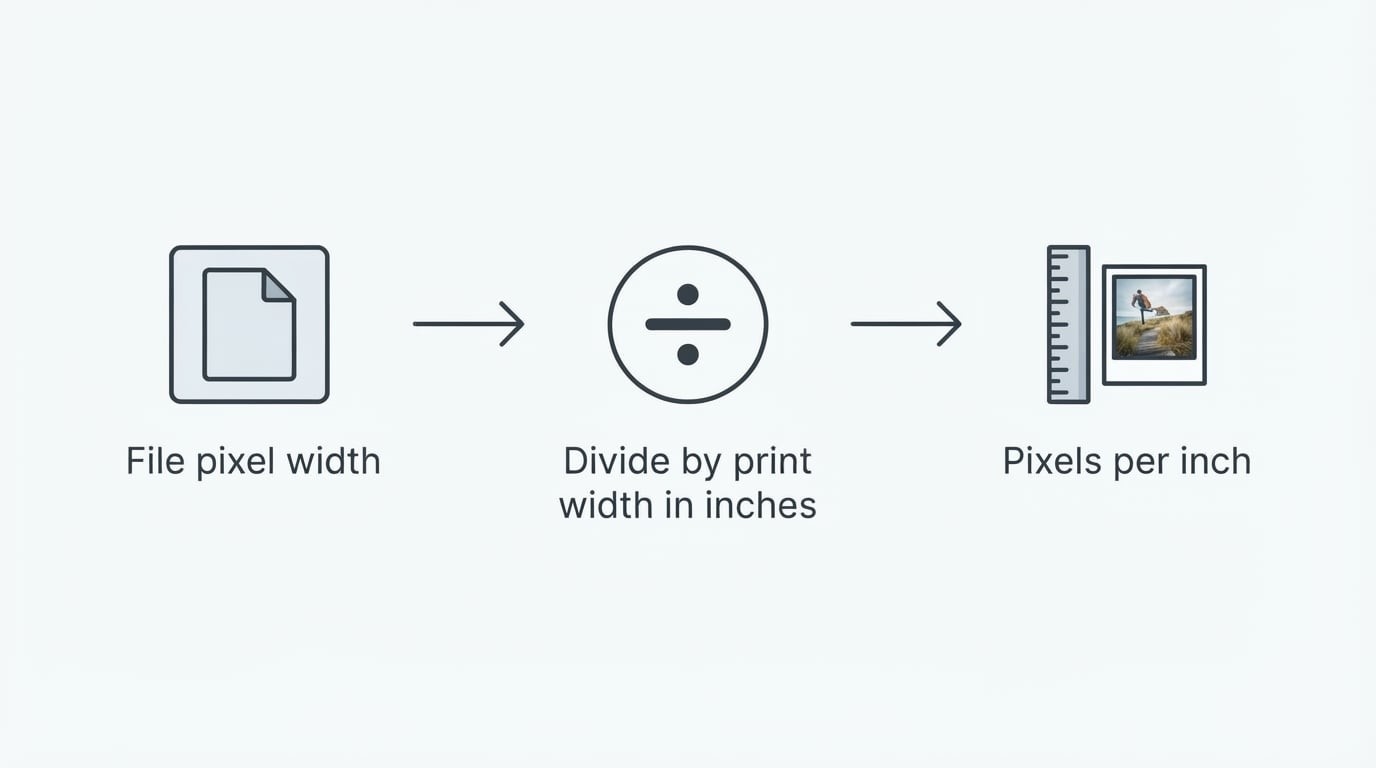
Divide pixel width by pixel height to get the file's aspect ratio. Compare that with print width divided by height in the same orientation. If the ratios differ, specify a crop or a border instead of letting the subject be cut by default.
Illustrative 4000 × 3000 pixel file | Pixels used after the chosen crop | Sampling at the stated print size |
|---|---|---|
20 × 15 inch print, uncropped | 4000 × 3000 | 200 pixels per inch |
20 × 20 inch square, crop width to 3000 | 3000 × 3000 | 150 pixels per inch |
30 × 20 inch landscape, crop to 3:2 | About 4000 × 2667 | About 133 pixels per inch |
These are arithmetic examples, not tests of a photograph or a minimum-quality recommendation. The square example removes 1000 pixels from the original width; where you place that crop determines which subject detail is lost. The lab must confirm what size, processing and viewing distance suit the actual file.
Write down what must survive the crop
For a concert frame, mark the performer, instrument, hands and any necessary caption context. For a landscape, mark the horizon and the feature that makes it that place. Send the marked preview along with the original file if the lab accepts one; do not edit the only original just to make the instructions visible.
Check large plain areas for sensor spots and the intended subject for missed focus before enlarging. Upscaling cannot prove that the source captured detail that was never there. Keep the unaltered original and the final approved export separately.
A proof approval record
Before approval | What to confirm |
|---|---|
File identity | Exact filename and export version |
Layout | Width, height, orientation, crop and border |
Material | Named base, finish and mount |
Proof type | Layout preview, soft proof or physical proof |
Correction responsibility | Who changes colour or crop, and whether another proof follows |
Approval | Exact version approved and date |
A digital layout preview can confirm the crop but does not show the surface's reflections in your room. A physical sample tests something different. Ask what the proof includes before treating one kind as the other.
Send a complete request
State the file, final dimensions, crop anchor, material and mount, then ask whether that combination is feasible and what proof you will receive. Keep the reply and approval with the exported file. For another photographer's existing work, approach the actual rights holder and seller; this site has no archive from which to order it.
The print-size calculator can help choose a footprint before this handoff. It does not inspect an image or submit an order. Reference checked 26 October 2026; examples above are explicitly hypothetical calculations.