The short answer: pick the file you can finish
Shoot JPEG when light is predictable and files are close in camera. Shoot RAW when colored LEDs, hard contrast, or shifting stage light need work after the show. Choose RAW+JPEG when quick JPEGs and an editable master both have a job. A same-night deadline favors JPEG but does not force it: with difficult light, a tested RAW workflow and a planned export can still beat a JPEG you cannot correct. Pick per show, not as a permanent identity, and keep RAW+JPEG as a middle option when storage and buffer allow.
What changes between the two files
Nikon's RAW vs JPEG explainer lays out the core difference. RAW stores the camera's capture data for later processing plus shooting and lens metadata; it is generally larger and usually needs a compatible renderer to become a finished image. JPEG is processed in camera into a smaller file that ordinary devices open without specialist software. Both record the same exposure at different stopping points.
Tonal headroom is the second difference. JPEG is typically 8-bit, so heavy correction leaves fewer steps between tones. RAW usually keeps more latitude, though representation, compression, and bit depth vary by camera, so check the menu rather than assuming a spec. Nikon is explicit that RAW cannot reconstruct information the camera never captured, so treat latitude as a repair budget, not a guarantee of recovered highlights.
Working from JPEG also means accepting decisions the camera already made about white balance, contrast, and picture style, and repeated lossy re-encoding can shave off quality. A nondestructive editor preserves the original, but cannot recover latitude never stored.
The three costs that decide the format
Editing latitude
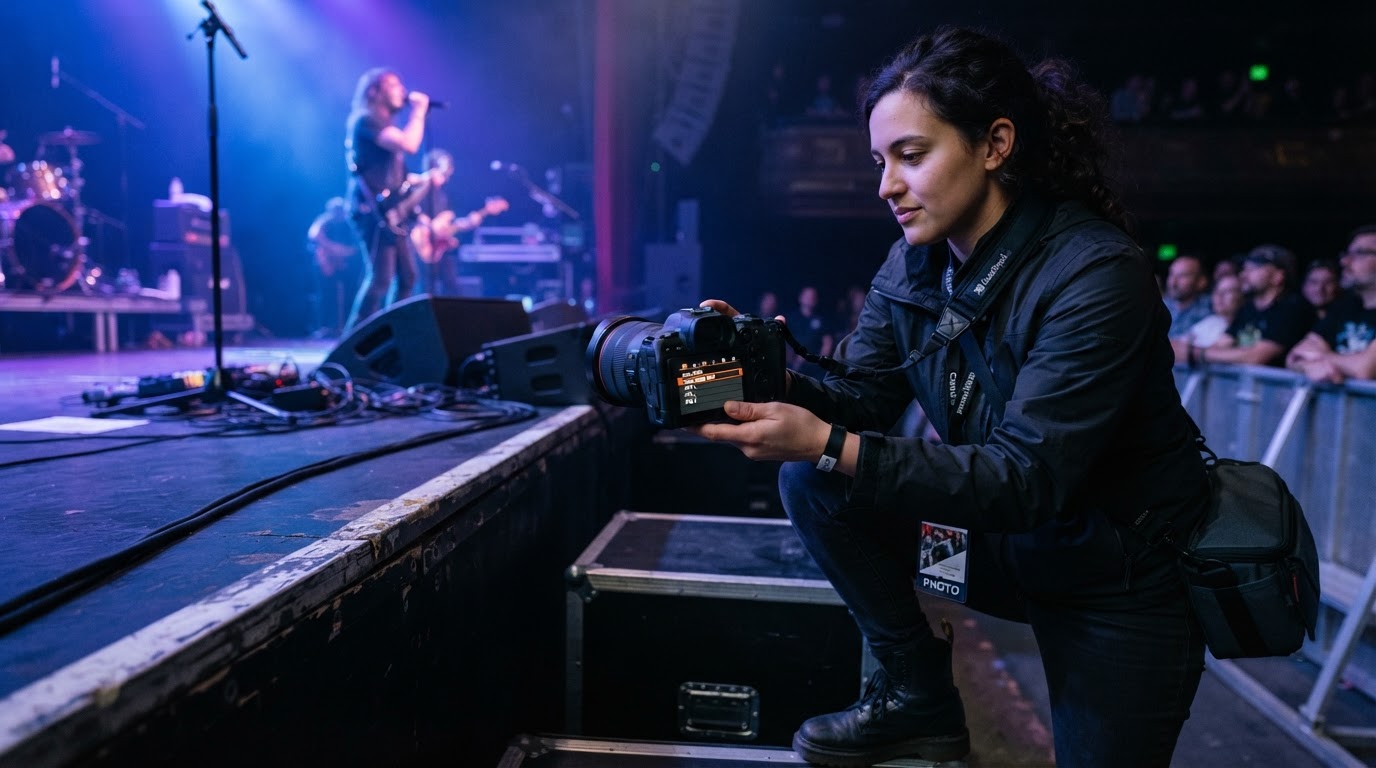
Colored stage lighting is the strongest argument for RAW. JPEG bakes in white balance, contrast, and picture style, and each correction spends some of what is left. RAW defers those decisions, which helps when a wash turns a face green or a spotlight clips the frame. It helps less when frames are close and the clock is running.
Buffer and card behavior
RAW files are generally larger, so card space and buffer headroom go faster, and a RAW-only workflow can stall during a long chorus. How quickly a body clears depends on the model, card, and settings; time a modest burst to a readable peak, as a concert photography settings guide recommends. Test clearing before the set.
Delivery time
JPEG is shareable straight from the camera. RAW usually needs a compatible render or export before finished delivery; that render can happen in camera, on a computer, or in a mobile app, but it is still a step to plan and not the same as handing over the original. That is the practical size difference: more storage, more post-production, more clock. Turnaround is negotiated, not inherited, so separate a small rush batch from the full gallery and plan the delivery in writing. If a client asks for RAW files, scope that handover separately, not on the JPEG deadline.
A decision table for the show
Show and delivery situation | Shoot | What to watch |
|---|---|---|
Predictable lighting, files close in camera, same-night social selects | JPEG | Confirm Picture Control and exposure early |
Heavy color wash or extreme contrast, days to edit | RAW | Card capacity and editing time |
Quick client preview plus an editable master | RAW+JPEG | Storage and buffer headroom |
Client expects camera originals | Negotiate first | Separate deliverable |
Unknown venue lighting, short set | RAW | Process selectively |
Pre-show checklist: compatibility, copy, export
- Confirm the camera supports your RAW+JPEG pairing; not every body offers every combination.
- Confirm your editor opens that camera's current RAW format; new bodies arrive first.
- Check in-camera RAW conversion if you deliver from the card.
- Run a short burst in each mode and note how fast the buffer clears.
- Pack cards for the larger RAW footprint and keep a spare; your own test card beats a spec sheet.
- Copy to two locations before culling; gallery JPEGs are not a backup of RAW originals.
- Record the count, format, deadline with time zone, and whether RAW handover is included.
- Open an exported test file at the destination before promising the link.
Where RAW+JPEG earns its storage
RAW+JPEG writes both files for every frame. When Picture Control and exposure are right, the JPEG may be all you need, with the RAW available when they are not, as Nikon's explainer describes. The cost is paid every frame: more space, less buffer headroom. Verify your camera offers the combination.
Bottom line
Match the file to the deadline, not to habit. Predictable light and a same-night handover make JPEG a reasonable default. Difficult light and time to edit point to RAW. When both needs appear, RAW+JPEG is a sensible compromise if the card, buffer, and export path are tested. Run a burst test before doors open and write the delivery terms down.