Start with the performer, not the room
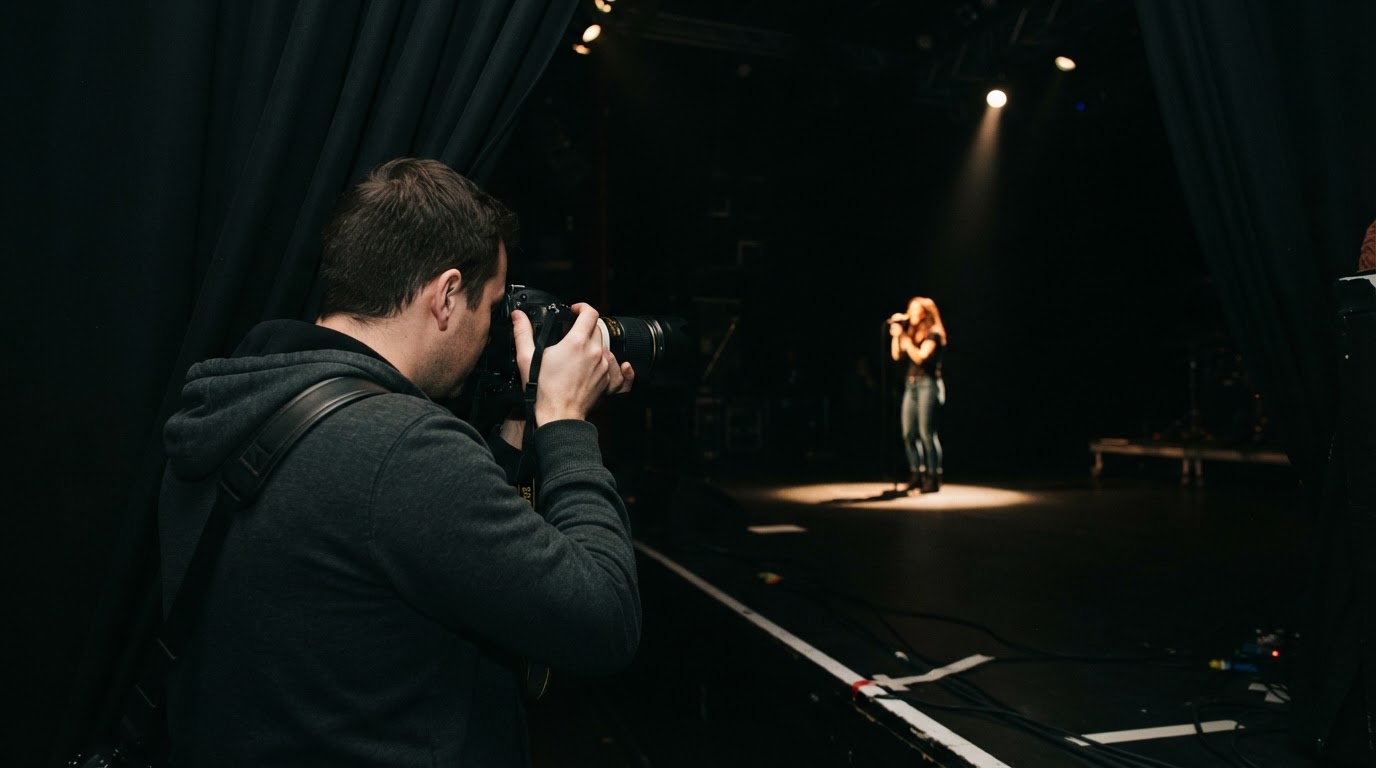
For a spotlit performer against a dark room, spot metering is the simplest starting point: it bases its reading on a small area of the frame instead of the whole scene. Where that area sits depends on the camera. On many bodies the spot stays fixed at the centre; on some it can be linked to the active focus point. Check which one you have before the first song. Only where the model explicitly supports linking the spot to a face-detected focus point does the reading follow a face; face detection on its own does not move the metering spot. If the spot is fixed, keep the performer under it or meter and recompose.
Its weakness is movement. When a singer turns or steps out of the beam, the metered area can land on a dark sleeve or the backdrop and the reading swings. Matrix or evaluative metering avoids that aiming problem by reading across the whole frame, but the dark room and stage lamps then influence the result. How much they influence it varies by camera and scene: the weighting and the scene or subject recognition behind it differ by model, and the result is not simply a universal average. Expect the same stage to read differently on two bodies.
Where the camera supports it, highlight-weighted metering changes the trade. It does not target a face the way a selectable spot does; it weights the brightest parts of the frame so highlights are less likely to blow out. That can suit a performer under a follow spot, but a bare stage lamp or a bright LED panel in frame can be treated as the highlight and pull the exposure down, leaving the performer dark. Availability, custom options and exact behaviour differ by model, so check your manual and test it before relying on it. Nikon's guide to highlight-weighted metering explains how the mode behaves on the bodies that offer it.
What each mode reads
Matrix/evaluative
Matrix or evaluative metering reads across the frame, with weighting that varies by brand and scene. On stage, the black background and the bright instruments influence that reading. It suits even light, or a scene that should read as a whole, and it avoids the aiming problem of a small spot. It is also the mode most likely to be fooled by a large dark area, so watch the face.
Spot
Spot metering reads a small area, either centre-fixed or linked to the selected focus point depending on the camera. Put that area on the lit side of the face and the reading mostly ignores the dark room. The risk is aim: as the performer moves, the reading can land on a black jacket or a white sleeve and swing.
Highlight-weighted
On supported bodies, highlight-weighted metering is a whole-frame reading that prioritises the brightest areas rather than balancing the scene or following a selected subject. It can reduce the risk of losing a white shirt or a lit cheek to clipping, but it will also follow a bright lamp if one dominates the frame. Expect deeper shadows and some fine-tuning.
Automatic exposure versus a manual reading
In program, aperture-priority, shutter-priority and Auto ISO, the meter's reading drives the chosen shutter speed, aperture or ISO, though how each camera implements that varies — including when it prefers to raise ISO rather than slow the shutter. Exposure compensation shifts that target, and it is where most in-show adjustments belong: watch the face and the brightest highlight, then nudge compensation as the light changes, where the venue and your access permit.
In manual mode with ISO fixed, the meter is a reading, not an instruction. Changing from matrix to spot to highlight-weighted does not physically move shutter speed, aperture or ISO; you do. The indicator may change, but the exposure you get is the one you set.
A decision table for the set
Situation | Start with | Then check |
|---|---|---|
Moving performer, dark room, strong spotlights | Highlight-weighted if supported, or spot on the face | Face, brightest highlight, compensation |
Performer mostly still, face clearly lit | Spot on the lit face | Whether the spot is centre-fixed or on the AF point, and that it stays on skin |
Even, predictable stage light | Matrix/evaluative | Bright areas washing out |
Bright bare lamp in frame | Matrix/evaluative, or reframe the lamp out | Performer is not underexposed |
Dark subject, bright background | Matrix if the performer must be optimised | Silhouette only if intended |
Manual, fixed ISO | Any mode as a reference | Your own shutter speed, aperture and ISO |
Check the frame, then change one thing
- Pick a mode from the table by motion and the brightest light.
- Shoot a short sequence early.
- Inspect the face, the brightest highlight and the histogram; use highlight warnings if available.
- Change one control and compare. In automatic or Auto ISO modes, exposure compensation is usually fastest; in manual with fixed ISO, change shutter speed, aperture or ISO yourself.
For the wider dark-stage workflow — timing, focus and reading the light — see this site's concert photography tips guide. Colored LEDs, a moving follow spot and a white costume can change the answer mid-set.
No metering mode guarantees a perfect exposure or protects every highlight. Match the mode to the light and the movement, confirm what the camera is actually doing with the reading, and check the face and histogram before the next song.